The keyboard is one of your PC’s most essential external devices, alongside the mouse. You need it for word processing, gaming, web browsing, and much more. So, it’s pretty a big deal when the keyboard stops working for some users.
Numerous users have posted on Microsoft’s support forum about their keyboards not typing in Windows 10/11. Some users have said their keyboards stopped working on Windows 10 after updates. Other people have said their keyboards don’t work after upgrading to Windows 11.
Are you among those users who need to fix a keyboard that’s stopped working? If your keyboard is not working in Windows 10/11, there are various ways you might be able to fix it. This is how you can fix a keyboard that’s stopped working in Windows 10/11.
Method 1: Run the Keyboard Troubleshooter
Step 1: To quickly open Settings, press the Windows key + I hotkey for that app.
Step 2: Next, click the “Troubleshoot” navigation option.
Step 3: Click “Other-troubleshooters” to view the available troubleshooters in Windows 11.

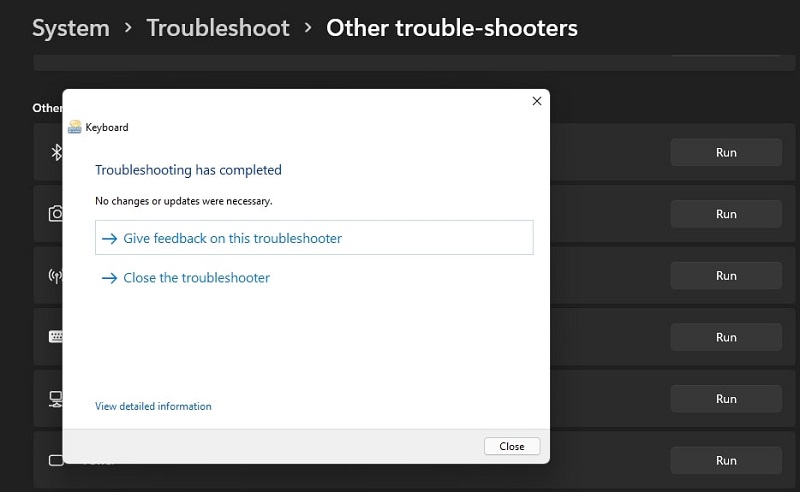
Step 4: Press the “Run” button for the Keyboard troubleshooter.
Step 5: Apply any potential resolutions suggested by the Keyboard troubleshooter.
In Windows 10, you’ll need to select “Update & Security” > “Troubleshoot” in Settings. Click the “View troubleshooting history” navigation option. Then select the “Run” button for the Keyboard troubleshooter to open it from there.
Method 2: Reinstall or Update the Keyboard’s driver
Step 1: Press the Windows key + X hotkey to view the Win + X menu.
Step 2: Select Device Manager on the menu to open that utility.
Step 3: Double-click Keyboards to expand that category.
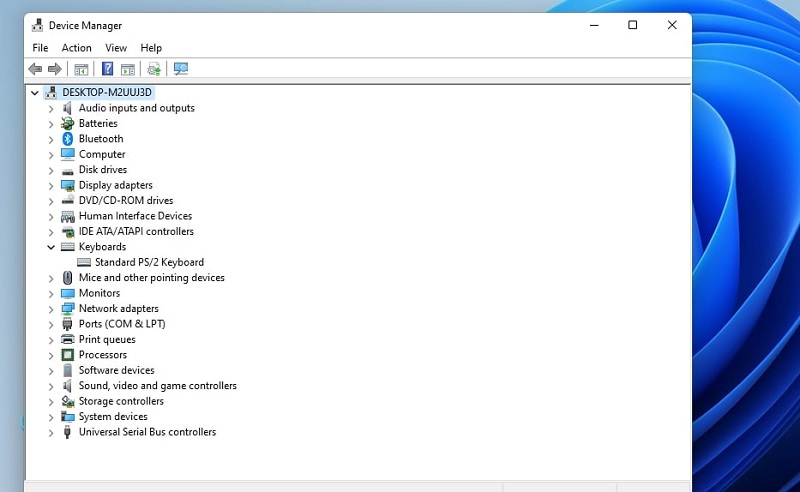
Step 4: Right-click your keyboard to select its “Uninstall device” option.

Step 5: Select “OK” on the confirmation prompt.
Step 6: Restart your desktop or laptop to reinstall the keyboard driver. Alternatively, you can click “Action” and select “Scan for hardware changes” to reinstall devices.
If reinstalling the driver doesn’t help, try updating it. The built-in driver updater utility within Windows is no longer sufficient for updating drivers because it doesn’t search online anymore. So, you’ll either need to manually update your keyboard’s driver (download it from the manufacturer’s website) or utilize a driver updater tool.
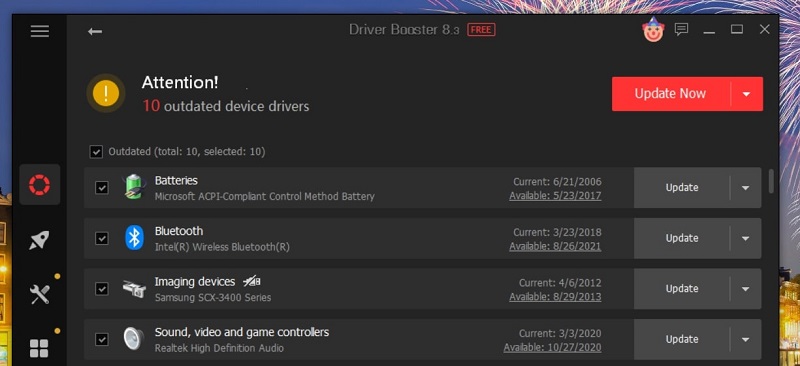
The easiest method is to scan your PC with a reputable third-party driver updater software. Driver Booster is among the most reputable driver updater tools for Windows platforms and is freely available. You can download that software by clicking “Free” on the Driver Booster website.
When you’ve installed Driver Booster, it will automatically scan. If that scan shows that your keyboard’s driver is outdated or even faulty, select to update that driver with the software. It’s also recommended that you update USB port drivers. To update drivers for all listed devices, click the “Outdated” checkbox and press the “Update Now” button
Method 3: Disable Fast Startup Mode
Step 1: As the Fast Startup feature can have compatibility issues with some devices and peripherals, it’s recommended that you disable that mode. To do so, you’ll first need to launch Run by pressing the Windows and R keys simultaneously.
Step 2: Type Control Panel in the Open text box.
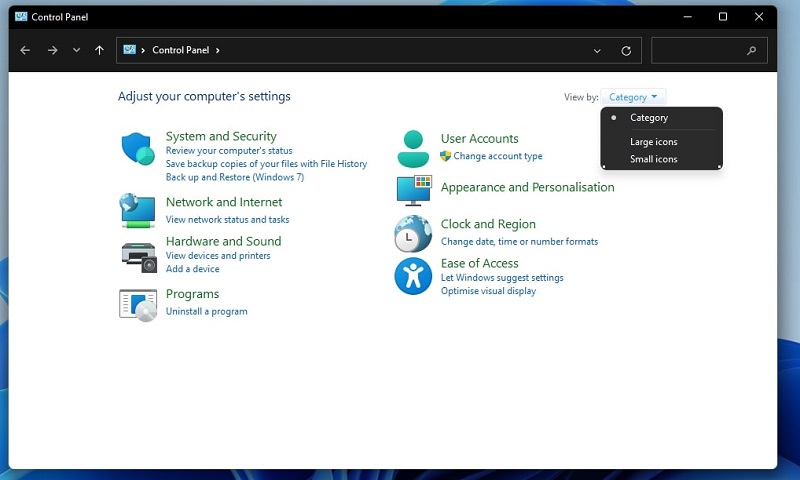
Step 3: Click the “OK” option to open the Control Panel.
Step 4: Select the “System and Security” Control Panel category.
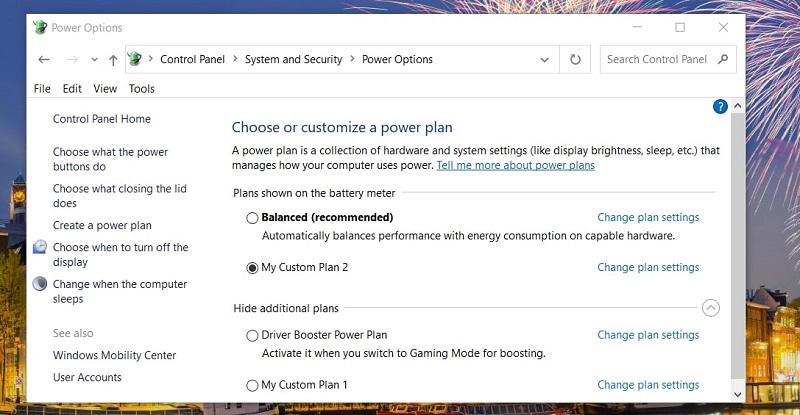
Step 5: Then click the Power Options navigation option.
Step 6: Click the “Choose what the power buttons do” option on the left side of the window.
Step 7: Select the “Change settings that are currently unavailable” option.
Step 8: Then, deselect the “Turn on fast startup” checkbox.
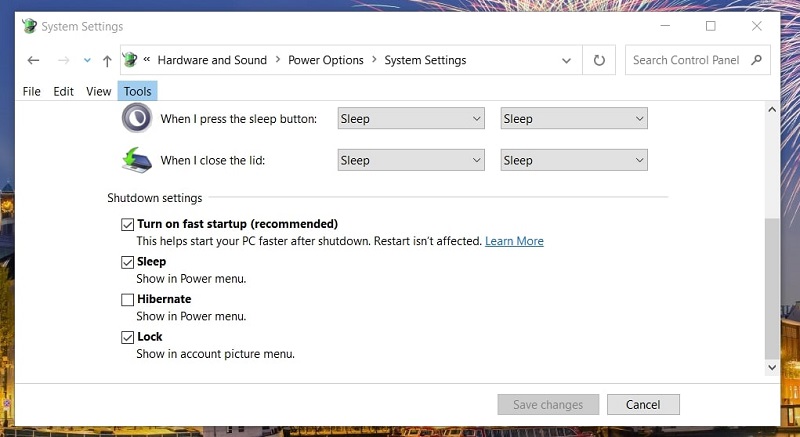
Step 9: Press the “Save Changes” button.
Step 10: Restart Windows after disabling Fast Startup.
Method 4: Plug the Keyboard Into a Different USB Port
If you’re utilizing a desktop PC, try plugging your keyboard into a different USB port. It might be that your keyboard isn’t correctly plugged in, or there’s an issue with the port. So, plugging the keyboard into a different one, preferably USB 2.0, might resolve the issue.
Method 5: Disable Mouse, Sticky, Toggle, and Filter Key Settings
Step 1: Open the Control Panel’s window.
Step 2: Click the “Ease of Access” category.
Step 3: Select “Ease of Access Center” to open the navigation options in the screenshot below.
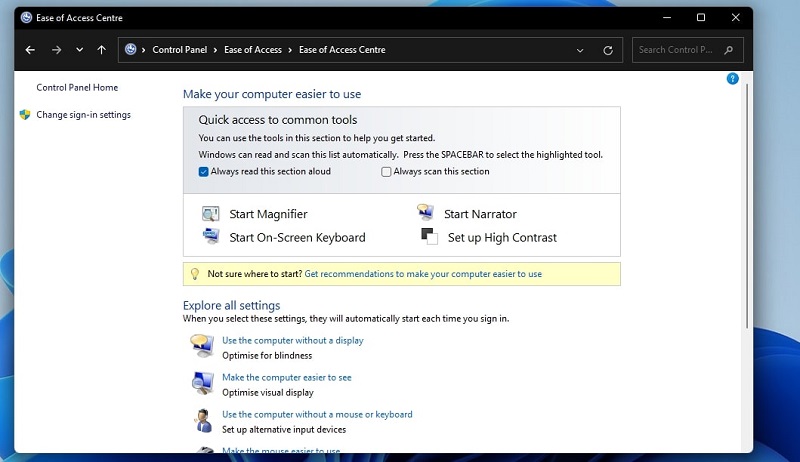
Step 4: Select the “Make the keyboard easier to use” option.
Step 5: Deselect the checkboxes for Sticky Keys, Toggle Keys, Filter Keys, and Mouse Keys options.
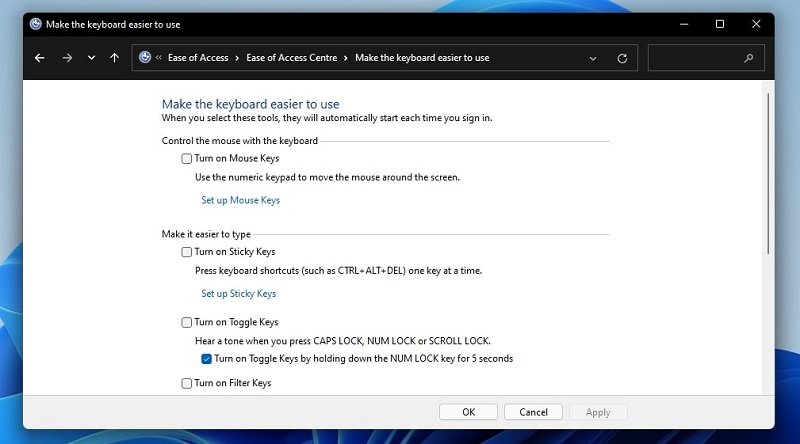
Step 6: Press the “Apply” button.
Method 6: Make Sure Bluetooth is Enabled for Wireless Keyboards
If your keyboard is a wireless Bluetooth one, it might be the case that the feature is disabled on your PC. So, enabling Bluetooth could be the solution for some users. You can check that feature is enabled as follows.
Step 1: Launch Settings from your Start menu.
Step 2: Select the “Bluetooth & devices” tab in Settings.
Step 3: Click the “Bluetooth” option to turn it on.
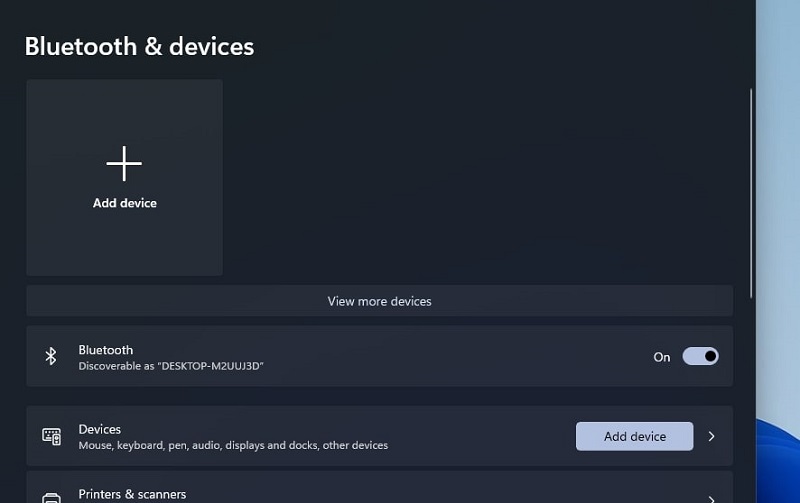
Step 4: Also, try repairing the keyboard by clicking the “Add device” button.
Method 7: Remove Recent Windows 11/10 Updates
Has your keyboard stopped working in Windows 10/11 after very recent updates? If so, consider uninstalling the most recent patches. This is how you can remove recent updates in Windows 11/10.
Step 1: Open the Settings app, and click its “Windows Update” tab.
Step 2: Click “Update history” on that tab.
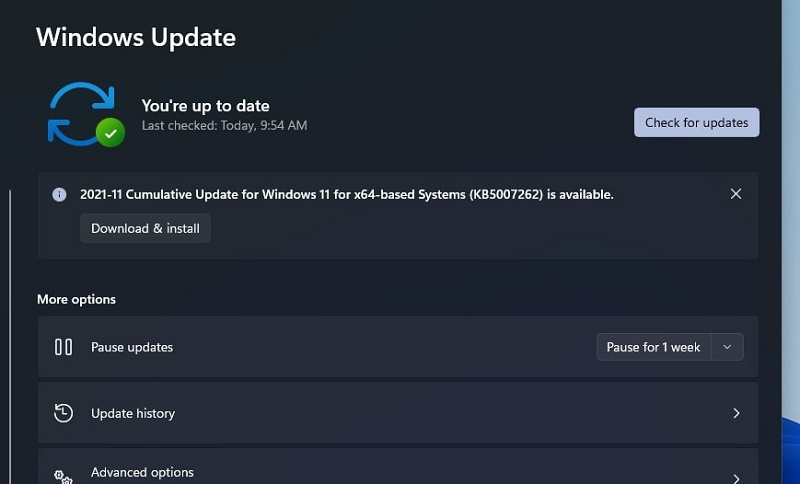
Step 3: Select “Uninstall updates” to bring up the Control Panel window directly below.
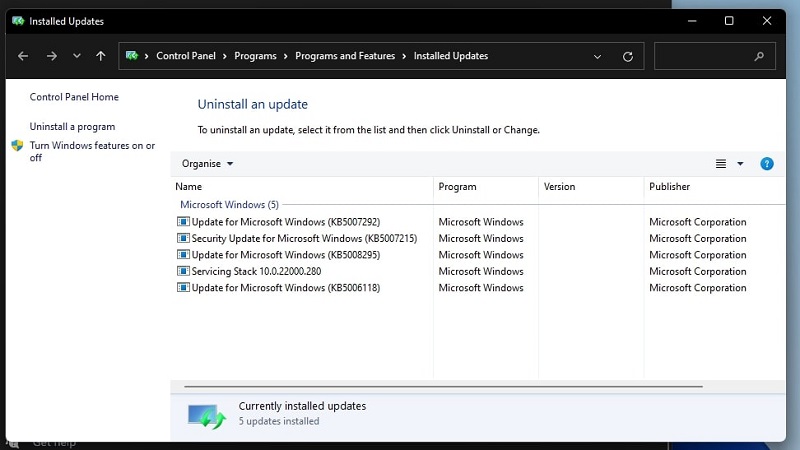
Step 4: Select the most recent update listed there.
Step 5: Click the “Uninstall” button to remove the update.
FAQ
Should I reinstall the platform when the keyboard is not working in Windows 10/11?
Reinstalling the platform might fix the keyboard not typing in Windows 10/11, but that should only be a last resort resolution if none of the above resolutions work. The easiest way to reinstall Windows 11/10 is to reset the platform. This is how you can factory reset Windows 11.
Step 1: Bring up the Settings window.
Step 2: Click the “Recovery” navigation option within the “System” tab.
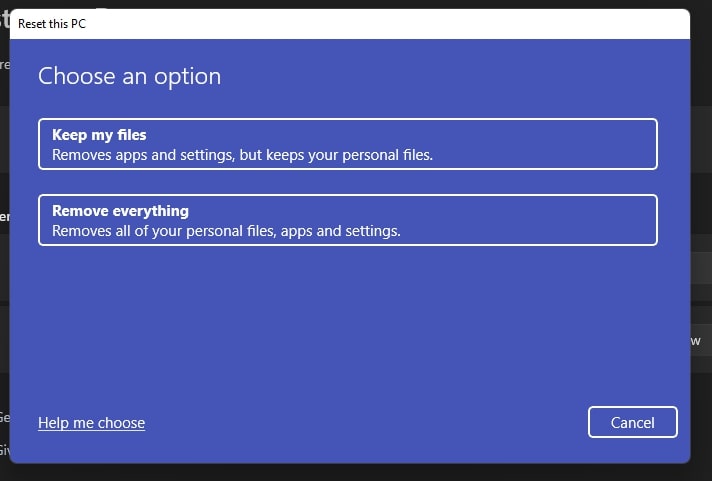
Step 3: Press the “Reset PC” button shown directly below.
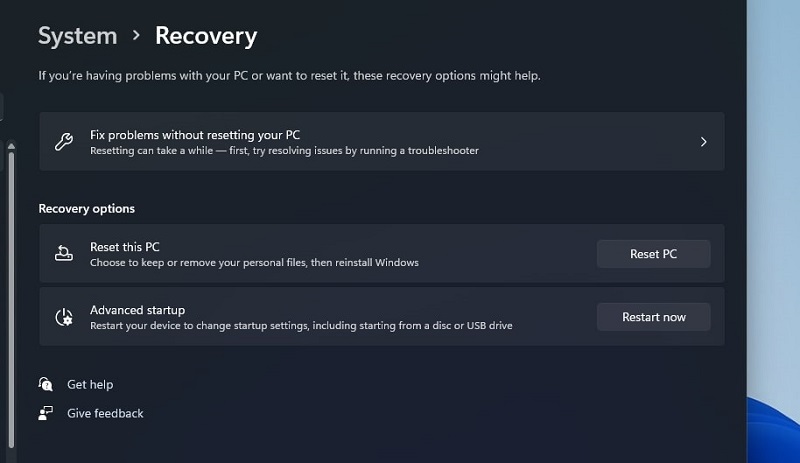
Step 4: Select the “Keep my files” option.
Step 5: Choose either the “Cloud download” or “Local reinstall” reset option.
Step 6: Press the “Next” button, and select “Reset” to confirm.
Are there third-party programs that disable the keyboard in Windows 10/11?
Yes, programs like BlueLife KeyFreeze and KeyboardLock disable keyboards. If you share your PC with other users, consider that one of them might have installed and enabled such a program as a silly joke. Uninstalling the software and disabling the keyboard would be the solution in such a scenario.
Some forms of malware can also affect keyboards. So, consider scanning with an antivirus utility or malware removal software. You can run an antivirus scan with the built-in Windows Security app as follows.
Step 1: Click Windows Security’s system tray icon.
Step 2: Select “Virus and threat protection” to bring up further options
Step 3: Click “Scan options” to open the radio buttons shown in the snapshot directly below.

Step 4: Select the “Full scan” radio button there.
Will System Restore fix the keyboard not working?
Possibly, because restoring Windows to a previous date will also remove updates and programs installed after the chosen restore point. However, that resolution will only likely work if you can select a restore point that predates the keyboard issue on your PC.
Are there BIOS settings that can disable the keyboard?
Yes, your PC’s BIOS (Basic Input Output System) might include an Enable Keyboard Support or USB Keyboard Support option of some description. Your PC’s keyboard won’t work if the BIOS setting is disabled. If none of the above resolutions works, it might be worth looking through your PC’s BIOS (or UEFI Firmware) settings to check the keyboard is enabled there.
Conclusion
The resolutions above can potentially fix desktop, laptop, and wireless keyboards that stop working in Windows 10/11. They’re not guaranteed to work for everybody, but there’s a good chance they’ll resolve most keyboard issues.
If those fixes aren’t enough to fix your Windows 10/11 keyboard not working, there could be a hardware issue. In which case, consider taking your keyboard (or laptop) to a reputable IT repair service. You can return keyboards and laptops to their manufacturers for free repairs if they’re still within their warranty periods.