It is imperative to turn off Restrict Editing in Word if the document has been configured to prevent anyone from making changes. In this guide, you will learn some effective methods to remove modification restrictions so it can accept amendments should its text needs updates.
In addition, you will also understand the power of an efficient third-party tool using which you can make the removal process quicker and simpler.
What Is Restrict Editing Protection in Word?
Restrict Editing is a built-in feature in Microsoft Word that allows you to protect your document from unwanted edits.
Restrict Editing in Word is disabled by default, and you must manually turn it on to enable protection. While enabling, you must set a strong password, which Word will prompt you to enter when you attempt to modify the text.
Further, many times you may also come to a situation where you want to permanently turn off Restrict Editing protection, which requires you to enter the correct password.
This is where the solutions suggested in this guide come into play. While some methods explain unprotecting a document with a password, others teach how to turn off Restrict Editing in Word without a password.
How to Turn Off Restrict Editing in Word with Password
The best method to turn off Restrict Editing in Word that works with all versions is by going to the ‘Info’ screen. The detailed instructions are given below:
Note: MS Word 2021 is used here for illustrations. While some older versions, like Word 2019, Word 2016, etc., may look slightly different, the basic principle is identical. With that said, once you understand the concept, you will have no trouble removing restrictions, regardless of the version of Microsoft Word you are using.
Step 1: Get to the Info Screen
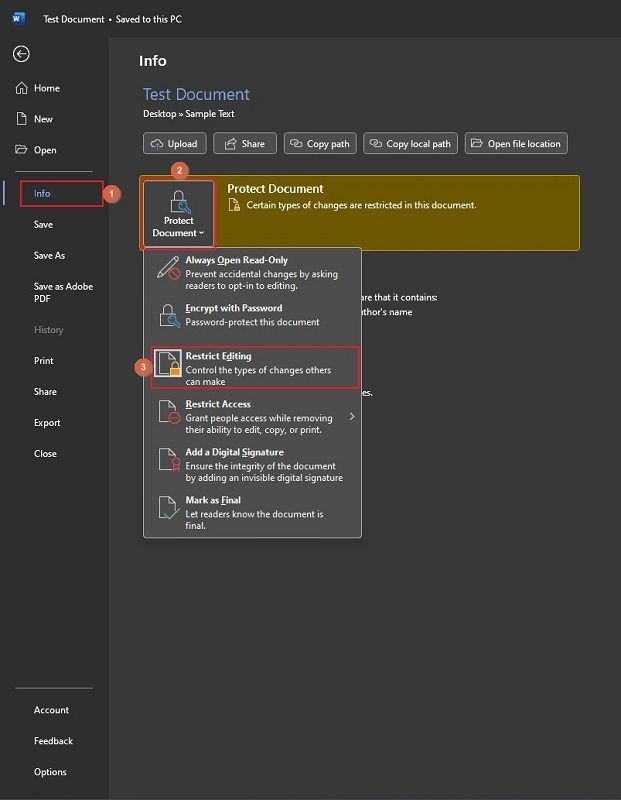
Double-click the document that has Restrict Editing enabled in it. Go to File from the menu bar at the top, and click Info from the left pane.
Note: If you see the Restrict Editing pane right after you open a protected document, you can skip Step 1 and Step 2, jump directly to Step 3, and continue.
Step 2: Show the Restrict Editing Pane
Click the Protect Document tile from the Info pane in the center and click Restrict Editing from the menu that appears.
Step 3: Turn Off Restrict Editing
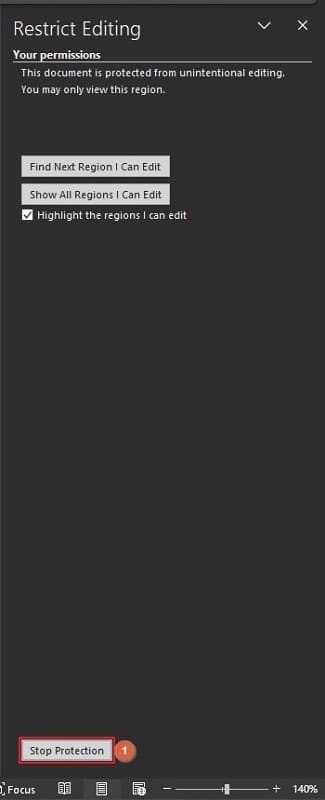
Once you’re back on the document, click Stop Protection from the bottom of the Restrict Editing pane on the right.
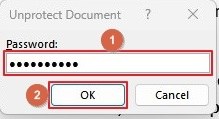
On the Unprotect Document box, enter the Restrict Editing password in the Password field and click OK.
At this point, optionally, you can make any changes to the document as needed.
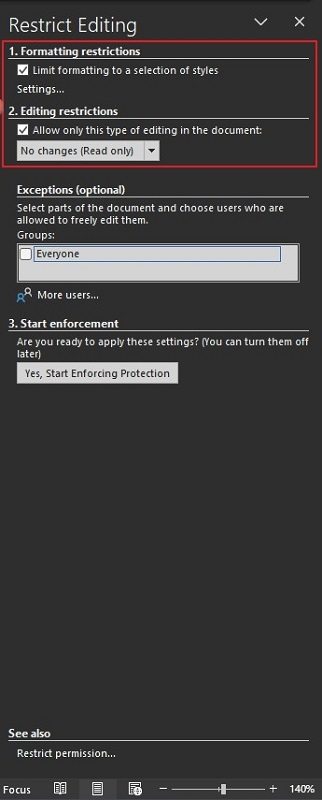
Once done, uncheck the Limit formatting to a selection of styles and Editing restrictions boxes.
Save and close the document. Reopen it to confirm if the Restrict Editing protection is removed.
How to Turn Off Restrict Editing in Word Without Password
If you have forgotten the Restrict Editing password, you can still make changes to the Word document. However, you must follow some workarounds to get the job done.
Depending on your convenience, you can choose any of the three solutions explained below:
Solution 1: Remove Restrict Editing in Word Without a Password Using a Tool
The simplest method to remove Restrict Editing without a password is with a powerful yet reliable third-party tool such as PassFab for Word.
You can follow the instructions given below to learn how to turn off Restrict Editing in Word without a password using PassFab for Word:
Step 1: Choose the Remove Word Restrict Editing Tile
Download and install PassFab for Word.
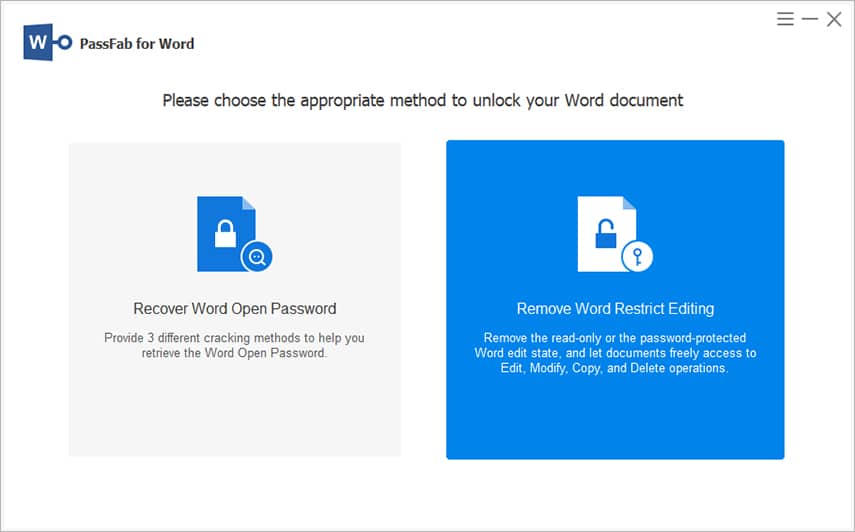
Launch the program and click the Remove Word Restrict Editing tile from the first screen.
Step 2: Import the Target Word Document
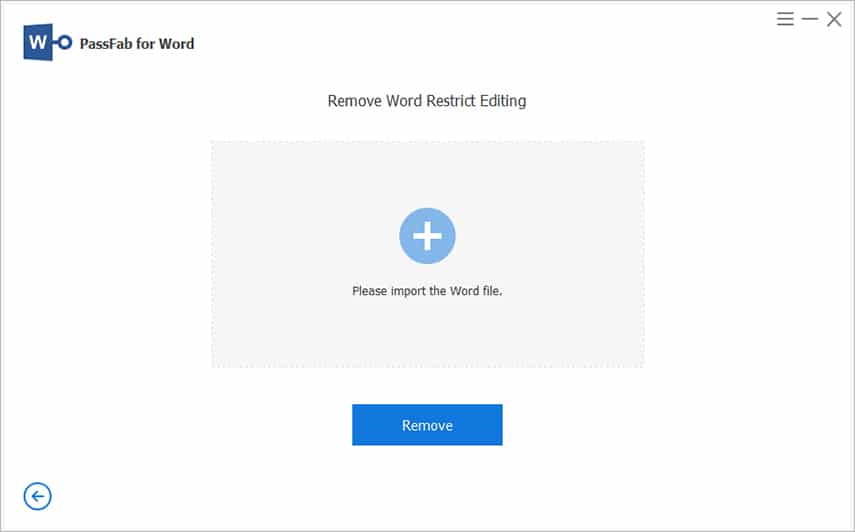
On the Remove Word Restrict Editing screen, click Please import the Word file button from the center.
Step 3: Turn Off Restrict Editing in Word
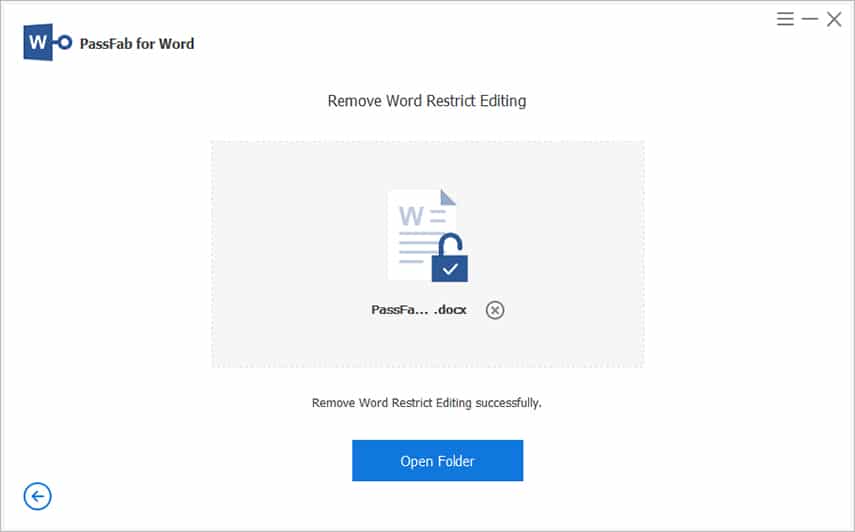
Click Remove from the lower area of the box and wait while PassFab for Word removes the Restrict Editing protection from the Word document.
Once done, click Open Folder to get to the directory where PassFab for Word saved the unprotected instance of the file.
Open the unrestricted document to make the required changes.
Solution 2: Remove Restrict Editing in Word Without Password by Changing File Extension
If you don’t want to use a third-party tool, you can try this workaround.
Pre-Info (You Must Know)
All documents you create in Word 2007 or above have the DOCX extension, whereas those created in Word 97 to Word 2003 have the DOC extension.
E.g., If you create a Test document in Word 2007 or above, its full name will be Test.docx. On the other hand, if you created this file in Word 97-2003, its full name would be Test.doc.
General Info
If you enabled Restrict Editing on a document you created in Word 2007 and above, you can easily remove the protection without a password by saving the file in Compatibility Mode, i.e., by changing its extension from DOCX to DOC. The process is given below:
Step 1: Get to the Save As Box
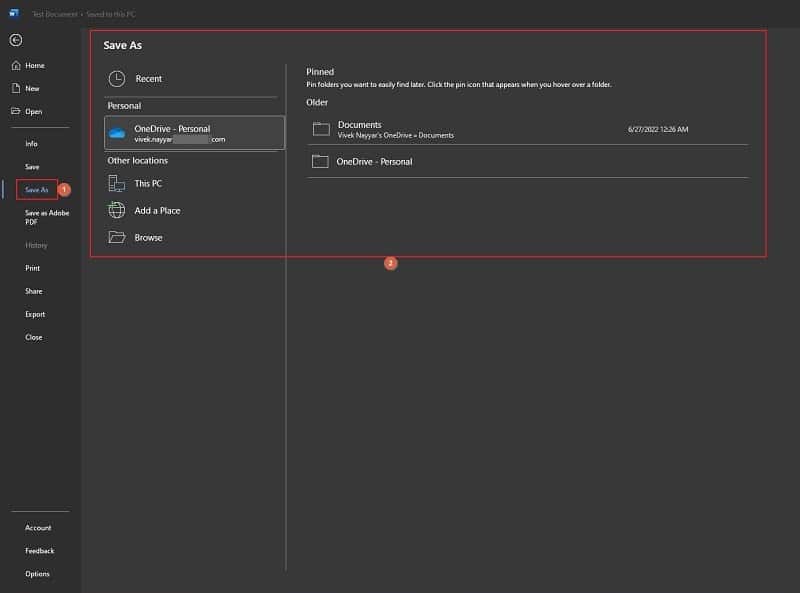
Open the protected document, go to File, click Save As from the left pane, and click Browse from the Save As pane in the center to open the Save As box.
Step 2: Choose the DOC File Type
Use the Save As box to go to the folder you want to save the unprotected instance of the document.
Click to open the Save as type list from the lower section of the box, and click Word 97 to 2003 Document.

Step 3: Change the File Extension
Click Save from the bottom-right corner of the Save As box to save the file with the DOC extension.
After this, close the document, reopen it, and click Stop Protection from the bottom of the Restrict Editing pane on the right. Notice that Word didn’t ask for the password this time.
From here, you can safely uncheck the Limit formatting to a selection of styles and Editing restrictions boxes, save the document, close it, and reopen it to confirm if the editing protection is removed.
Solution 3: Remove Restrict Editing in Word Without Password by Opening It in WordPad
WordPad is a built-in app in Windows, and it falls somewhere between Notepad and Microsoft Word in terms of features and formatting options. Even though WordPad files have a default RTF (Rich Text Format) extension, you can open a DOC or DOCX file with the app to turn off Restrict Editing in Word, which is technically skipping or dodging the security in this case.
The process is given below:
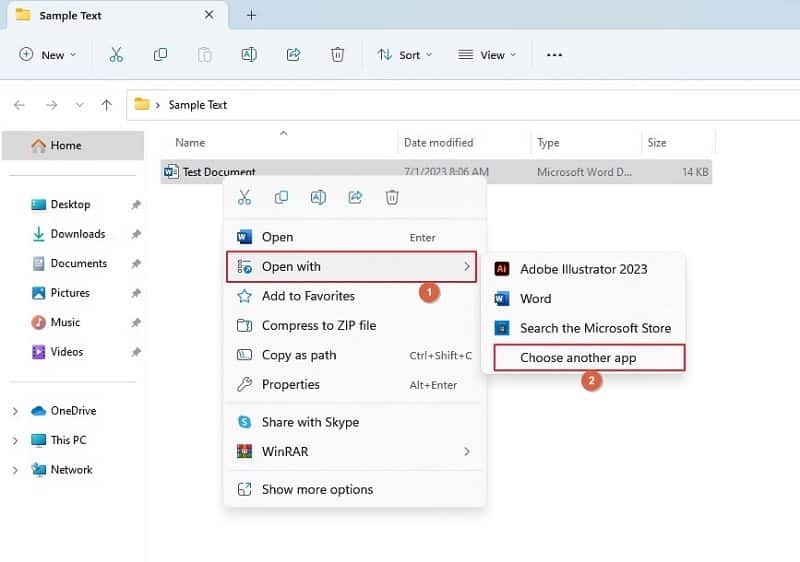
- Right-click the protected Word document
- Go to Open with from the context menu
- Click Choose another program
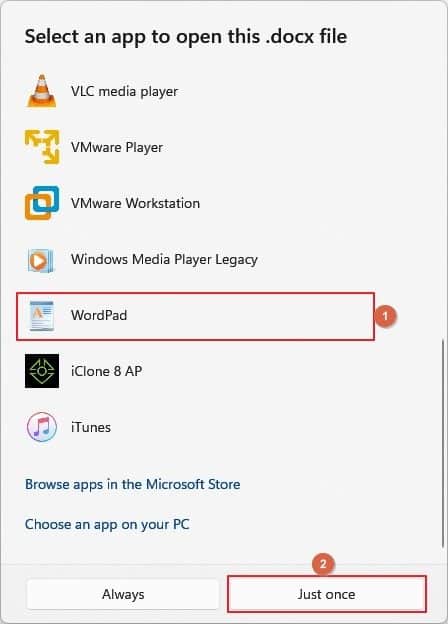
- Scroll down and click to select WordPad
Note: If you cannot see WordPad in the list, click Choose an app on your PC.
- Click Just once to open the document in WordPad
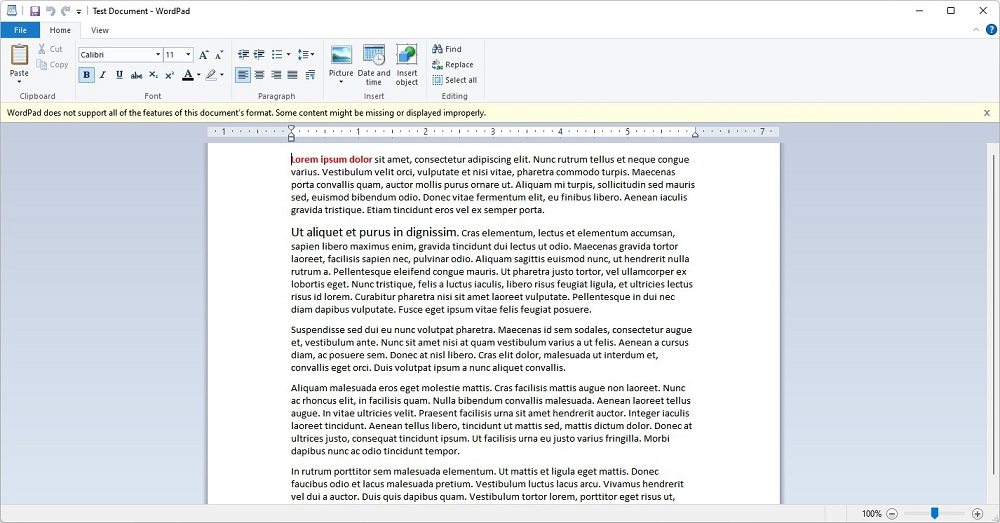
Note: If your document has advanced formatting styles, WordPad may not retain them. In the worst-case scenario, you may have to reformat your text once you have saved it in an unprotected Word file.
- Once the document becomes editable, you can make the required changes
- Next, press Ctrl + A simultaneously to select everything
- Press Ctrl + C to copy the entire selection
- Launch MS Word and create a new blank document
- Press Ctrl + V to paste the content you copied
- Save the unprotected Word file normally
FAQs
Why should I use PassFab for Word when I can unprotect documents for free?
PassFab for Word makes your job easier as all you need to do is, import the protected document to the program, click one button, and remove Restrict Editing protection in merely a few seconds. This is especially helpful for those who come from a non-technical background or don’t want to invest their time going through the lengthy process of removing restrictions manually.
Will changing DOCX to DOC erase the document’s formatting?
For the advanced formatting specific to Word 2007 and above versions, yes, it may go away. Nevertheless, the basic formatting, such as bolded text, colors, and other such styles that were also available in Word 97 to 2003 will remain intact.
Can I continue using the RTF format forever?
While you can do that, it is not recommended as WordPad doesn’t offer advanced formatting options. As a result, your documents may not look appealing due to the absence of proper beautification, which is only possible in Word 2007 and above versions.
Conclusion
Restricting editing in Word is simple, and removing the protection with a password is even simpler. However, the challenge begins when you forget the password, in which case, you must rely on an effective third-party tool or use some smart workarounds to turn off Restrict Editing in Word without losing data or formatting.