When sharing a document with others, you’re also enabling them to edit it. However, without the proper tools and organizational structure in place, this can complicate things. Each person might apply different tweaks in various ways, creating different iterations of the same initial document. Good luck making sense of all the edits and combining them into a final file.
That’s why you might be interested in how to make a word document read-only to restrict potential edits. Doing so won’t prevent others from copying your document. Still, it will at least communicate your intentions to keep your document unchanged. Thankfully, there are more than one ways you can do that. Let’s see how.
Learn how to password protect a Word document and how to edit a read only Word document if needed.
Method 1: Make A Word Document Read-Only by Restrict Editing
Word allows you to restrict if and how others can edit a document. You can take advantage of this functionality to have a word document act as read-only.
Step 1. Open your document in Word. Move to the Review option tab.
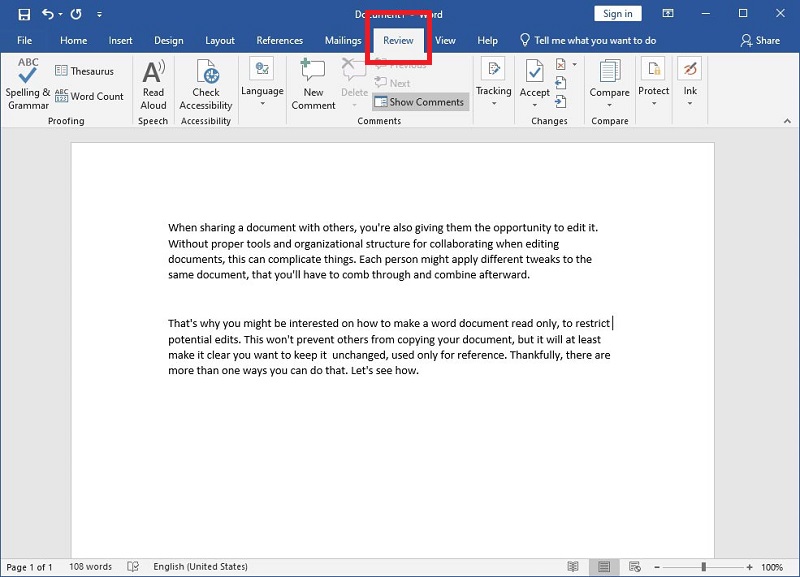
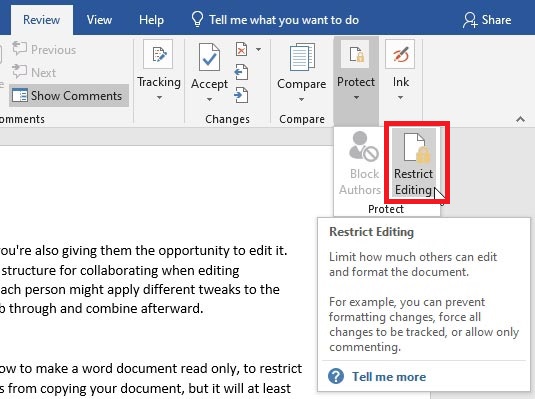
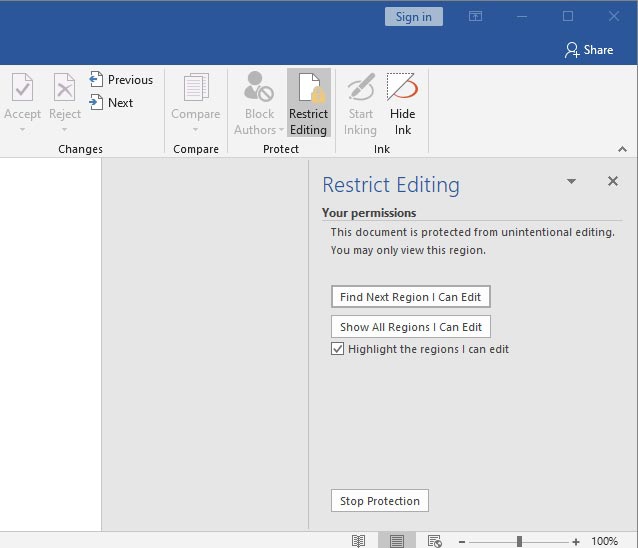
Step 2. Click on “Restrict Editing.” Depending on how wide Word’s window is on your screen, you might see “Restrict Editing” either on the main toolbar or as a sub-entry of “Protect.”
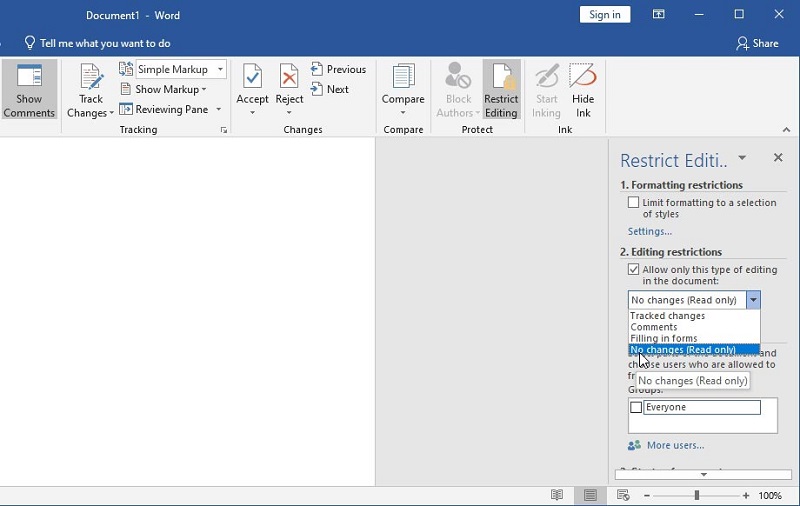
Step 3. The options to restrict editing will appear on the right of your document as a side panel.
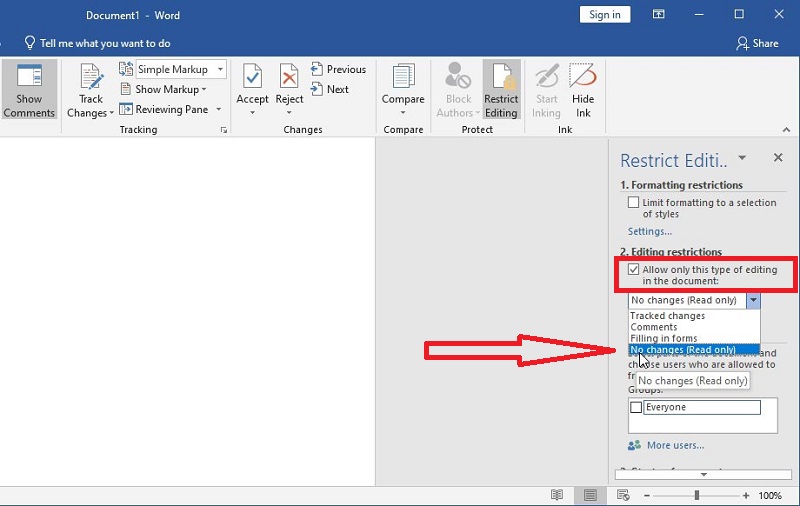
Step 4. Check “Allow only this type of editing in the document:” to enable it. Then, ensure “No changes (Read only)” is selected from the pull-down menu directly underneath.
Step 5. If it’s not visible, resize Word’s window vertically or scroll down the panel to find “3. Start enforcement”. Click on the “Yes, Start Enforcing Protection” button under it to “lock” your Word document this way.
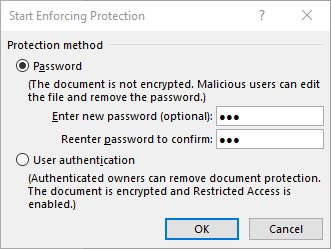
Step 6. If you want, you can enter a password when asked. Still, as Word will note, adding a password doesn’t fully secure your file. Malicious users will still be able to edit the file manually to remove the password. With Word documents, you shouldn’t consider a password as a security solution. Instead, treat it as a somewhat restrictive note to others that you’d appreciate it if they didn’t alter your document’s contents.
When a user tries to open your document after protecting it this way, they’ll be informed it’s protected from unintentional editing, and they can only view it.
Method 2: Make A Word Document Read Only Using The Save As Tools
Another way to make a Word document read-only and protect it from changes is through the tools options, accessible when saving it.
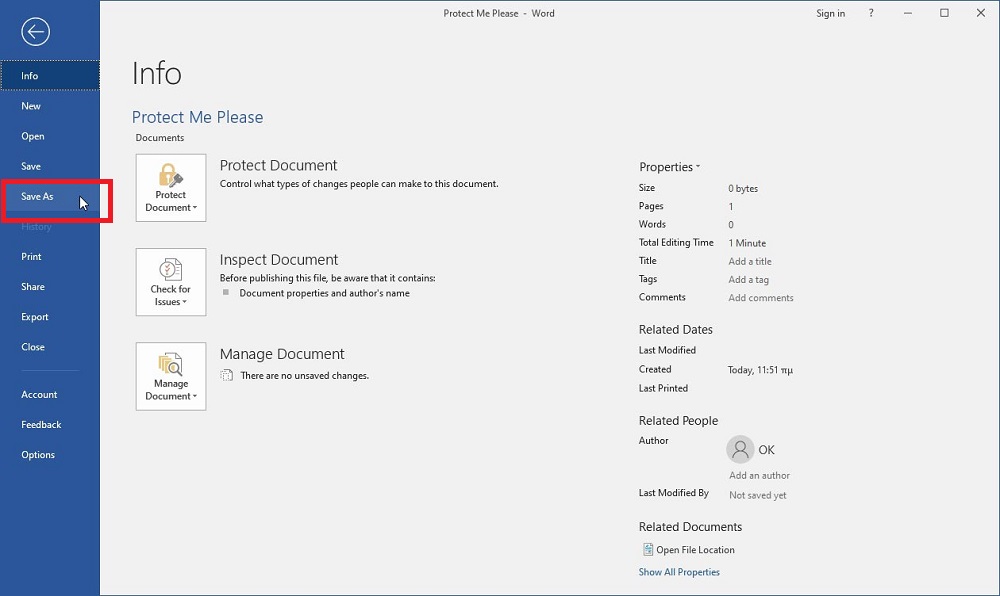
Step 1. Pay a visit to the File menu and, from there, choose Save As from the list on the left.
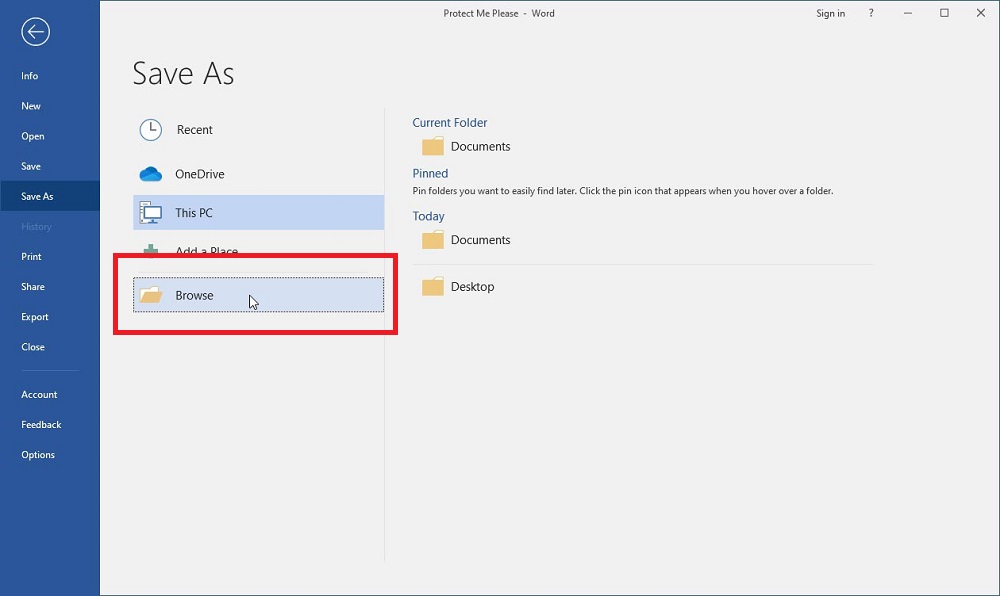
Step 2. Word will show you predefined locations and suggested folders for storing your document. Click on Browse to access the Save As dialog.
Step 3. Ignore everything and turn your attention to the little “Tools” pull-down menu on the left of the Save button.
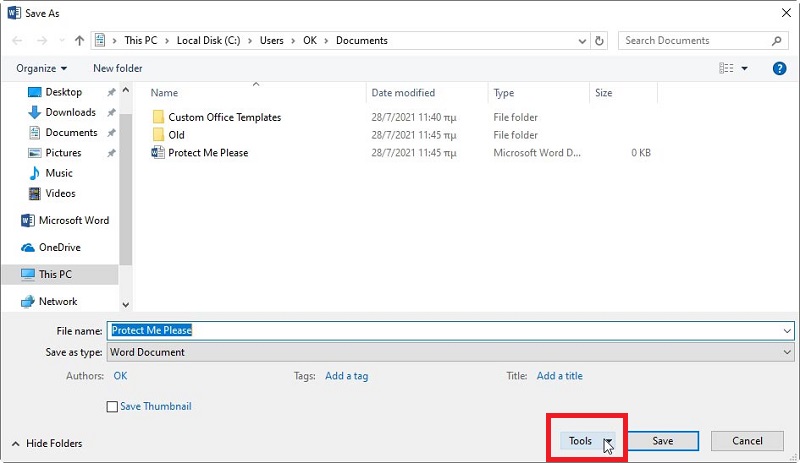
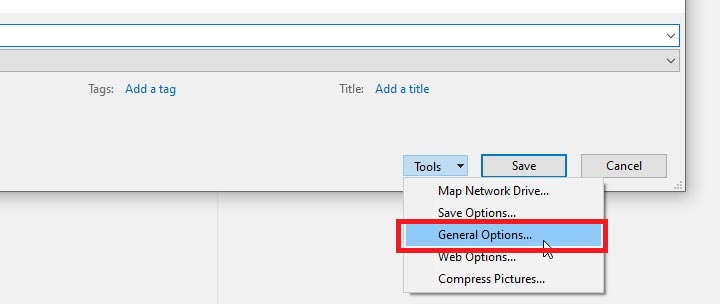
Step 4. Click on Tools and choose “General Options…”.
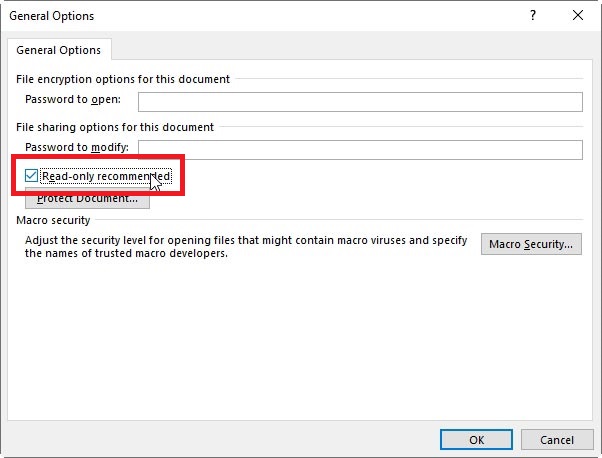
Step 5. The General Options window allows you to protect your document in many ways. The option you need to save your Word document as read-only is aptly named “Read only recommended.” Enable it with a checkmark. Then, click on the OK button to accept the changes and close this window.
Step 6. When you’re back at the Save As window, you have two options. Click on Save to make your active, open version of the document read-only. Alternatively, by entering a different file name, you can keep your current document editable and save a second read-only copy for sharing with others.
When someone tries to open your read-only document afterward, they’ll be informed you’d like them to open it as read-only. However, they’ll also have the option to ignore your suggestion and edit the document.

Method 3: Set The Word Document to Always Open as Read-Only
Proving that Microsoft’s office UI is unnecessarily convoluted, there’s an even easier way to do the exact same thing we just saw above. You can make a Word document read-only with only three clicks. However, this way, you don’t have access to the complete Save As dialog and the useful extra options it offers.
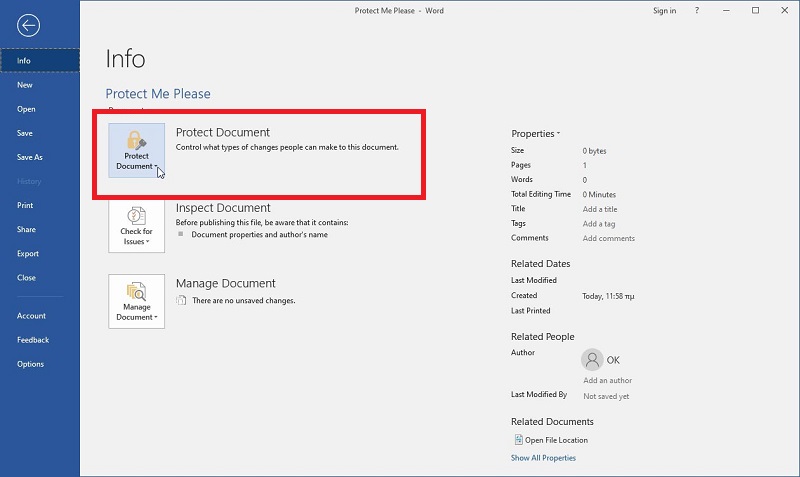
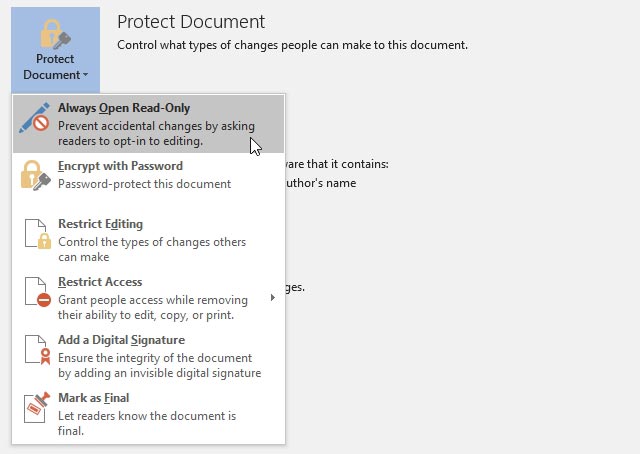
Step 1. Visit the File menu, and if you’re not already there, go to its default Info page. Click on Protect Document.
Step 2. Word will offer you many ways to protect your word document. The quickest and easiest option is to choose the first entry in this list, “Always Open Read-Only”.
Method 4: Mark The Document As Final to Make A Word Document Read Only
How could it be possible to save a World document as read-only without doing that? Simple: by exploiting basic logic and reasoning!
You see, apart from its various options that allow you to make a word document read-only, Word also allows you to mark it as final. Since “final” translates to “already edited as best as possible, and ready for publication,” there is no point in more edits. Thus, Word treats finals almost the same as read-only documents, removing the ability to edit them.
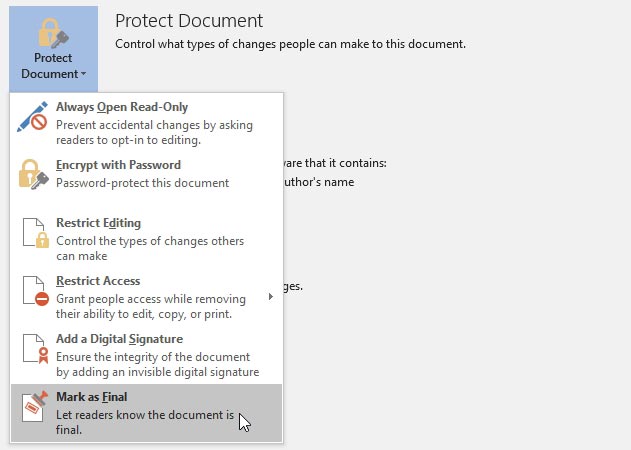
Step 1. To mark your word document as final, pay a visit to the File menu. While on its Info page, click on “Protect Document”. Choose “Mark as Final” from the list of options that will appear directly underneath.
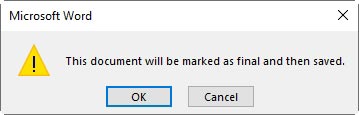
Step 2. Word will inform you that “This document will be marked as final and then saved.” Click on OK to proceed.
Step 3. Word’s Info page will update to show that your document is protected.
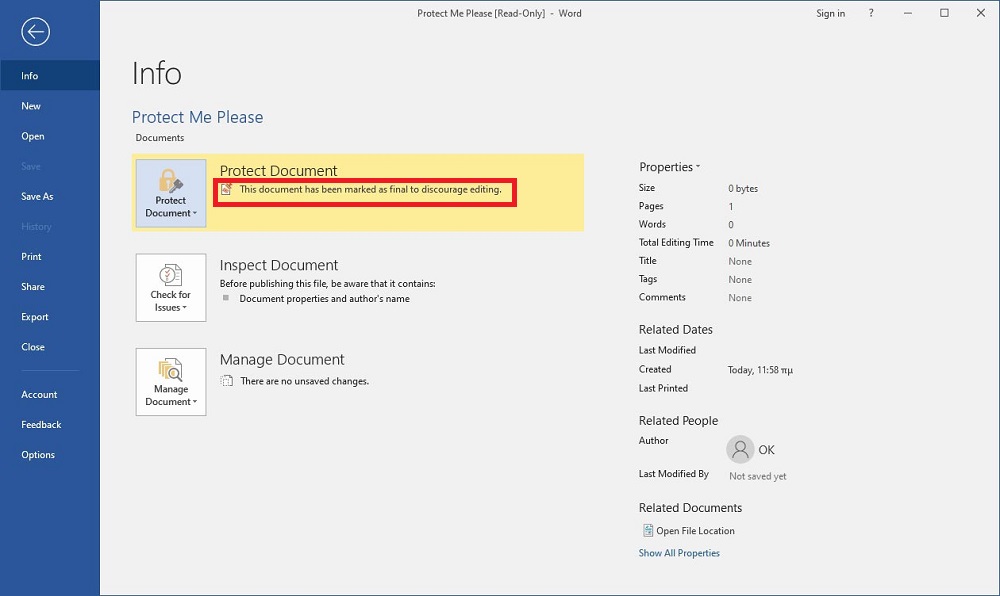
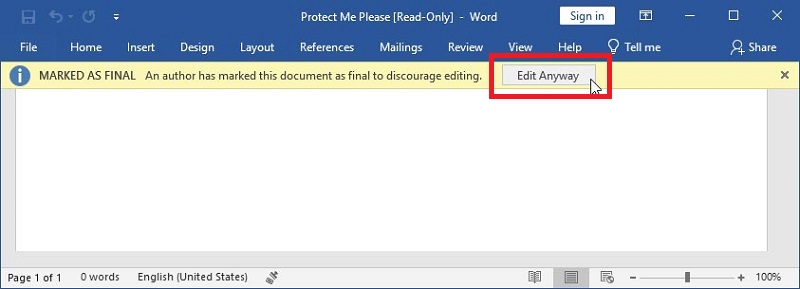
When someone opens the protected document, Word will mention how it’s “Marked as final” to discourage them from trying to edit it. However, they’ll still have the option to “Edit Anyway” if they want.
Method 5: Protect The Word Document With a Password
One of the best ways to mark a Word document as read-only is by using a password. Without this password, no editing will be possible.
Step 1. As before, pay a visit to the File menu and choose “Save As” from the list on the left. Then, click on “Browse.”
Step 2. Again, click on the “Tools” drop-down menu before the Save button, and choose “General Options…”.
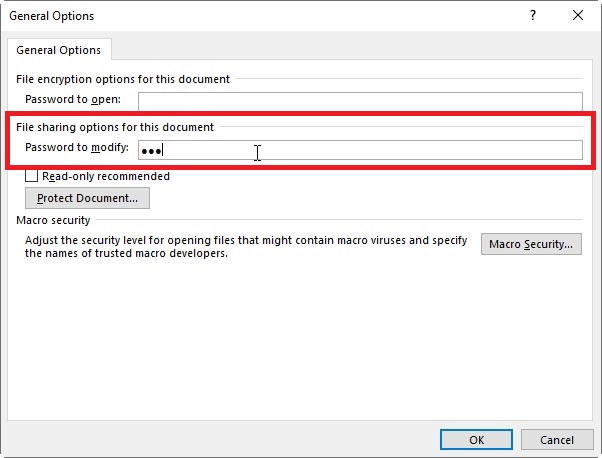
Step 3. This time, input a password in the “Password to modify” field under “File sharing options for this document.”
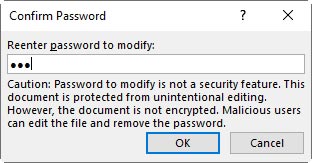
Step 4. After clicking on OK, Word will ask you to retype the password to ensure you won’t get locked out of your own document because of a typo.
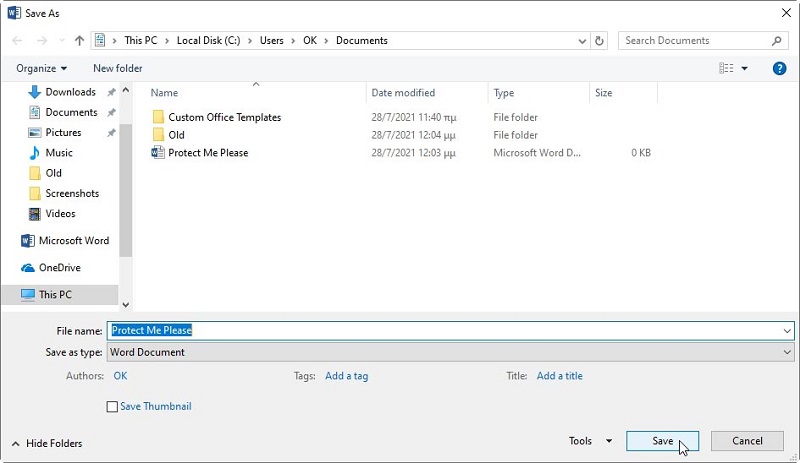
Step 5. Word doesn’t automatically save the new password-protected file. You’ll either have to overwrite the existing file with the active instance or save it with a new name to create a protected copy.
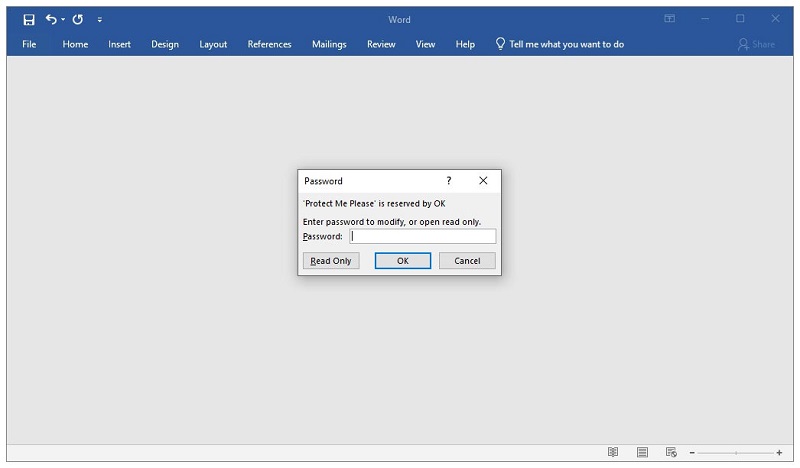
When anyone opens your document in the future, they’ll be asked to enter a password if they want to modify it. Without the password, the file will be accessible only as read-only.
Method 6: Change The File’s Properties
Microsoft’s Office suite of applications and their official formats are today considered the standard in their fields. Their popularity also means that third-party solutions strive to offer compatibility with them. Thus, formats like Doc and DocX are also accessible and editable even if you don’t have Microsoft’s Office. For example, the classic Wordpad included with all versions of Windows is only one out of dozens of apps that can open and edit Doc files. Is it possible, though, to render a Word document read-only without Word?
Word documents are mere files. You don’t have Word to take advantage of the access controls it offers for your documents? As an alternative, you can mark the files themselves as read-only.
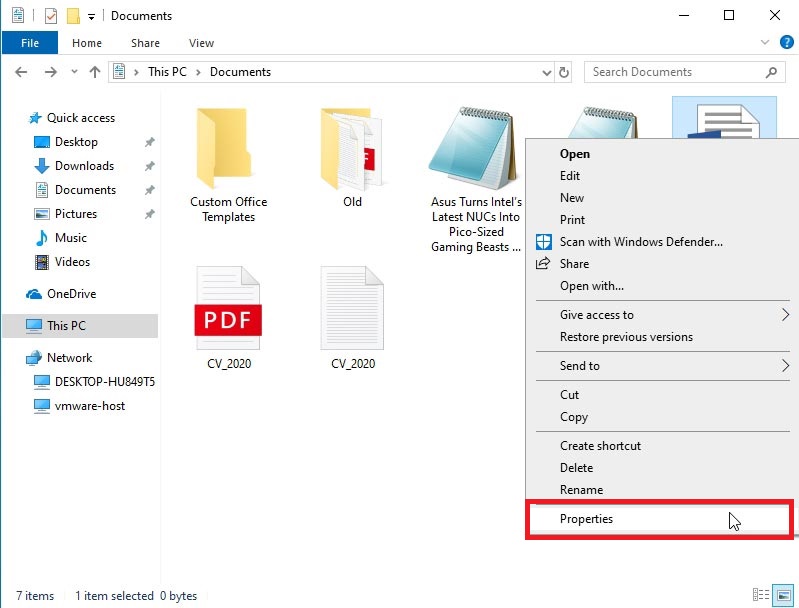
Step 1. Run your favorite file manager – Windows File Explorer will do if you aren’t using a third-party solution. Use it to locate the Word document that you want to protect from editing.
Step 2. Right-click on your word document and choose Properties from the pop-up menu that appears.
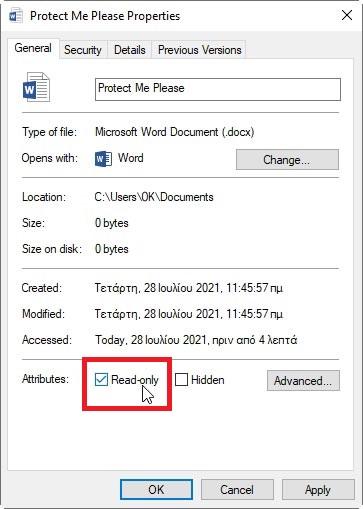
Step 3. Stay on the General top of the File Properties window that will show up next. Skip to “Attributes,” close to the bottom of the window. Place a checkmark right before Read-only to enable it.
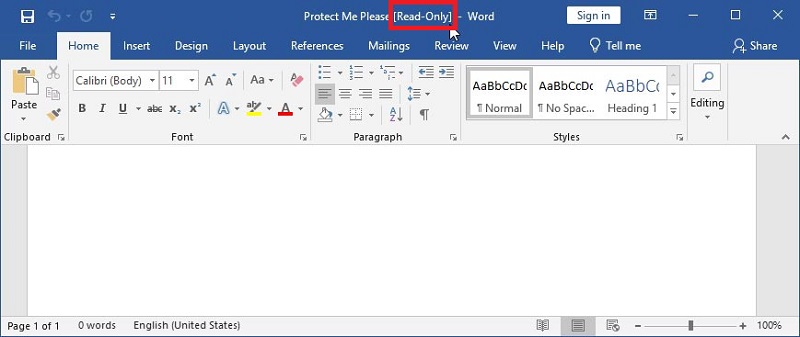
When someone opens your document with an editing app in the future, they see a “[Read-Only]” indication next to its title. Even if the program they’re using allows them to edit your document, they won’t be able to save the changes. At least, not on the same file. Do note that nothing prevents them from making an editable copy, though, or simply removing the read-only flag just as easily as you enabled it.
FAQ About Read-only in Word Document
Question: What’s the quickest and easiest way to make a Word document read-only?
Answer: Open your document in Word, choose Protect Document from the File menu, and then “Always Open Read-Only.” For more details, check out our 3rd method above.
Question: Will saving a Word document as read-only protect it from any future edits?
Answer: Although the particular file will be protected from edits, nothing will prevent others from creating a new editable copy.
Question: What’s the best way to save a Word document as read-only and prevent others from editing it?
Answer: Out of all possible options, the most secure – and restrictive – way to protect a Word document and render it read-only is to use a password. Still, others will be able to access it and, if they want, create editable copies. All of the methods we see here are supposed to help when collaborating with others. They are not solutions for protecting your intellectual property. For that, you’ll have to look into DRM solutions.
Conclusion
Knowing how to protect Word documents from editing can prove helpful when collaborating with others on the same content.
As we saw, there are various ways to save a Word document as read-only. Although all of them have a common goal, each follows a different path to achieve it. Still, it’s almost a given you will find the best one for you among them.