Protecting an MS Word file is a necessary step many people take to prevent data modifications. However, sometimes they forget the password, and they search for a text or video guide to learn how to unprotect a Word document without a password.
With that said, the following sections cover some of the easiest solutions to get the job done.
Note: All the methods explained here can remove editing restrictions from a Word file. You can learn how to unlock a Word document without the password that cannot be opened here.
Method 1: Best Way to Unprotect a Word Document without a Password
Nothing is better than having an efficient and reliable tool to do the legwork for you. If you agree, a program called PassFab for Word is what you need when you want to unprotect an MS Word file for modifications but lost or forgotten its password.
To learn how to unprotect a Word document without a password with PassFab for Word, you can follow the step-by-step instructions given below:
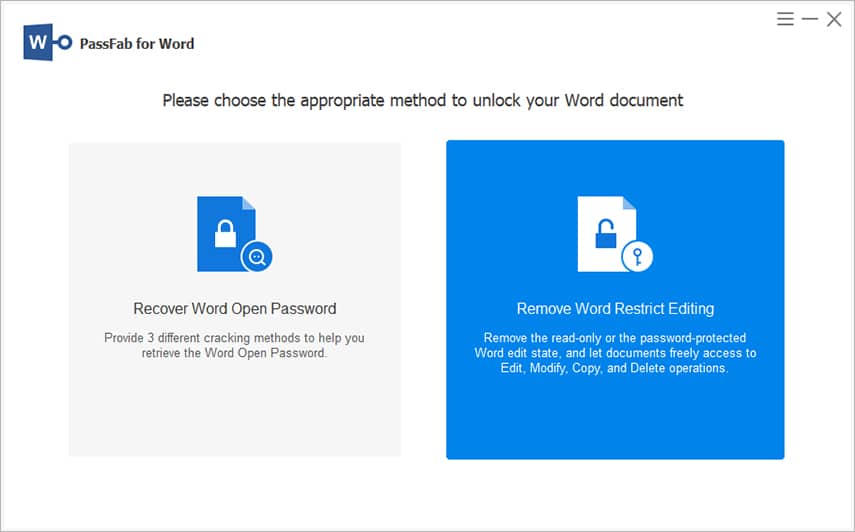
Step 1: Choose the Edit Restriction Removal Option
Use your favorite web browser to download the latest version of PassFab for Word.
Install and launch the program.
From the first screen, click the Remove Word Restrict Editing tile.
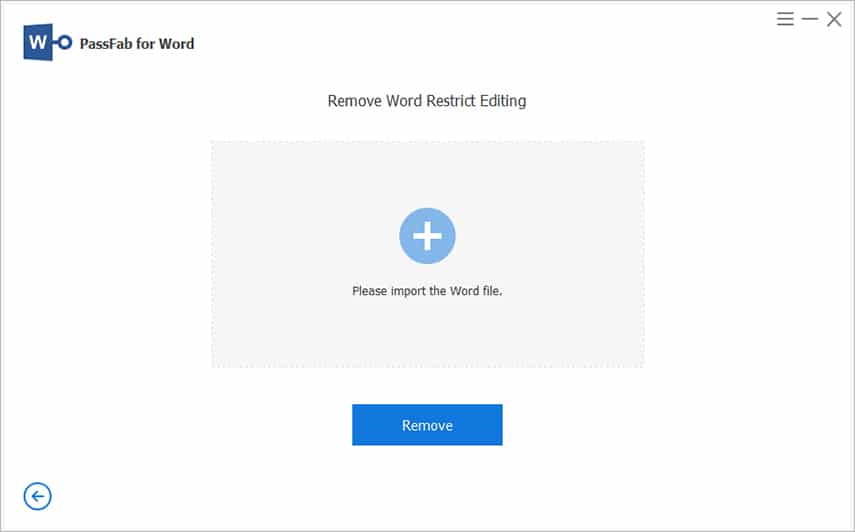
Step 2: Upload a Password Protected Word Document
Click the + icon from the center of the next screen, and upload the MS Word document you want to unprotect.
Step 3: Unprotect the File
Click Remove.
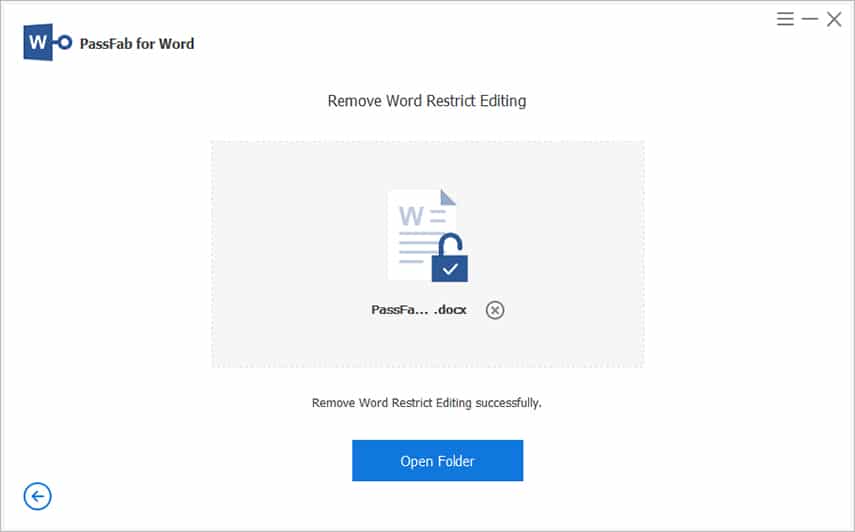
Wait while PassFab for Word removes all the editing restrictions, and you will see the Remove Word Restrict Editing successfully message on the screen. Click Open Folder to go to the output folder to access the unprotected version of the Word document.
Method 2: Unprotect Word Document without Password Through Compatibility Mode
Microsoft increases the security of Office Suite with each new version it releases. This makes it hard for unauthorized people to access password-protected information in Word documents or sometimes even open files containing sensitive data altogether.
However, there are instances when people are genuine, but because they forget the password, they cannot update the content of such locked documents.
Luckily, all versions of Microsoft Word are backward compatible. This means that they allow you to save documents in a way as if they were created in an older version of the program. This is called Compatibility Mode.
Now, because old variants of Microsoft Word weren’t that secure, many restrictions are automatically removed from a protected document when you save it in Compatibility Mode. You can use this feature (or flaw or loophole) to bypass the Restrict Editing security of an MS Word file.
You can continue reading to learn how to unprotect a Word file without a password by opening it in Compatibility Mode:
Step 1: Open the File in Compatibility Mode
Note: Microsoft Office 2021 is used here for illustrations.
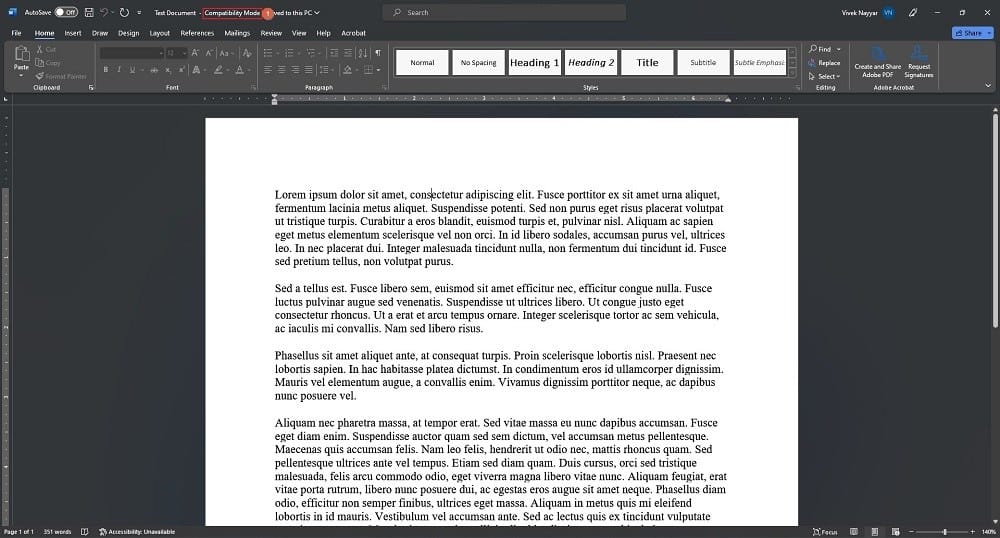
Open the Word document with modification restrictions, go to File > Save As, and choose your preferred option to select a folder where you wish to save the new instance of the file.
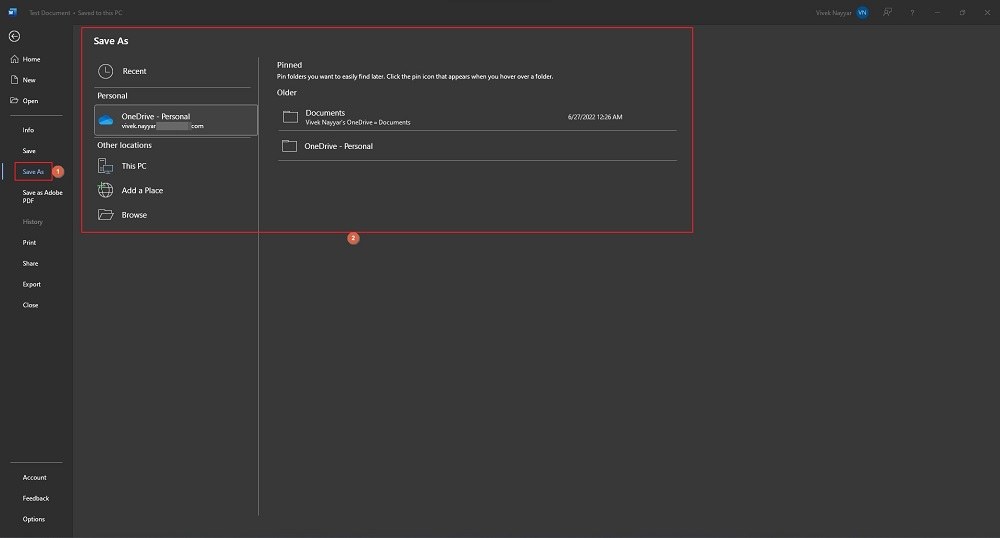
Pick Word 97-2003 Document from the Save as type drop-down list on the Save As box, and click Save from the bottom-right corner.
Close and reopen the newer instance of the file, and ensure that its name has the Compatibility Mode suffix in the title bar.
Step 2: Get to the Restrict Editing Pane
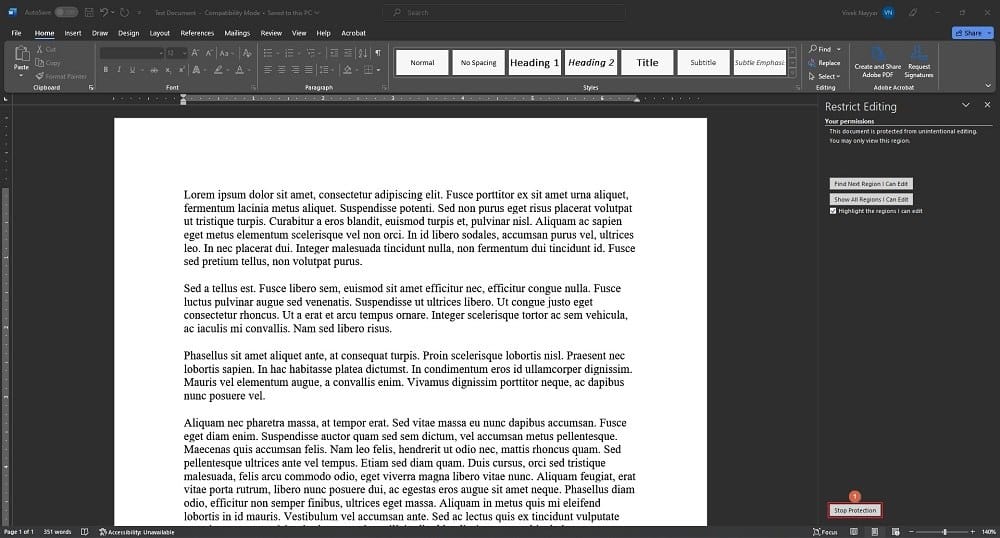
Start typing anything in the document to open the Restrict Editing pane on the right.
Note: If the Restrict Editing pane doesn’t appear automatically (usually happens in older versions), you can go to File > Info, click the Protect Document button from the center pane, and click Restrict Editing from the list of options that appears.
Step 3: Unprotect the Word Document
Click Stop Protection from the bottom of the Restrict Editing pane, and uncheck all the available boxes in the upper section.
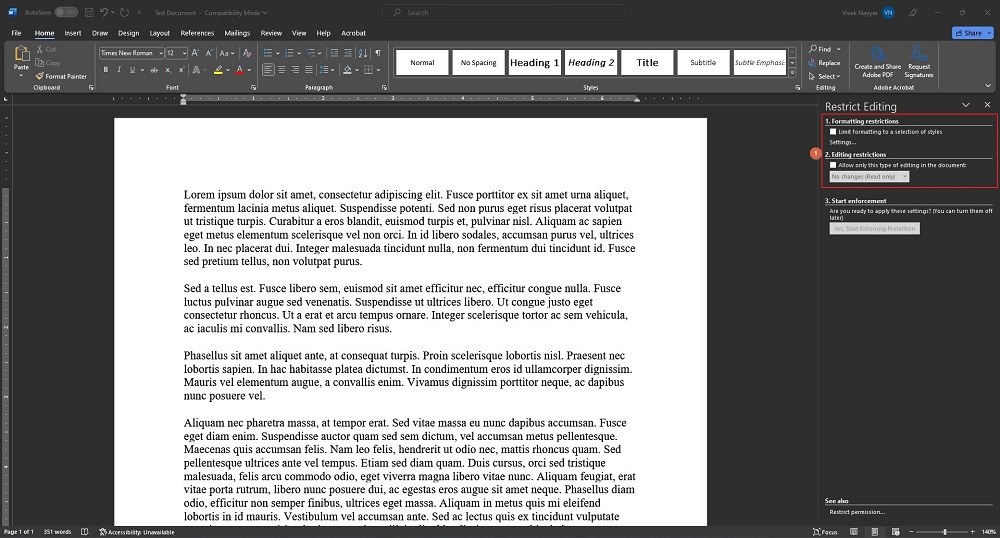
Save the file and close and reopen it to start editing normally.
Method 3: Unprotect a Word Document without a Password Using Google Docs
While Google apps are considered securest, the company doesn’t appreciate any interference in its work. Therefore, as you upload a protected Word document, it automatically removes its editing restrictions.
After this, you can either make changes to the content online or download the unprotected instance of the file to your PC in *.docx format for offline modifications.
You can learn how to unprotect a Word document without the password through Google Docs by following the instructions explained below:
Step 1: Get to the Docs Page
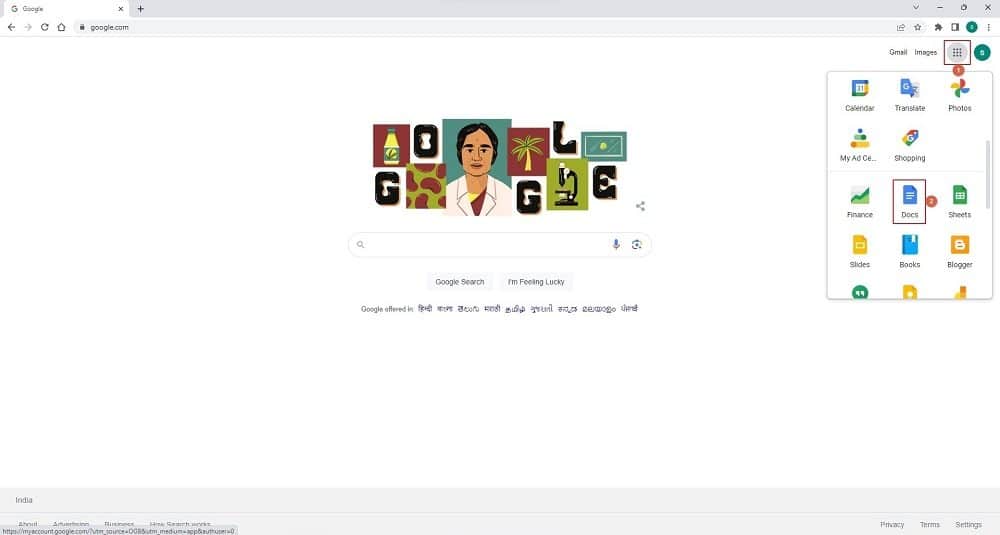
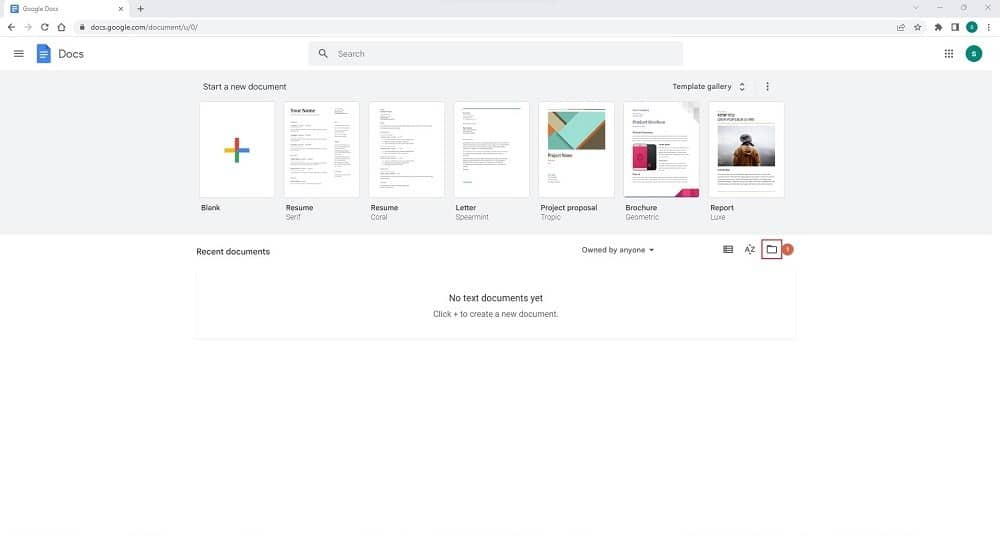
Launch your favorite web browser (Google Chrome is used here for illustrations), and sign in to your Google account. Click the Google apps icon from the upper-right area of the page, scroll down the pane that appears, and click Docs.
Step 2: Upload the Protected Word Document
Click the Open file picker icon from the right of the page.
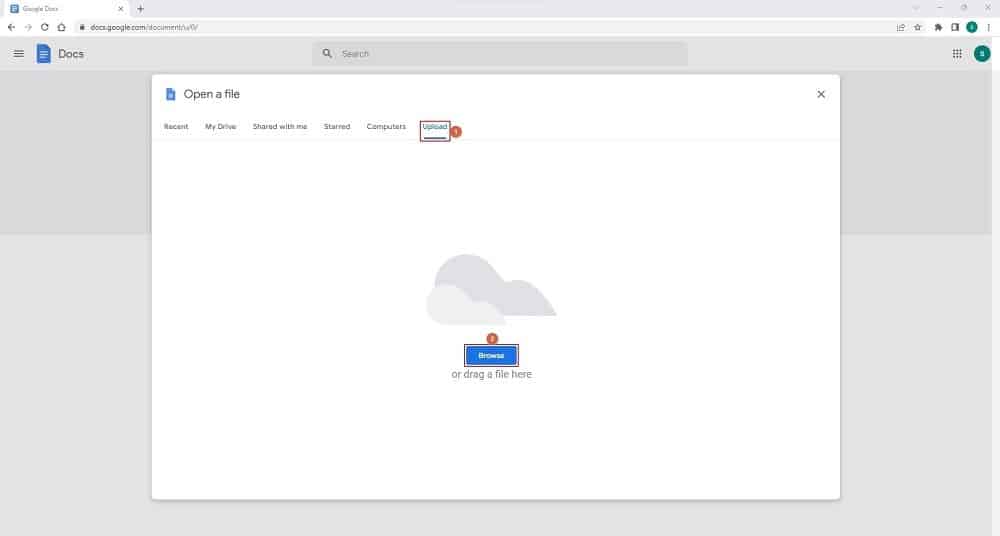
On the Open a file box, go to the Upload tab, click Browse, and upload the protected Word file to Google Docs.
Step 3: Download as a New File
From the menu bar at the top, go to File > Download and click Microsoft Word (.docx). Save the file on your PC with a different name. Open the document in offline mode and modify its content as needed.
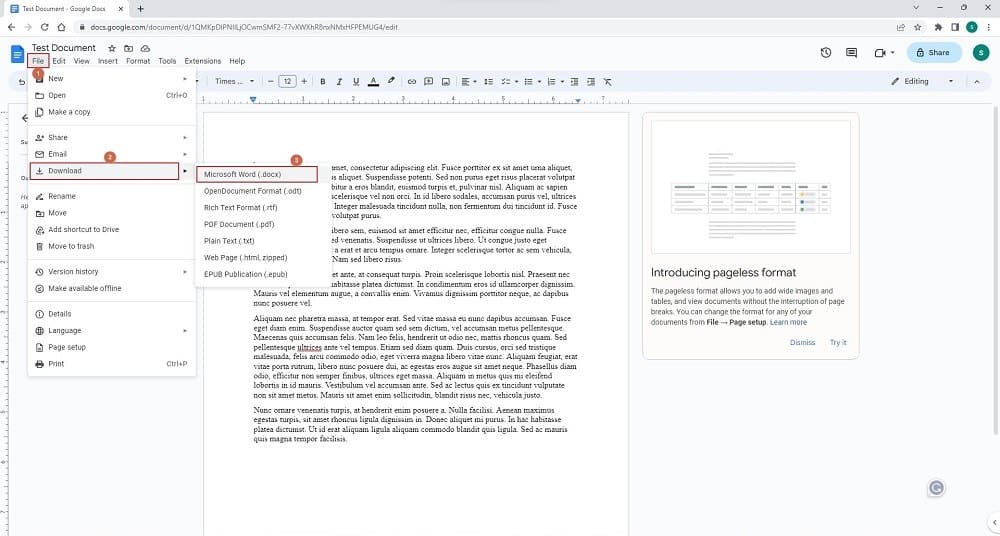
Alternatively, you can make all the changes online, i.e., while you are on the Docs page, and then download the updated file to your PC.
Method 4: Unprotect a Word Document without a Password Online
This method is as simple as uploading the target document file to an online portal and downloading its unprotected and restriction-free version to your PC.
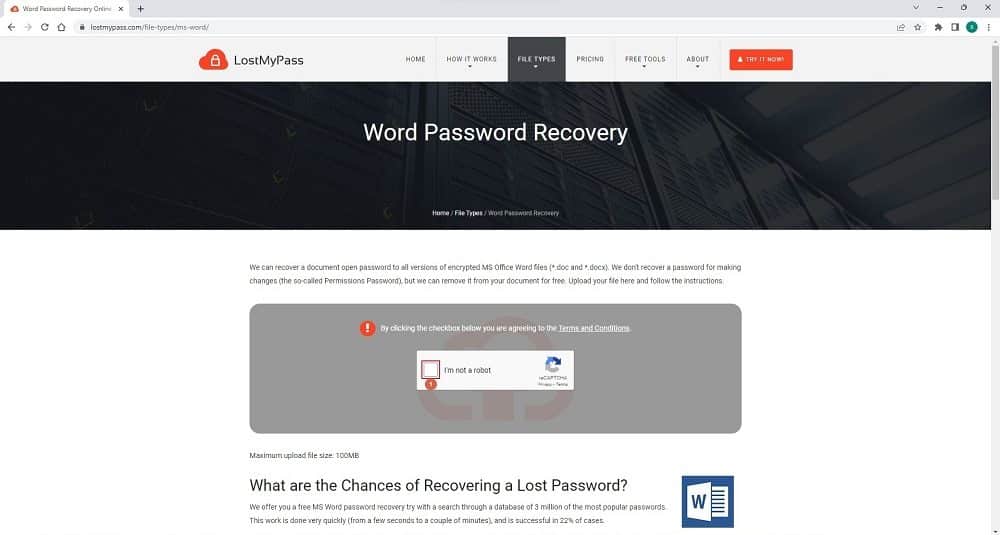
Although several websites claim that they can quickly remove editing restrictions from a Word document, the one that does what it says is LostMyPass, the web app is free to use and pretty quick in unprotecting Word files.
The steps given below explain how to unprotect a Word document without the password using the LostMyPass online portal:
- Launch your favorite web browser
- Go to the LostMyPass website
- Check the I’m not a robot box
- Click the or click here button
- Upload the password-protected Word file to the website
- Wait while LostMyPass removes editing restrictions
- Click DOWNLOAD UNLOCKED FILE to download the unprotected version of the document to your PC
Bonus Tip: How to Unprotect a Word Document with Password
If you know the password of a protected Word document, you don’t need any of the above solutions. Instead, you can permanently remove the password to make the file unprotected. Optionally, you can disable editing restrictions temporarily by entering the correct password and re-enable them when you’re done.
To learn how to unprotect a Word document with the password, you can follow the process given below:
Step 1: Bring Up the Restrict Editing Pane
Open the password-protected Word document and start typing anything to bring up the Restrict Editing pane on the right.
Note: You can refer to Step 2 of Method 2, explained earlier, for more details.
Step 2: Enable Editing
Click Stop Protection from the bottom of the Restrict Editing pane, enter the correct password in the input field on the Unprotect Document box when it appears, and click OK to enable editing in the document.
Step 3: Unprotect the Document
Uncheck all the boxes from the upper section of the Restrict Editing pane and save and close the document. Reopen and continue using the unprotected file normally.
Conclusion
While there are multiple ways to unprotect *.doc files sans password, you may need to check which among them you find simplest. As for understanding the process, depending on your chosen method, you can learn how to unprotect a Word document without a password by following the steps explained in its corresponding section.