While you can install third-party DLNA servers onto your computer, Windows has integrated its own Media Streaming server in the operating system. All you have to do is simply enable the option to share your media across other devices. And in case you are wondering — yes, Windows does not list its media streaming service as DLNA, but the native media server is DLNA-compliant.
Scroll down to find how to turn ON Media Streaming in Windows 10/11. You will also learn how to Turn Media Streaming Off.
How to Turn On Media Streaming in Windows 10
Media streaming options are accessible in the versatile Control Panel, meaning you can access it and turn on the DLNA media server built into Windows OS. Follow these simple steps to learn how to turn ON Media Streaming in Windows 10:
Step 1. Open Control Panel on Windows 10. Type in the Control Panel in the Search menu and click on the top result in Best Match.
Step 2. In the Search box (within the Control Panel) — type in ‘Media. Click on Media Streaming Option under Network and Sharing Centre.
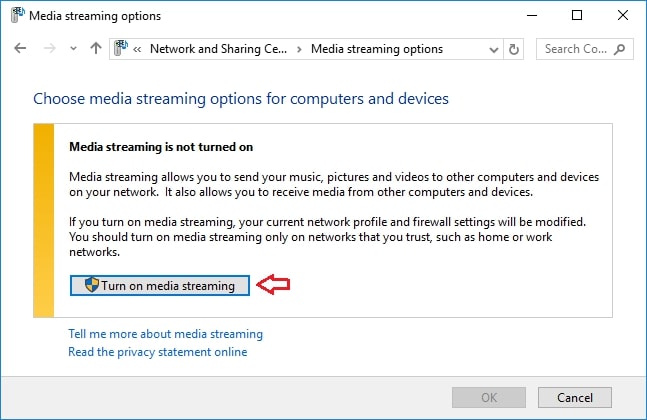
Step 3. On the next screen, choose Turn on media streaming.
- On the next page, Windows will ask you to enter the name of the media server (to identify the server on other devices). Choose a name that best suits your interests.
- Click OK to save the changes.
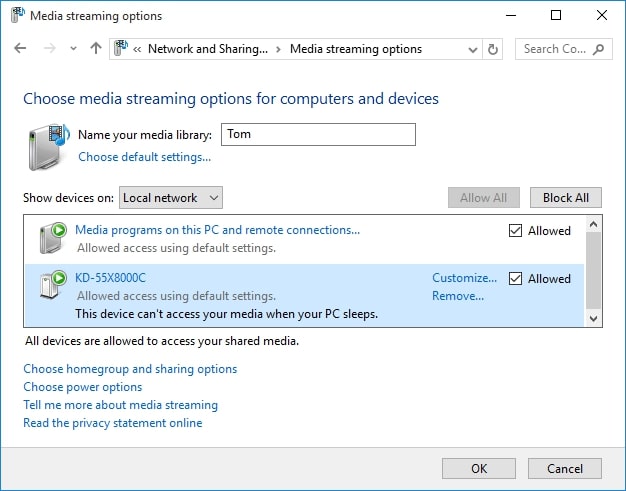
By default, the native settings of the media server are adjusted to allow other devices to access the files on your computer. And if you trust the device you connect to — you do not need to change any settings. However, if you have to allow an unknown device, ensure to adjust the options to limit the options of accessibility.
How to Turn Off Media Streaming in Windows 10
Of course, you may want to turn Off the sharing options too. Follow these simple to learn how to turn Off media sharing options in Windows 10:
Step 1. Access the Control Panel in Windows 10.
Step 2. Search for ‘Media Streaming Options.’
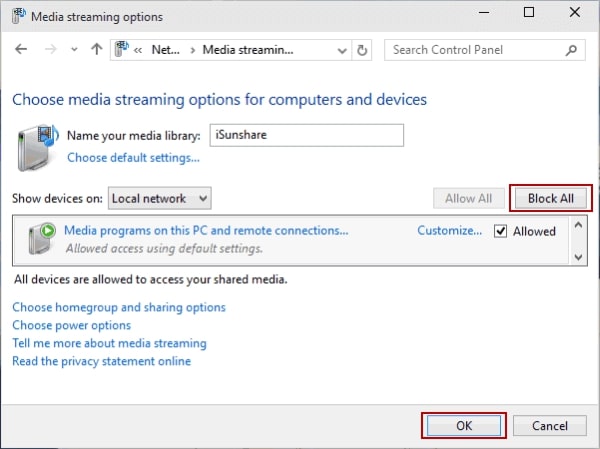
- Choose Media Streaming Options.
- Select Block All.
- And click OK.
Yes, it is that easy to Turn On or Off the Media Streaming in Windows 10.
FAQs
1. What is DLNA?
DLNA, otherwise known as Digital Living Network Alliance, is used to refer to a suite of services run on a computer that allows access to a media library on other devices connected via the same network. It is quick and easy to share the entire media library from your computer to other devices on the same network.
2. How to access DLNA Media Streaming from other devices?
It depends on the device you are using. For instance, Xbox users can:
- Open the Media Player app (accessible on Xbox Store)
- Click on the name of the library
- You can then browse the media from Windows 10 to Xbox
Conclusion
There you go! You can now stream media from your PC to any device that supports Digital Living Network Alliance (DLNA). All you have to do is follow the steps listed in this guide on how to turn on media streaming on Windows 10. Moreover, you can follow the steps mentioned under how to turn off media streaming on Windows 10 to disable the function.