Excel is a spreadsheet application of the Microsoft Office suite that many users utilize to set up data tablets. Many users choose to set up tables with Excel because of that application’s flexibility. Microsoft’s flagship spreadsheet application enables users to do the same things with alternative methods. For instance, there are a few alternative ways users can auto fill date in Excel.
Adding dates to tables is certainly something many Excel users need to do. Users can simply manually enter their dates into sheet cells. However, manually entering dates one at a time in large spreadsheets that include hundreds of cells will be a slow and tedious process.
Fortunately, Excel users don’t have to manually enter dates into cells one at a time. Heck, if they did, Excel probably wouldn’t have nearly so many users. Microsoft’s flagship spreadsheet application includes three tools with which users can automatically fill cells with a series of dates. Furthermore, those tools enable users to auto populate date in various ways. This is how to autofill dates in Excel with three alternative tools.
Option 1. Autofill Dates in Excel with Dragging
Method 1: Autofill Dates With the Fill Handle
Excel includes an extremely useful Fill Handle utility that most users utilize for autofilling dates. The Fill Handle is a tool with which users can extend a number or date sequence across a range of cells. That tool enables users to quickly add long number sequences across cells by dragging a single cell across the sheet. You can autofill a sequence of dates with the Fill Handle as follows.
Step 1: First, select a cell to add a single date to.
Step 2: Then enter a date within the selected cell with a correct date format. For example, try entering 2/5/2020 (2nd May, 2020) in the cell.
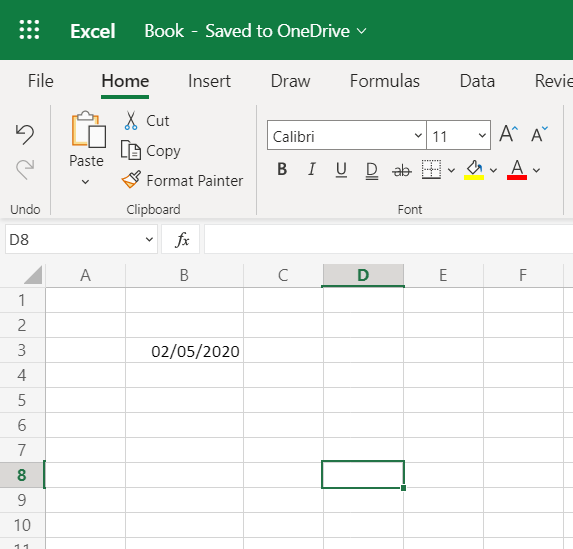
Step 3: Select the cell you just entered the date in.
Step 4: Left-click the bottom right corner of the cell and hold down the mouse button.
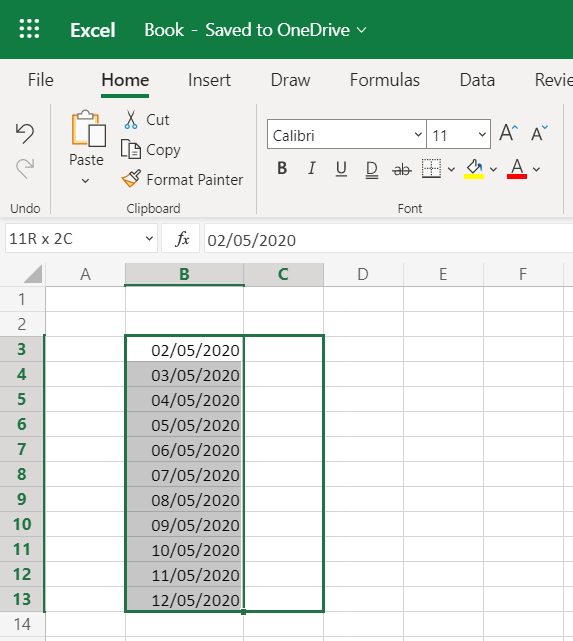
Step 5: Then drag the Fill Handle box over the range of cells you need to include the date sequence in.
Step 6: Let go of the mouse button to fill the range with a sequence of dates. That will fill the other cells with an ordered, concurrent date sequence as shown in the shot directly below.
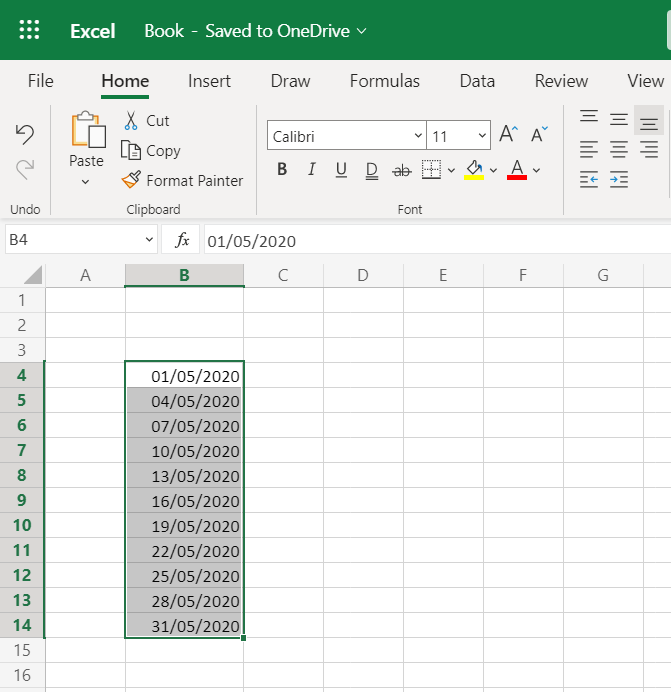
You can autofill cells with a date sequence that has a specific day increment. To do that, you’ll need to enter two dates in adjacent cells with the required increment between them. Then you’ll need to select both cells and drag them over a cell range.
For example, let’s suppose you needed to add a date sequence that increases by increments of three days for May 2020. To add such a sequence, you would need to add dates in two cells with an increment of three, such as 1/5/2020 and 4/5/20. Then you can expand that sequence by selecting both cells and dragging the Fill Handle across a column or row to obtain the output shown in the screenshot directly below.
You can also copy the same date across a range of cells. To do that, you’ll need to hold the Ctrl key whilst dragging the handle fill tool across a range of cells to copy the date to.
The Fill Handle utility also has an “Auto Fill Options” button that makes it an even more flexible tool. You’ll see that button just after you’ve dragged the Fill Handle across a row or column cell range. Clicking the “Auto Fill Options” button opens the menu shown in the shot directly below.
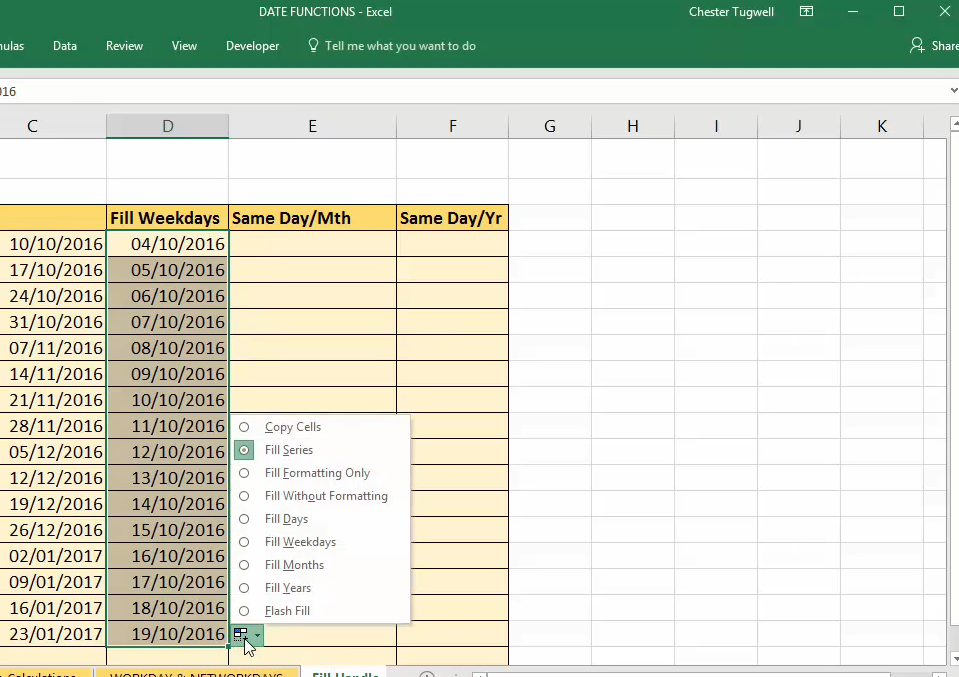
There are some very handy additional date options on the “Auto Fill Options” button’s menu. For example, you could select the “Fill Months” option on that menu to include only one day within a date sequence of months. Then the date sequence would look like the one in the shot directly below.
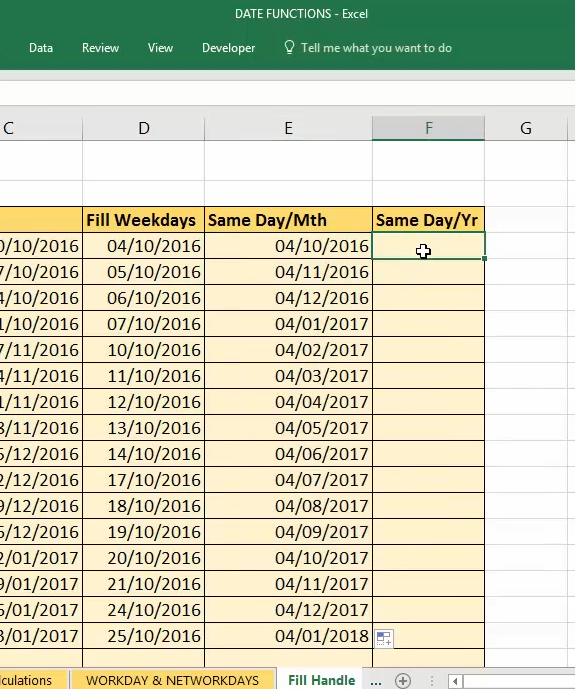
Users who need to fill cells with a sequence of years can select the “Fill Years” option. Selecting that option will turn the sequence into series of years with the same day and month in their dates. All the dates in the series will include the same day and month as the first selected cell that starts the sequence.
Method 2: Autofill Dates With the Series Dialog Box
Excel includes a Series tool that users can select options with to autofill dates. Although it’s a different utility, you’ll still need to drag across the spreadsheet with a mouse to select a range of cells, much the same as with the Fill Handle. This is how to auto populate date in Excel with the Series utility.
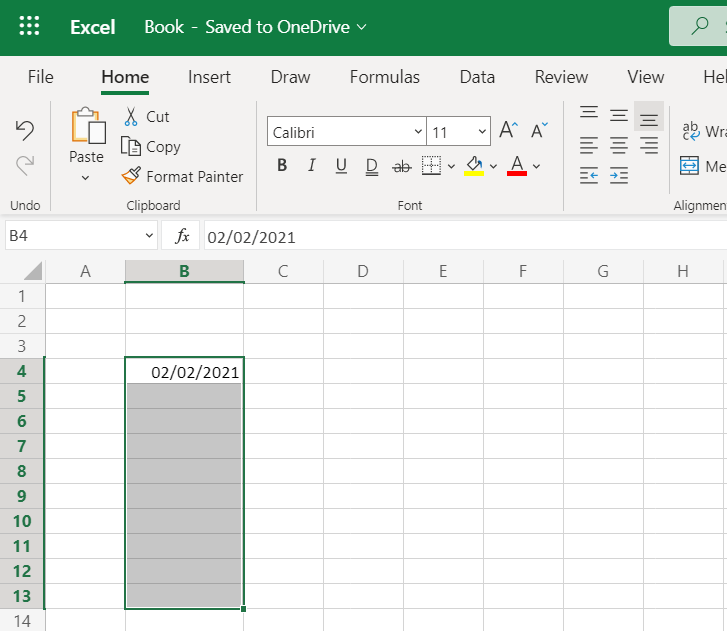
Step 1: First, type a date within an Excel spreadsheet cell.
Step 2: Then left-click the cell box that includes the date and drag the cursor across a range of cells you need to autofill. Don’t left-click the bottom right corner of the cell, which activates the Fill Handle.
Step 3: Next, select the Home tab.
Step 4: Click the “Fill” button shown in the snapshot directly below.
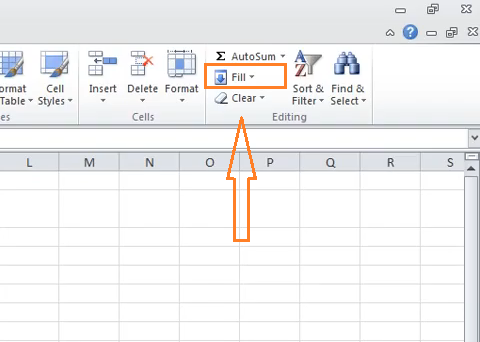
Step 5: Select “Series” on the menu to open that window.
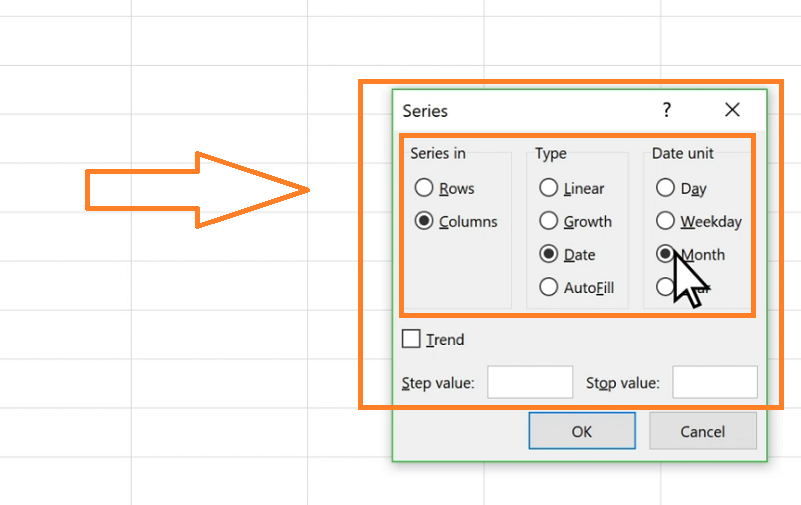
Step 6: Select the “Date” radio button.
Step 7: Then select a suitable date unit option for your series. If you want your date series to include all days of the month, select the “Days” option. If you’re adding a date series for just months and years, you would need to select the “Month” setting.
Step 8: Press the “OK” button to autofill the cell range you selected with a date series.
Note that Series utility is only available in desktop Excel applications. So, you can’t utilize that tool within Excel’s web app.
Option 2. Auto-Populate Dates in Excel without Dragging
Method 1: Add Dates With the SEQUENCE Function
Excel includes a plethora of functions, and they’re not all for mathematical number crunching. Users can automatically generate a sequence of dates with Excel’s SEQUENCE function. The basic syntax for that function is: SEQUENCE(rows, [columns], [start], [step]).
That function specifies the number of rows and columns, start date, and increment (numbered step) for a date series. Thus, you can auto populate a date sequence for a range of cells with that function without needing to drag the mouse across cells. This is how to autofill dates in Excel without dragging by entering the SEQUENCE function.
Step 1: Select a spreadsheet cell to add the SEQUENCE function to.
Step 2: Click inside the fx function bar.
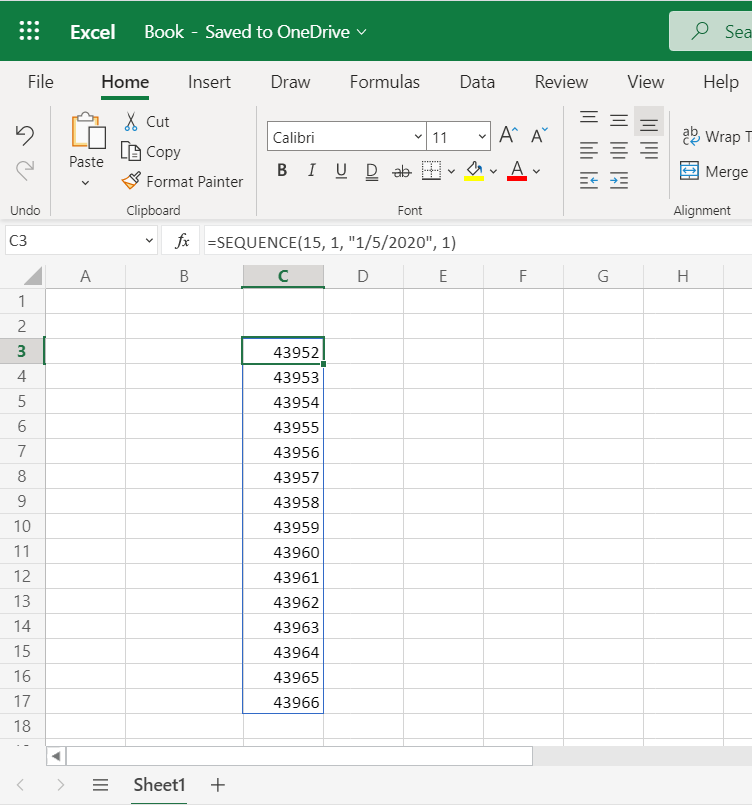
Step 3: Then enter the SEQUENCE function within the function bar. As an example, enter this function in the bar: =SEQUENCE(15, 1, “1/5/2020”, 1).
Step 4: Press the Enter key after entering the function. Then you’ll see a series of numbers within the cell column as in the shot below.
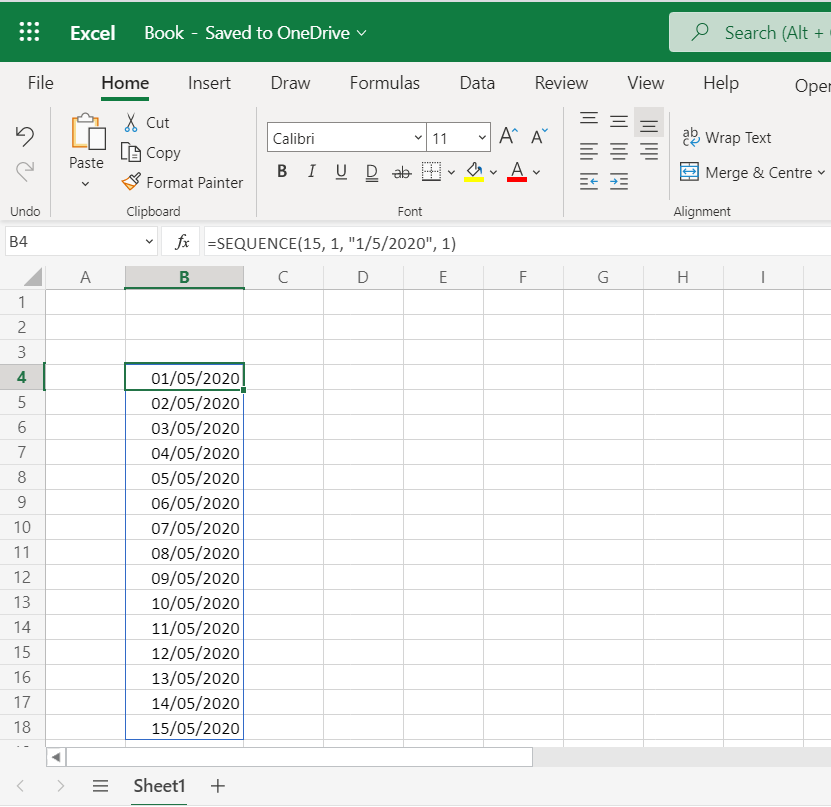
Step 5: The sequence isn’t a series of dates because the cells are still in number format. To change that, you’ll need to right-click the column letter or row number for the cell range that includes the SEQUENCE function and select “Format cells.”
Step 6: Select “Date” on the Number tab.
Step 7: Then click the “OK” button. With the date cell format applied to the column or row, your sequence should now look like the one in the screenshot directly below.
You can also utilize Excel’s DATE function to autofill cells with month and year date series. This is the function syntax for adding a month series: DATE(year, SEQUENCE(12), day). For that function to work, you’ll need to add a year and month day number to it. For example, entering =DATE(2020, SEQUENCE(12), 1) in the function bar would generate a series of dates from January to December for 2020 as shown directly below.

To autofill cells with a similar yearly date series, you can utilize this function: DATE(SEQUENCE(n, 1, YEAR(start_date)), MONTH(start_date), DAY(start_date)). The n is the number of cells to autofill. You’ll need to enter a cell reference for a date in another cell for this function to work. For example, entering =DATE(SEQUENCE(11, 1, YEAR(I6)), MONTH(I6), DAY(I6)) would return the output shown directly below.
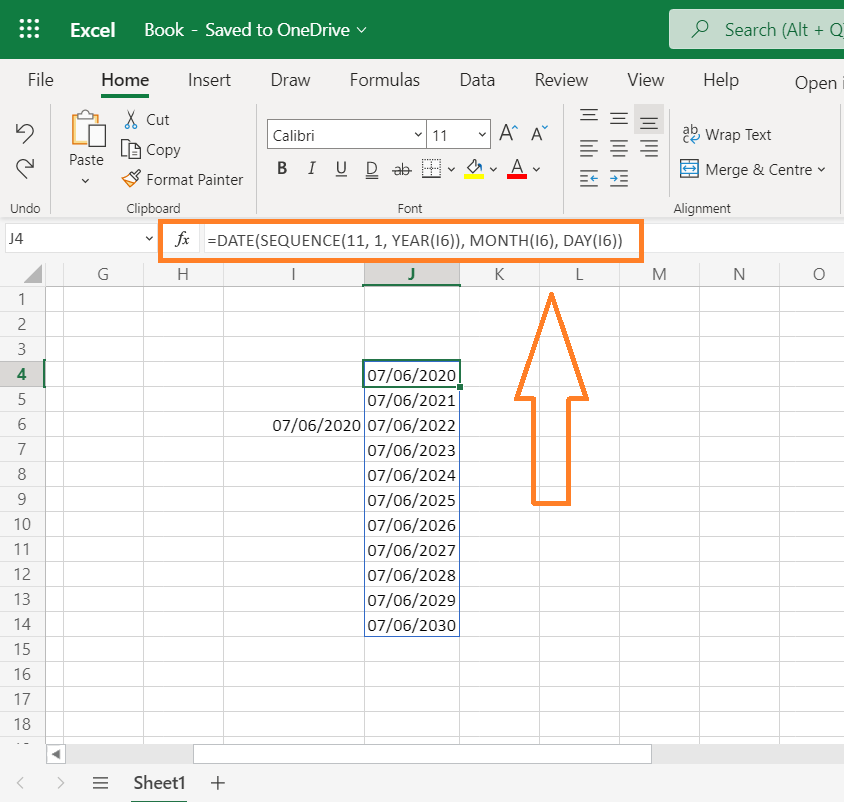
The above function is based on the 07/06/2020 date that’s entered within cell I6. As you can see, it returns a date series with 11 different years but the same day and month numbers. The referenced 07/06/2020 date is the starting one for the sequence.
Conclusion
Overall, Excel is an amazingly versatile application. Its Fill Handle, Fill command, and function tools enable users to auto fill date in Excel with different ways. Excel’s Fill Handle tool should be sufficient for the majority of users. However, the SEQUENCE function provides a good alternative method for users who need to autofill date series for very large cell ranges across columns or rows.