When you install Windows on a computer and set it up for the first time, you’ll be prompted to create an administrator account. Most users would choose to sign in with a linked Microsoft account, since it allows them to sync their data across all their Windows devices. As convenient as this may sound, some users may prefer giving up this feature temporarily or permanently for a more secure and private experience that a local user account can provide. If you’re one of them, don’t worry because Microsoft allows its Windows users to create multiple user accounts on their systems.
A local user account can come in handy in a lot of scenarios. For instance, if you don’t want to share any of your personal information with Microsoft, you can simply create a local account and use that one instead. Also, if someone else frequently uses your PC or you just want an alternate account that you can share with your guests, a local user is definitely a better choice over a Microsoft-linked account.
If you haven’t created a user account in Windows 10 before, you’ll be excited to know that there are several different ways to go about it. Here, we’ll be looking at five methods on how to create a new local user account on Windows 10.
Method 1. Create a New User Account on Windows 10 from Settings
First, we’ll take a look at the most direct way to create a new user in Windows 10. It doesn’t require you to go through any complicated steps, and therefore, most people would find it easy to follow. So, without further ado, let’s take a look:
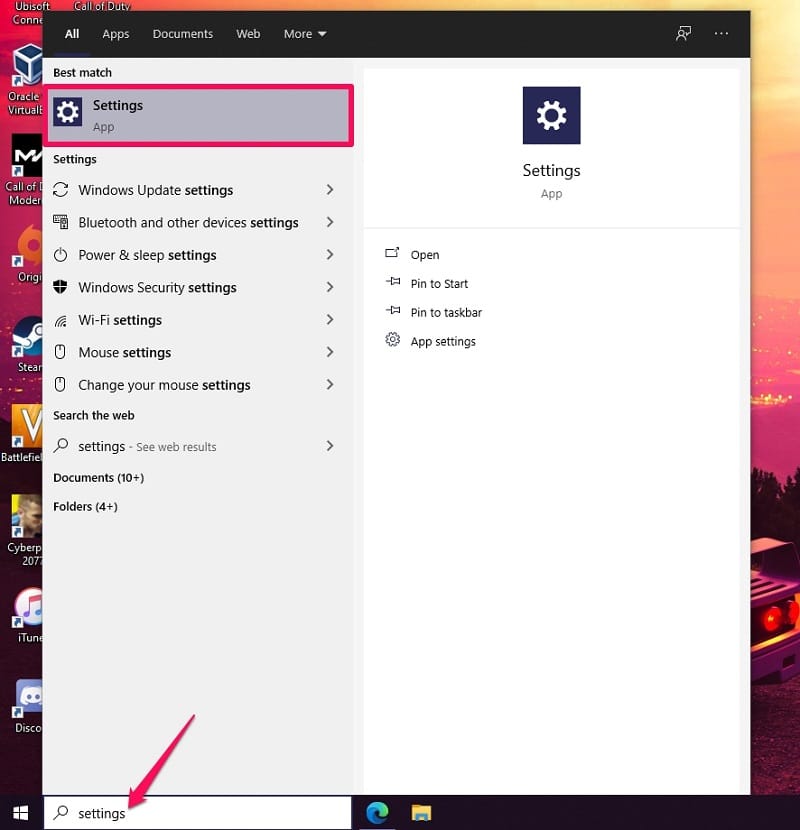
Step 1. You’ll need to head over to Settings on your PC. Simply type ‘Settings’ in the search field located on the taskbar and click on the Settings app from the results.
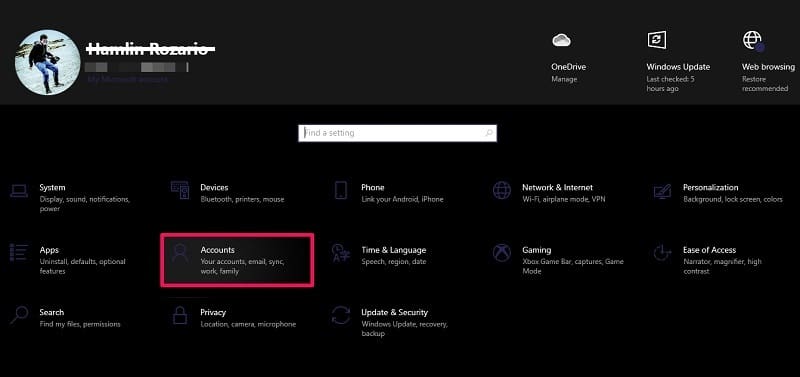
Step 2. In the Settings menu, click on the ‘Accounts’ option as shown in the screenshot below to proceed.
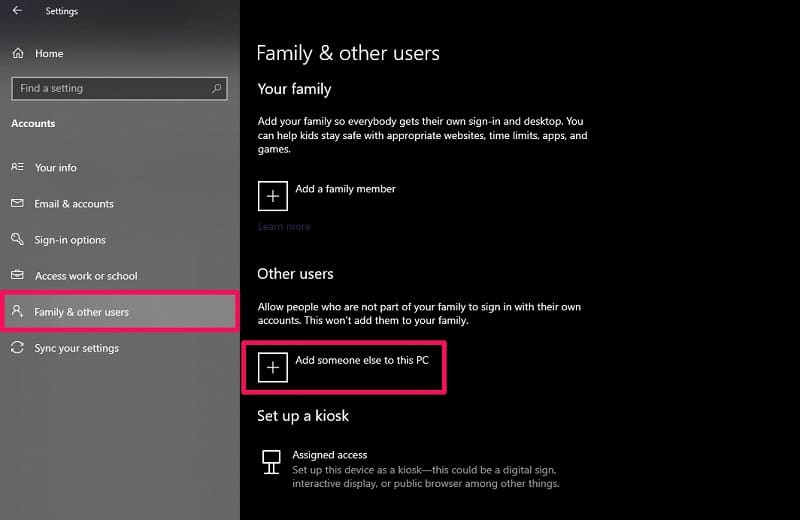
Step 3. Here, go to the ‘Family & other users’ category from the left pane. On the right pane, under Other Users, click on ‘Add someone else to this PC.’
Step 4. This will launch a new Window within Settings to help you set up a new account. Here, click on ‘I don’t have this person’s sign-in information.’

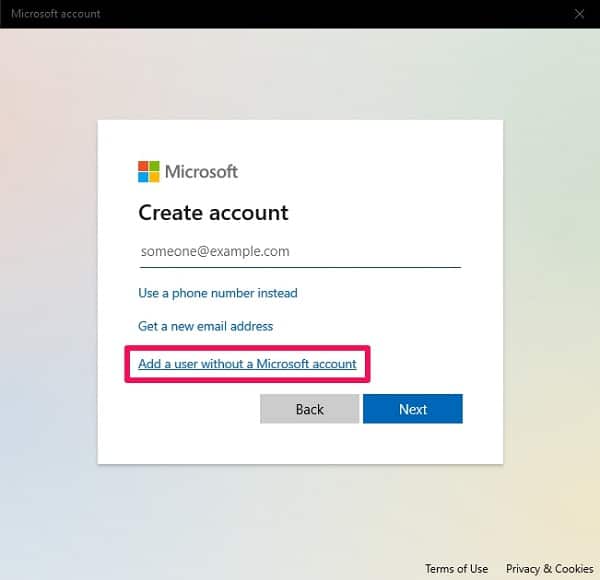
Step 5. In this step, you’ll be prompted to create a new Microsoft account. But, you can select the option ‘Add a user without a Microsoft account’ instead.
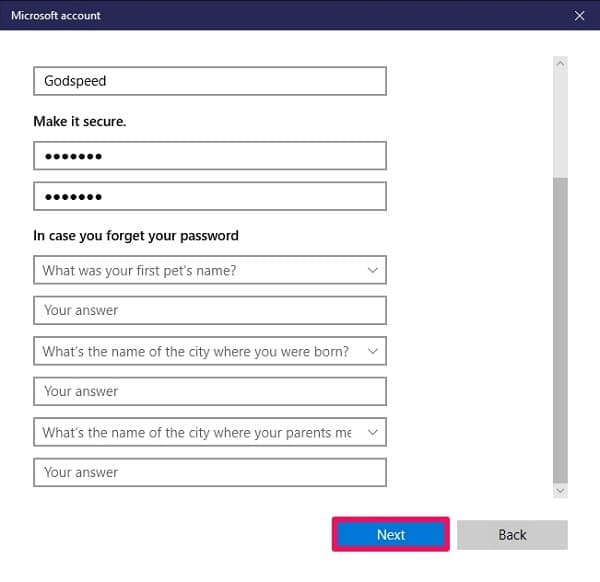
Step 6. Now, you need to fill out details like account username, password, and security questions. Once you’re done, click on ‘Next.’
Step 7. The local user account will be created, and it will now show up under Other Users, as indicated in the screenshot below.
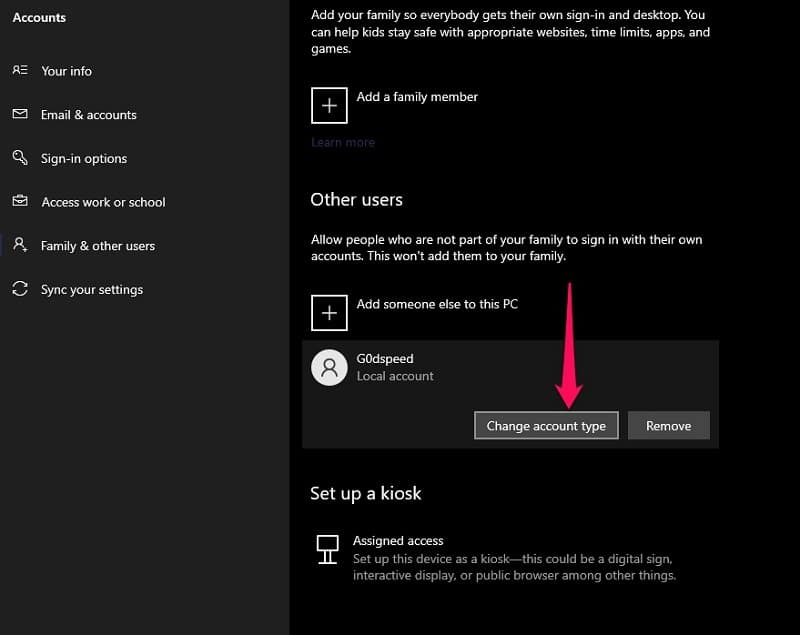
By default, the local user account you create is a standard account, but you can change it to an administrator account by simply using the Manage account type option. In the same menu, you’ll also be able to remove this local user account if you ever change your mind.
Method 2. Create a New User Account on Windows 10 with Netplwiz
This method will use Microsoft’s Netplwiz tool to create a user account on Windows 10. For those who aren’t aware, Netplwiz is a Control Panel for managing user accounts on your computer. Here’s what you need to do:
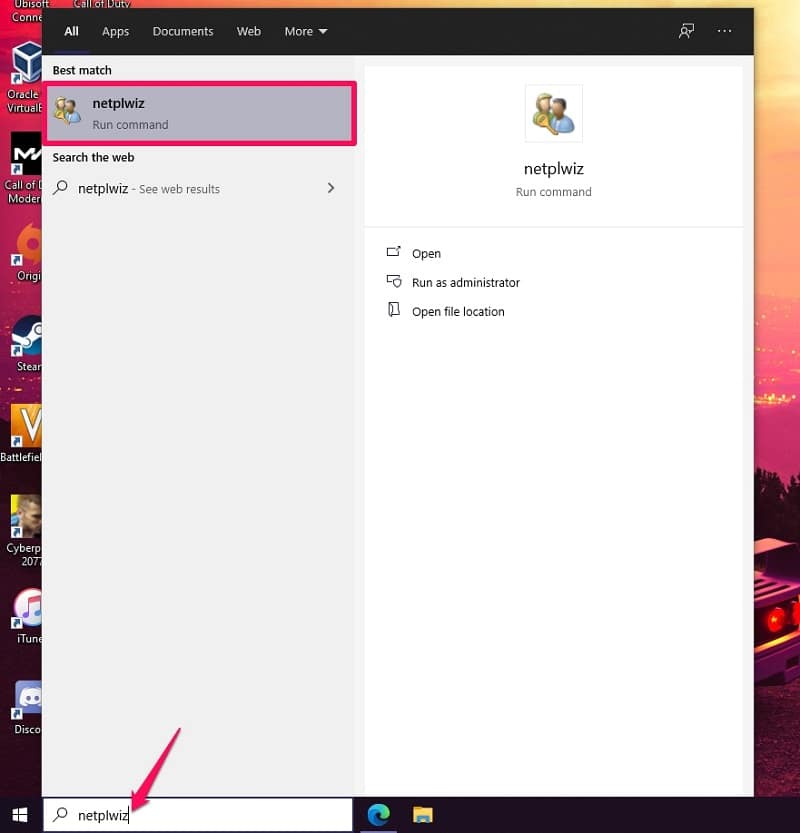
Step 1. First of all, type ‘netplwiz’ in the search field located on your taskbar and click on the app from the results to open it.
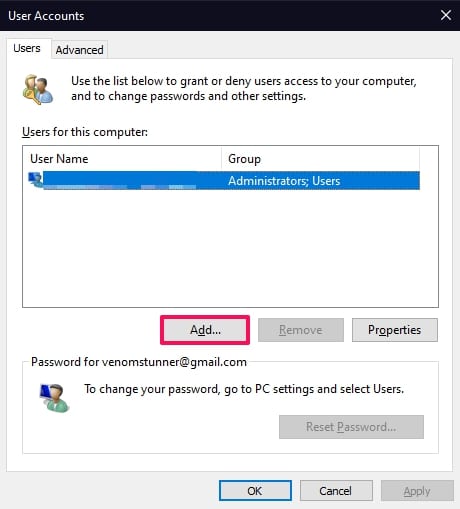
Step 2. This will bring up the following User Accounts window on your screen. Here, click on the ‘Add’ option to start creating a new local user account.
Step 3. This will give you access to similar steps that we discussed in the first method. Choose the option ‘Sign in without a Microsoft account’ to continue.

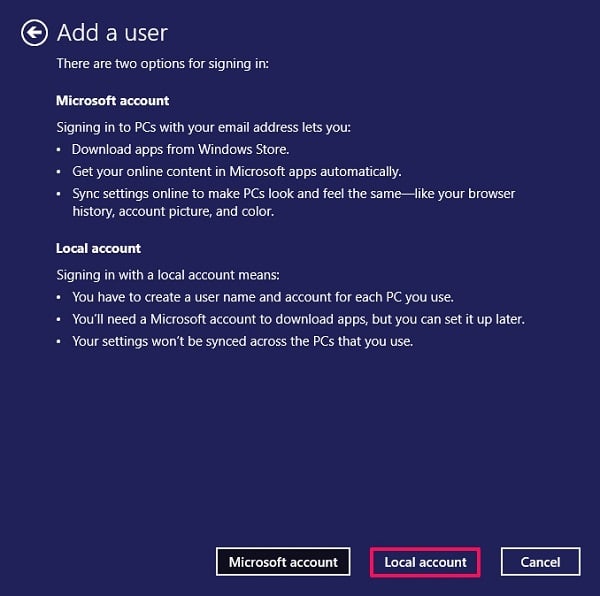
Step 4. Now, you’ll be able to choose between a Microsoft account and a Local account. Click on ‘Local account’ since that’s what we want to create here.
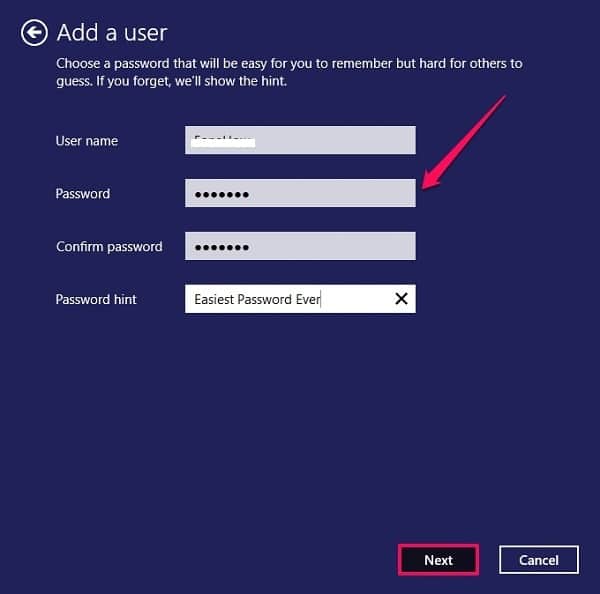
Step 5. You need to fill in the necessary details like account username, password, and password hint. Click ‘Next’ when you’re done.
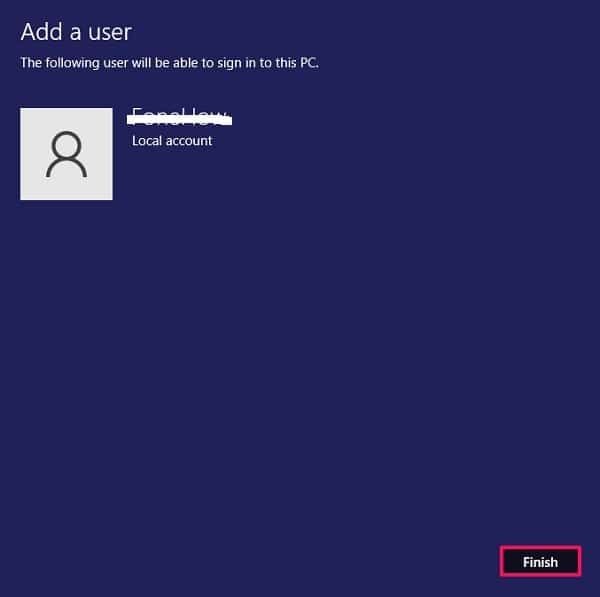
Step 6. You will now get the confirmation that the local user has been created on your Windows 10. Click on ‘Finish’ to complete the procedure.
Step 7. Now, if you head back to the User Accounts window, the newly created account will show up here along with your primary administrator account.
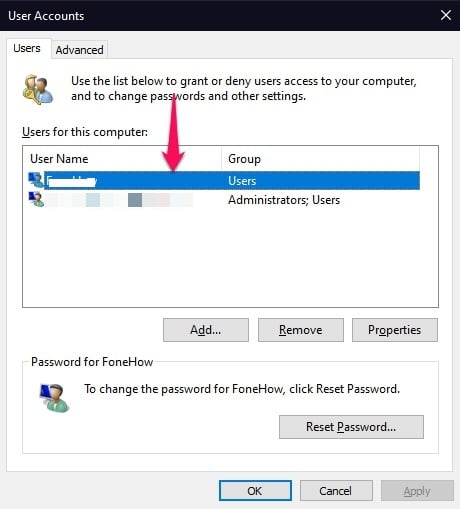
There you go. In the User Accounts panel, you’ll be able to remove the user account at a later point or switch it to an administrator account by clicking on the Properties option, if necessary.
Method 3. Create a New User Account on Windows 10 from Computer Management
This alternate method can be used by people who own Windows 10 Pro. This is because Windows 10 Home Edition does not feature the Local Users and Groups option that’ll be required to create a new local user account. Once you’re sure that your computer is running Windows 10 Pro, follow these steps:
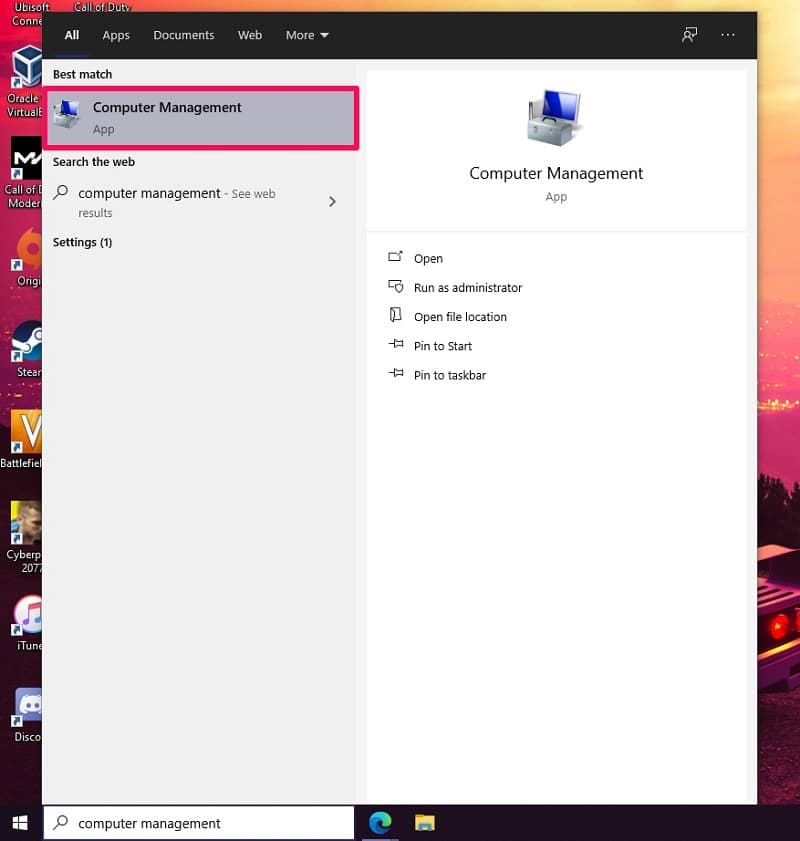
Step 1. You’ll need to launch the Computer Management app. Use the search field on your taskbar to find and open the app.
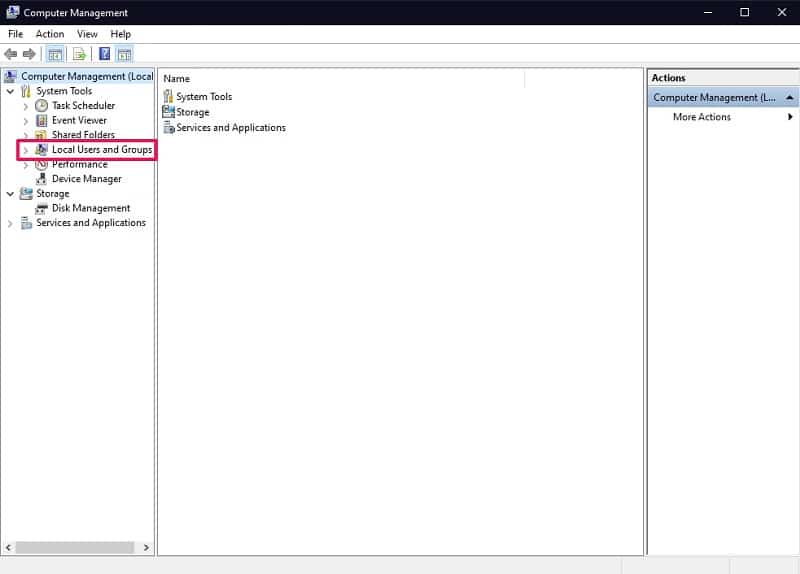
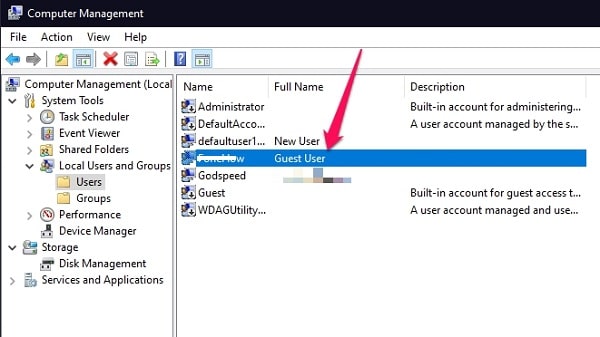
Step 2. Once the Computer Management window opens up, select the ‘Local Users and Groups’ option from the left pane as shown below. It’s located under System Tools.
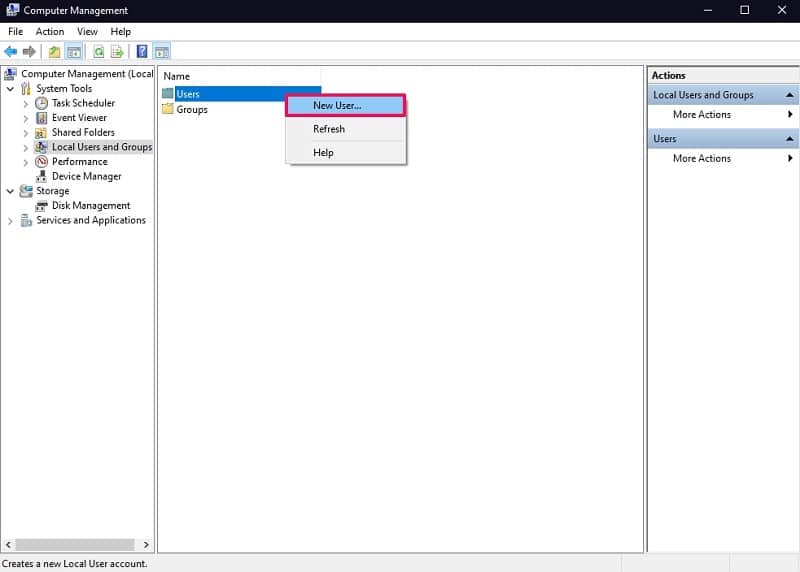
Step 3. Next, right-click on the Users folder from the right pane and choose ‘New User’ to set up a new local user account.
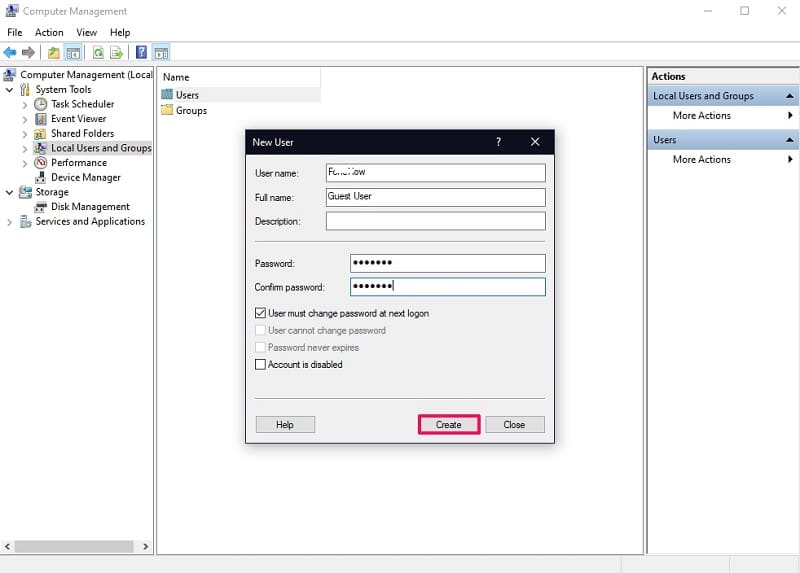
Step 4. This will launch a window within the Computer Management app. Just fill out all the important details for the user account and click on ‘Create.’
Step 5. Now, when you click and open the Users folder under Local Users and Groups, you’ll find your newly created user along with your administrator and other built-in accounts created by Windows.
That’s it. If you wish to remove the account from your Windows 10 at some point, you can right-click on the user and choose the Delete option from the context menu.
Method 4. Create a New User Account on Windows 10 Using Command Prompt
Command Prompt is the default command-line interpreter that’s built into Windows devices, and as the name suggests, it’s used to execute various commands and perform tasks on a computer. Likewise, you can utilize Command Prompt to execute a command line that creates a local user account on Windows 10. Let’s check out the procedure.
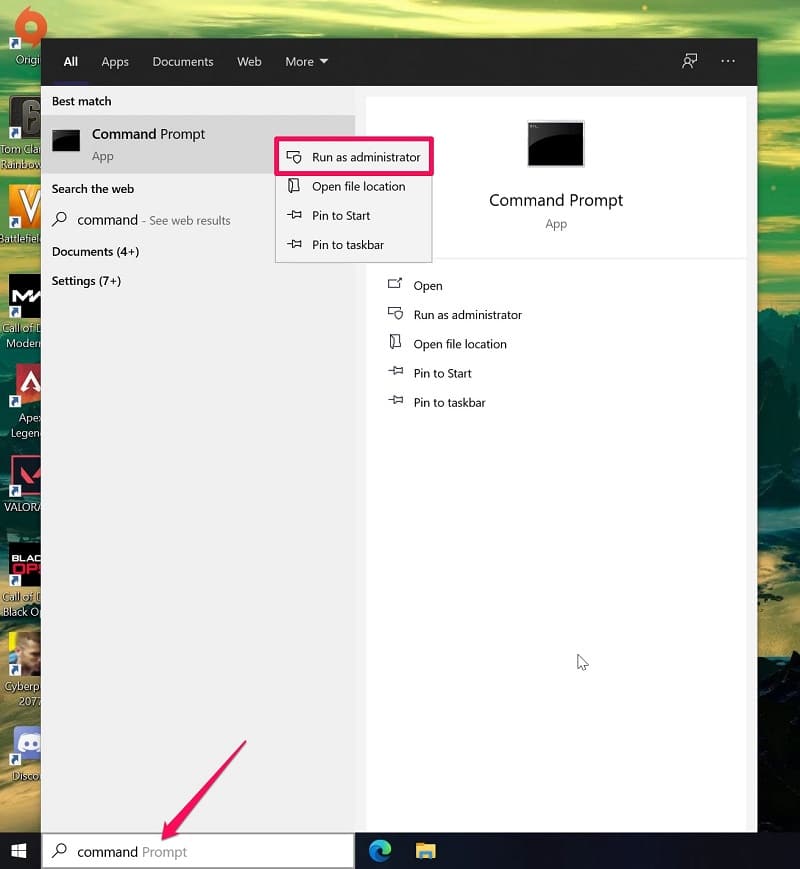
Step 1. You need to launch Command Prompt as an administrator to get this to work. Use the search field in the taskbar and right-click on Command Prompt from the search results. Now, choose ‘Run as administrator.’
Step 2. Type in the following command line with some modifications and hit the ‘Enter’ key on your keyboard to execute it.
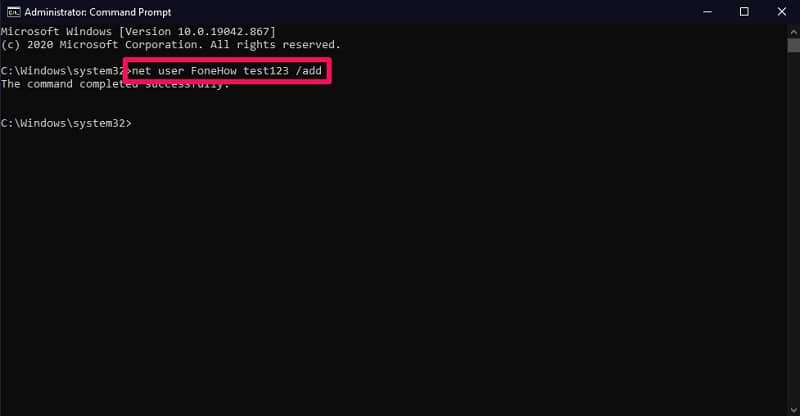
net user USERNAME PASSWORD /add
Replace USERNAME with the account name you want to create and PASSWORD with a password of your choice. Take a look at the example in the screenshot below.
That’s pretty much all you have to do. You can replace the /add in the command line with /remove if you ever wish to remove the account from your Windows 10 computer. Of course, you can remove it from settings too.
Method 5. Create a New User Account on Windows 10 Using PowerShell
We’ll be making use of Windows PowerShell for this particular technique, and it might seem identical to the one that we just discussed. This is because PowerShell is nothing but Microsoft’s new and advanced command-line interpreter that combines Command Prompt’s functionality with a scripting instruction set. Here’s what you need to do:
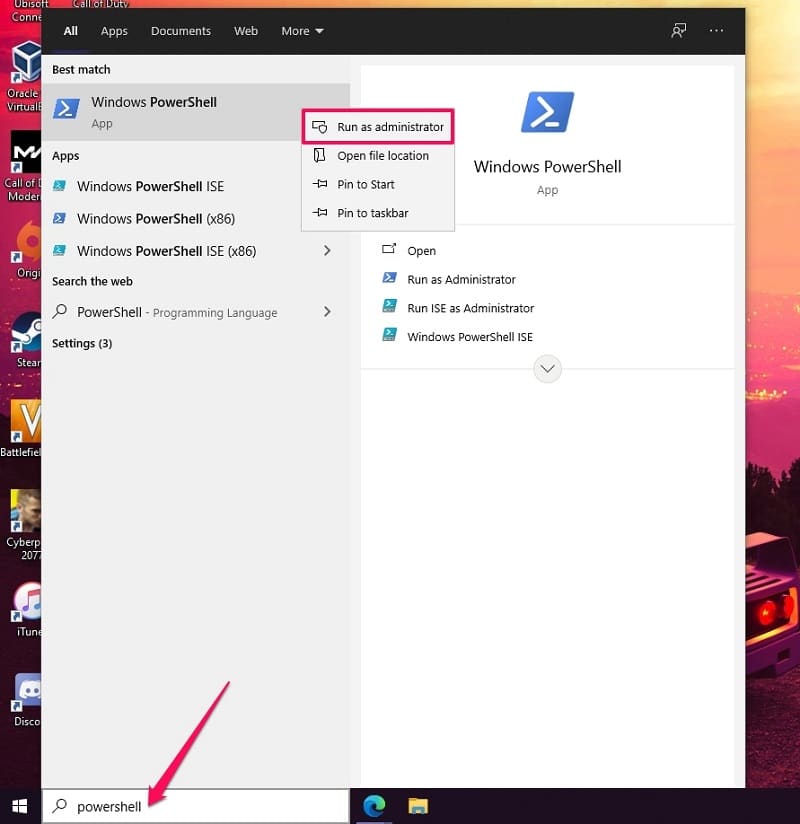
Step 1. Use the search field in the taskbar to find Windows PowerShell, right-click on it and choose ‘Run as administrator.’
Step 2. Next, you need to type in the following command line with certain changes to match your user account and press the ‘Enter’ key on your keyboard.
net user USERNAME PASSWORD /add
Replace USERNAME with the account name you want to use and PASSWORD with your preferred password. Here’s an example that you can follow.
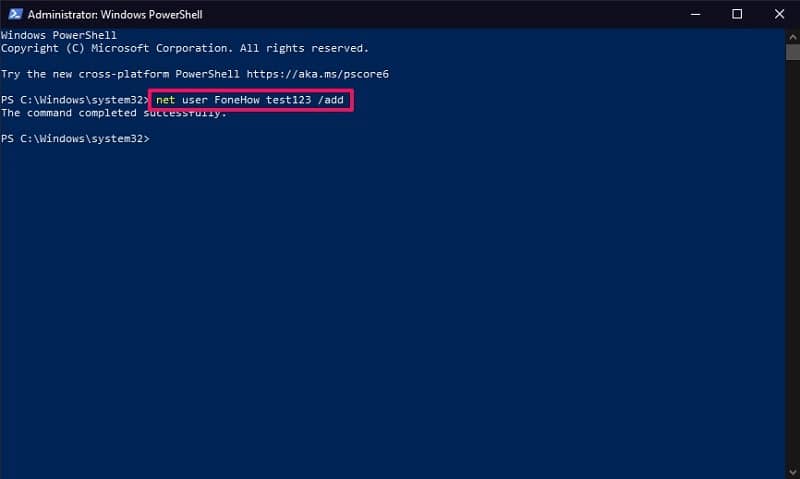
As you can see, we’ve used the same command line we used in Command Prompt since PowerShell is basically an advanced version of CMD in simple terms. Whether you’re using CMD or PowerShell, you’re pretty much doing the same thing. Once the command is executed, you’ll be able to find your newly created local user in Windows Settings.
Bonus: How to Create a New Account on Windows 10 without Logging in
Considering you’ve gone through all five methods and made it here, we have a bonus method that you may be interested in. We’ll be making use of a third-party Windows 10 password reset tool called PassFab 4WinKey to create a new local user account in Windows 10. Now, this may seem complicated at first, but make no mistake, this method can be extremely useful in scenarios where your current administrator account is corrupted, and you’re unable to create a new user account.
Note that you will need a CD, DVD, or USB drive to create a password reset disk on another computer with this software and then boot Windows 10 from this disk after entering the BIOS menu. At this point, you just need to follow the on-screen instructions. To learn more about this procedure, you can check out the PassFab 4WinKey review.
Bottomline
As you can probably see, when it comes to creating a new user account in Windows 10, you’re not limited in terms of available options. Depending on how quickly you want to make a new account, the method that you follow may vary. Sure, Command Prompt and PowerShell methods might involve typing command lines, but it bypasses Microsoft’s prompts to sign in with an online Microsoft account, ideally making it the quickest way to create a new user in Windows 10.
We hope this article helped you in finding a technique that best fits your needs. So, which one of the methods that we covered here did you use to create a local user account in Windows 10? Do you know any additional methods that deserve mention? If so, please share your knowledge and leave your opinions in the comments section.