Many users have multiple devices that share the same home network connection. Windows 10 used to include a Homegroup feature that enabled users to easily share files and printers quickly between devices on their home networks. However, Microsoft discontinued that feature. Nevertheless, users can still share printers and files between other devices on a home network by enabling Network Discovery and other sharing settings.
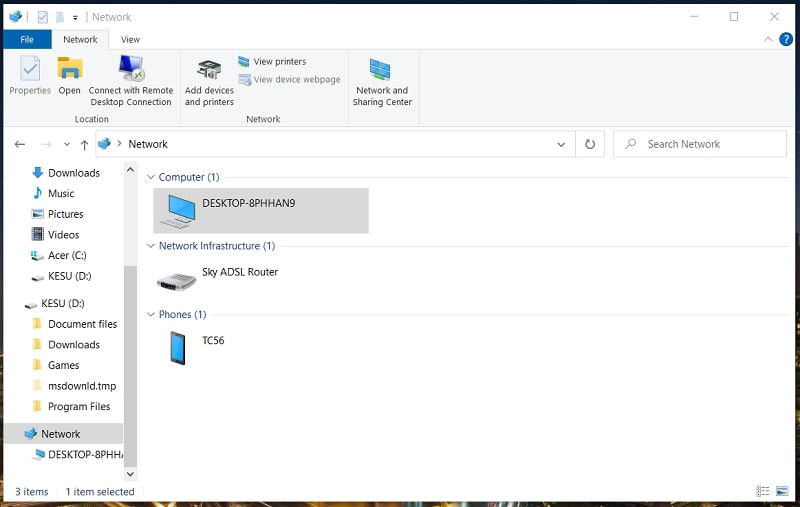
Network Discovery is a Windows 10 setting that users can select to make their PCs visible to other devices on the same home network. By enabling that option, your PC will be discoverable (connectable) for other devices connected with the same home network. You will be able to connect your PC with your other nearby devices, and it will be visible to them. When you make multiple Windows 10 PCs discoverable for your home network, you’ll see them listed in Network within File Explorer as in the screenshot directly below.
So, it’s important to enable Network Discovery if you want to share files, and other resources, between devices on your home network. It’s much easier to share folders and files between PCs with network discovery turned on. When you enable Network Discovery in Windows 10, you can print files with PCs on the same network.
It’s not recommended users have Network Discovery enabled for public network profiles. Your PC’s resources will be vulnerable to attackers with Network Discovery enabled on public networks. Therefore, you should make sure Network Discovery is off when your PC is connected with public network types.
Whether you want Network Discovery on or off, there are a few different ways you can disable/enable it. This is how to turn on Network Discovery in Windows 10 and disable it with four different methods.
Method 1. Turn On and Off Network Discovery in Windows 10 via Network and Sharing Center
Step 1: Click the magnifying glass button beside the Start menu to open that search tool.
Step 2: Type the keyword Manage advanced sharing settings within the search box.
Step 3: Next, click Manage advanced sharing settings within the search results to open the window shown directly below.
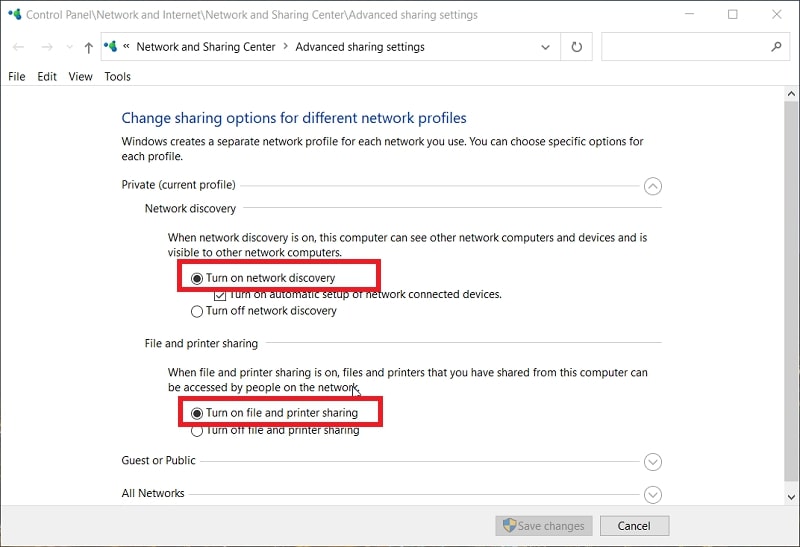
Step 4: Click the “Private” profile to expand it.
Step 5: Then select the “Turn on network discovery” radio button there. You can turn off Network Discovery by clicking the “Turn off network discovery” option there.
Step 6: If you want to enable printer and file sharing on your network, you’ll also need to have the “Turn on file and printer sharing” option selected there.
Step 7: Click the arrow for the Guest or Public section to expand that category as in the snapshot directly below.
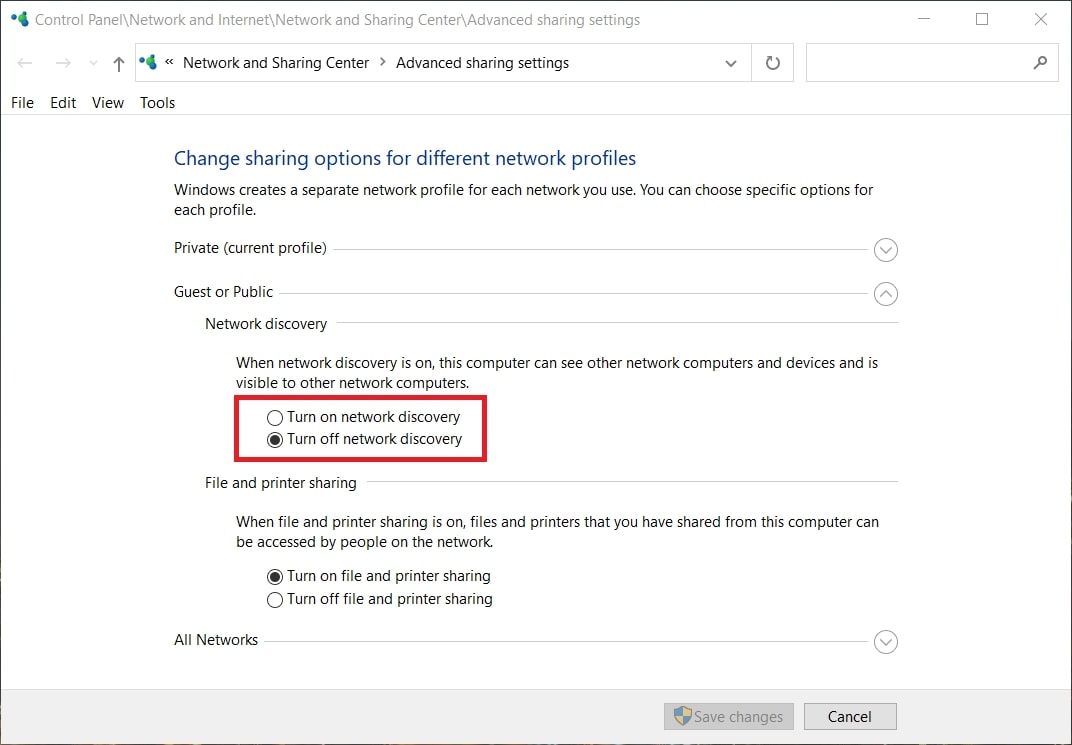
Step 8: To turn on Network Discovery in Windows 10 for public profiles, select the “Turn on Network Discovery” setting there. Select the opposite option if you prefer to have Network Discovery disabled for the public network profile.
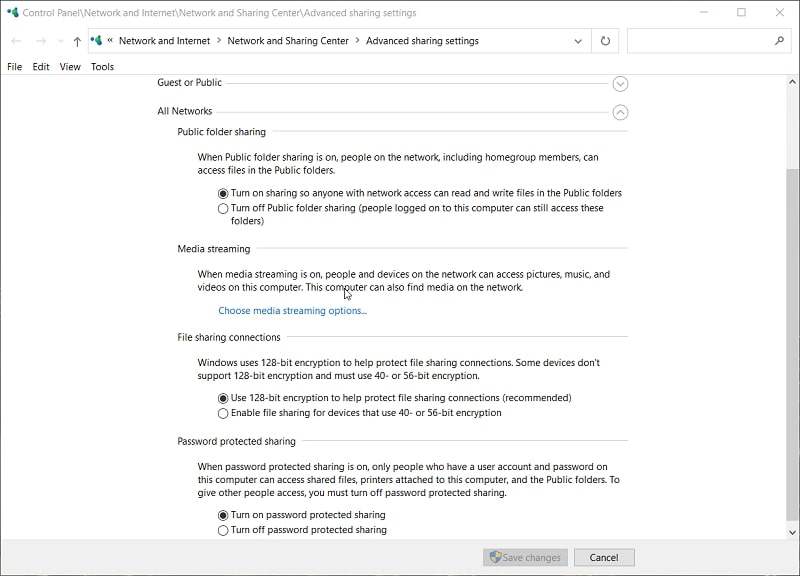
Step 9: To further configure your network settings, click the arrow for All Networks. Then you can select options for sharing public folders, file-sharing connection encryption, and password-protected sharing.
Step 10: Click the “Save changes” button there to apply the new settings.
Method 2. Turn On and Off Network Discovery in Windows 10 via Settings
Step 1: First, open Settings, which you can do by pressing the Windows and I keys simultaneously.
Step 2: Click “Network & Internet” to open that Settings category.
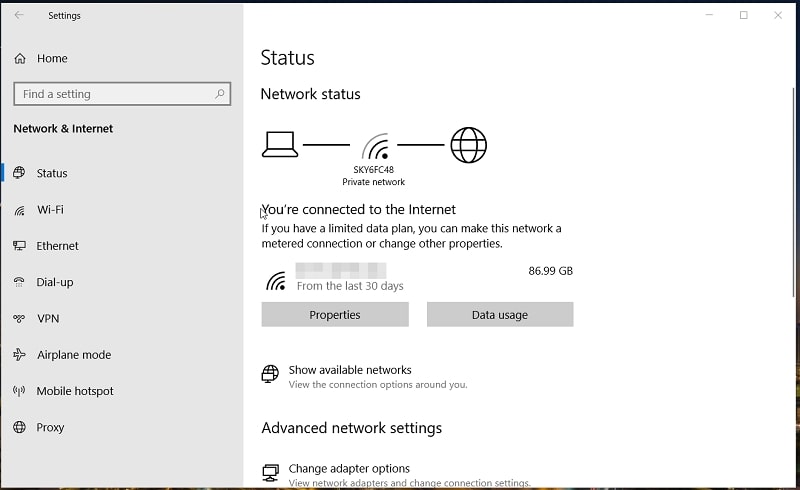
Step 3: Select the Wi-Fi, Ethernet, or Dial-Up tab depending on what type of internet connection you have.
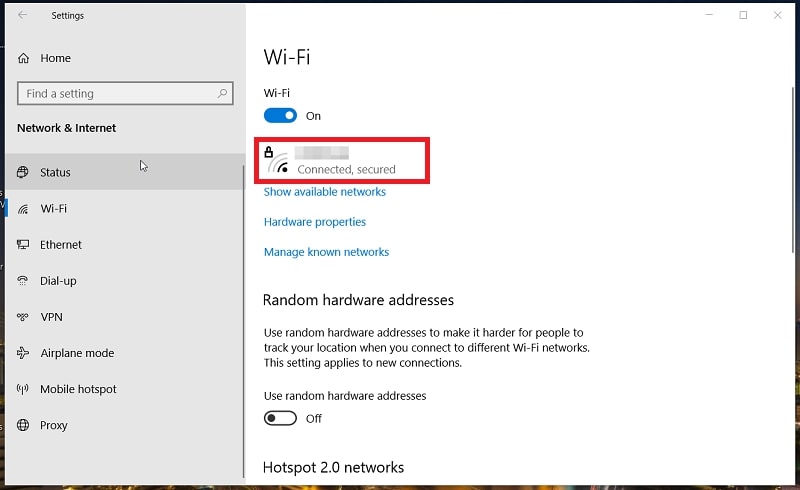
Step 4: Then double-click your listed internet connection to open the options in the snapshot directly below.
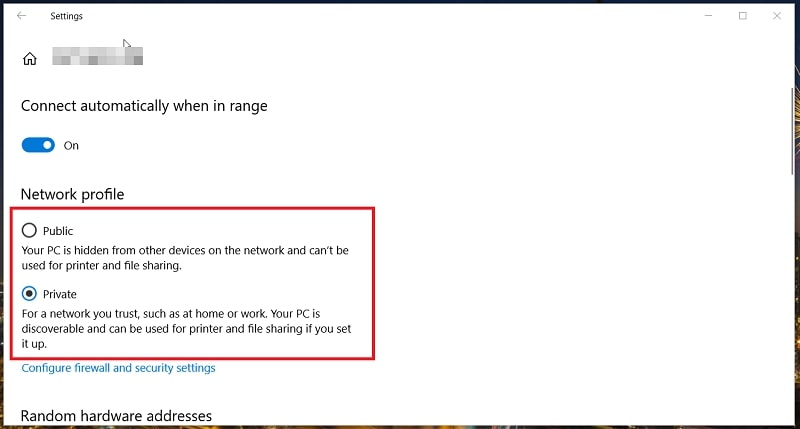
Step 5: Select the “Public” option to turn off Network Discovery in Windows 10. To turn on Network Discovery, you’ll need to select the “Private” option.
Those “Public” and “Private” options change your network profile. Network Discovery will be enabled by default for the private network profile in Windows 10 and disabled for the public one unless configured otherwise. Thus, selecting “Public” will disable Network Discovery unless you’ve configured that feature to be on for public profiles via Network and Sharing in the Control Panel.
Method 3. Turn On and Off Network Discovery in Windows 10 via Command Prompt
Step 1: The Command Prompt is a handy command-line utility with which you can both enable and disable Network Discovery in Windows 10. To open the Command Prompt, you’ll need to click the “Type here to search” taskbar button first.
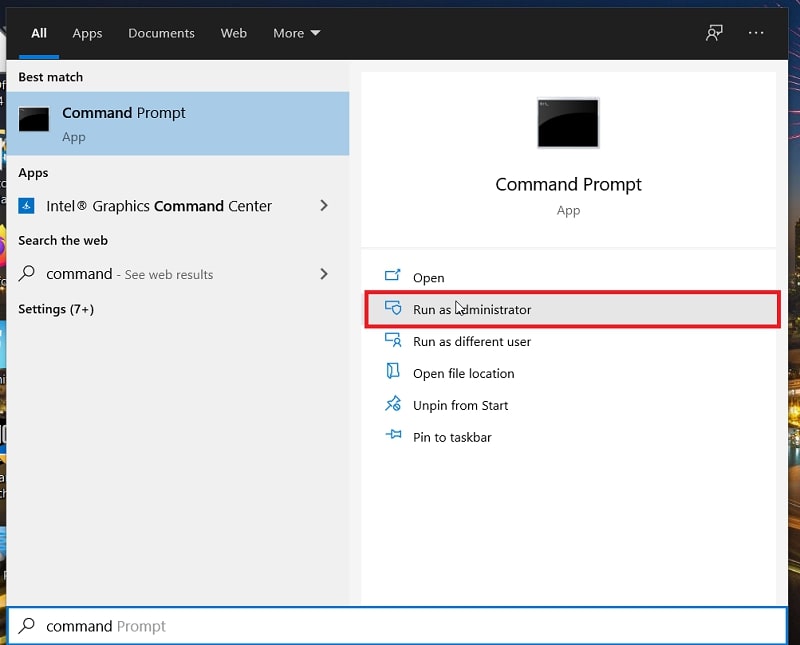
Step 2: Type Command Prompt in the search utility.
Step 3: Click the “Run as administrator” option for the Command Prompt.
Read More: How to Open Command Prompt as Administrator in Windows 10
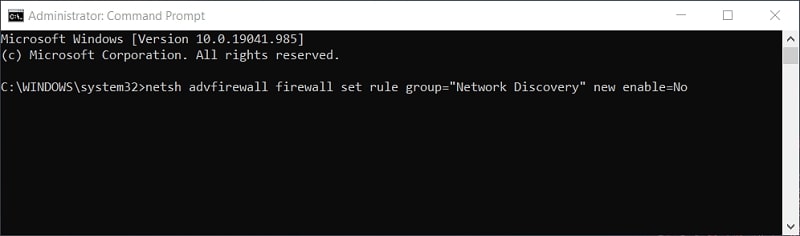
Step 4: Input netsh advfirewall firewall set rule group=”Network Discovery” new enable=Yes in the Command Prompt. Then press the Enter key to execute that command.

Step 5: To disable Network Discovery, type netsh advfirewall firewall set rule group=”Network Discovery” new enable=No in the Command Prompt. Press the Enter key to execute that command.
Note that this method enables Network Discovery for all network profiles. If you only want that feature enabled for one profile, you’ll need to configure it via the Control Panel as outlined for the first method.
Method 4: Turn On and Off Network Discovery in Windows 10 via PowerShell
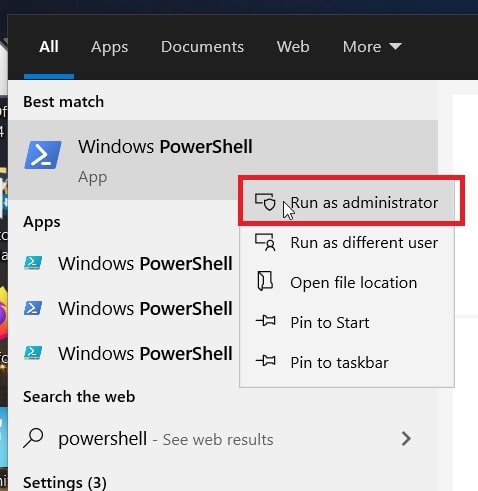
Step 1: PowerShell is an alternative command-line utility users can also turn Network Discovery on and off with. To access it, open Windows 10’s search tool.
Step 2: Then, you can type PowerShell in the search utility’s text box to find that command-line utility.
Step 3: Right-click Windows PowerShell and select “Run as administrator” to launch that command-line utility.
Read More: How to Open PowerShell in Windows 10
、
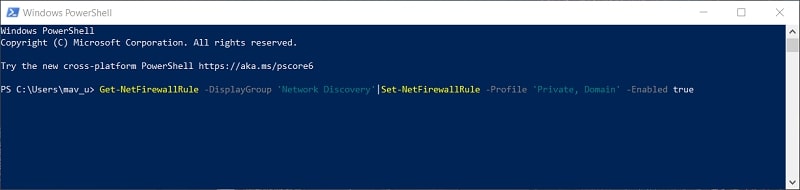
Step 4: Type this command in PowerShell’s window: Get-NetFirewallRule -DisplayGroup ‘Network Discovery’|Set-NetFirewallRule -Profile ‘Private, Domain’ -Enabled true. That command will enable Network Discovery for public and private network profiles when you hit Enter.
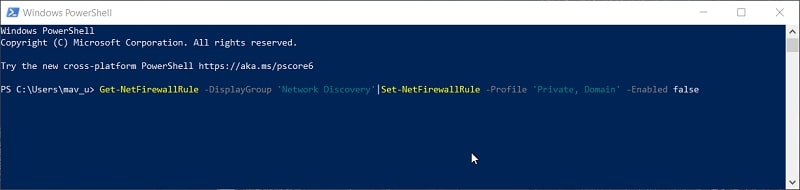
Step 5: To disable Network Discovery, input this command: Get-NetFirewallRule -DisplayGroup ‘Network Discovery’|Set-NetFirewallRule -Profile ‘Private, Domain’ -Enabled false. Then press the Enter key to execute the command.
Method 5: Turn On Network Discovery via File Explorer
Step 1: When Network Discovery is turned off, File Explorer provides an option to enable that feature. To open File Explorer, press the Windows + E key combination for it.
Step 2: Then click Network on the left side of File Explorer.
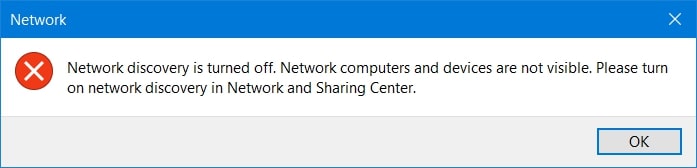
Step 3: If Network Discovery is disabled, the Network dialog box shown directly below will pop up. Click “OK” on that window.
Step 4: Then click the text bar shown directly below to open a small menu that includes a “Turn on network discovery and file sharing” option.
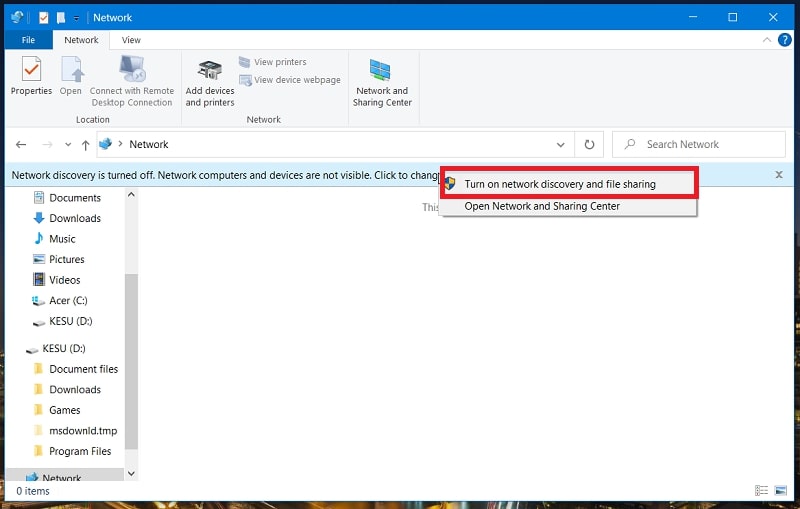
Step 5: Select the “Turn on network discovery and file sharing” setting option.
FAQ About Network Discovery in Windows 10
Do I need to be signed into an administrator account to enable and disable Network Discovery in Windows 10?
Yes, you do need elevated admin rights to configure Network Discovery in Windows 10. Users with standard accounts will need to change them to admin ones.
What should I do if I can’t enable Network Discovery with the above methods?
Five services need to be enabled for Network Discovery to work correctly. If the methods above don’t turn on that feature, check that all the services for Network Discovery are enabled and running on your PC. These are the required services that need to be enabled:
- DNS client
- Host discovery provider functions
- Publication of resources for identification
- SSDP discovery
- Host of UPnP devices
You can check those services are enabled for Network Discovery via the Services window. Double-click each of those services listed there and select the “Automatic” startup option for them. Also, click the “Start” option to run those services.
Can the Windows firewall block Network Discovery?
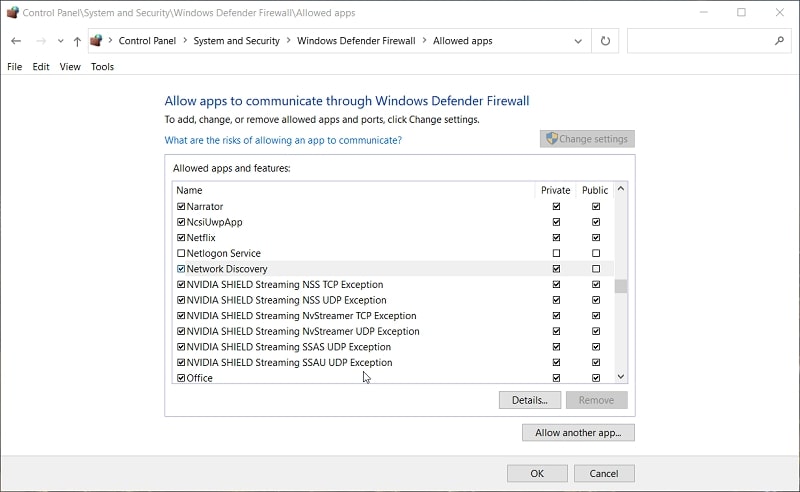
Yep, so you should check your Windows firewall’s allowed app settings. You can open those settings by clicking “System Security” > “Windows Defender Firewall” > “Allowed apps” within the Control Panel. Then make sure the Network Discovery “Private” checkbox is selected within Allowed apps.
Third-party antivirus firewalls can also potentially interfere with Network Discovery. So, check the firewall options for any third-party antivirus utility you have installed on your PC.
How can I make folder and file resources shareable with Network Discovery enabled?
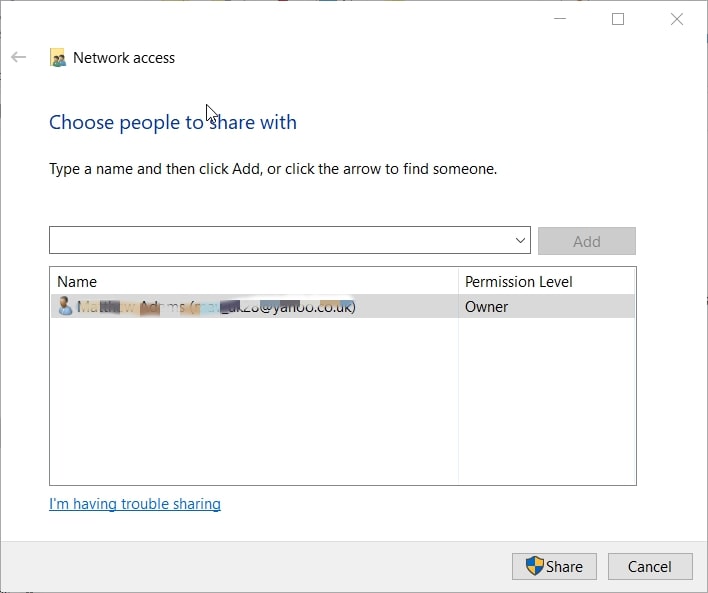
Right-click a folder in File Explorer you want to share with other devices on your network and select the “Give access to” > “Specific people” options. Then select “Everyone” on the drop-down menu within the window shown directly below. Press the “Add” button, and click “OK” to exit the window. Thereafter, the shared resource will be visible in Network within File Explorer.
Do other Windows platforms have Network Discovery?
Yes, you can select a Network Discovery setting via the Control Panel’s Network and Sharing Center in Windows Vista, 7, 8 and, 8.1.
Conclusion
Overall, Network Discovery is a handy Windows feature for sharing folders, files, and printers between different PCs on a private network. So, it’s worth enabling that feature if you have multiple Windows 10 PCs with the same internet connection. Just make sure you have a very secure encryption protocol for your Wi-Fi network to forestall network sniffing. If you don’t have multiple PCs to share resources between, however, you might as well disable Network Discovery.