The “Shut down” option is perhaps the most widely utilized one in Windows 10 and other platforms of its OS series. Selecting that option on Windows 10’s Start menu initiates a shutdown process. That shutdown process ensures everything is properly closed before powering off the PC. You should always select that option because turning a PC off by pressing its power button can corrupt files.
Yet, Windows 10’s Settings app doesn’t include any built-in options for scheduling shutdowns. That’s a little surprising given how important the “Shut down” option is. It would no doubt be convenient for some users to schedule Windows 10 to automatically shut down at specific times. Scheduling a regular shutdown time will at least ensure you never forget to turn off your PC.
Even though Settings doesn’t include scheduling options for shutdowns, you can still schedule Windows 10 to automatically shut down at a specified time. There are, in fact, a few ways that you can schedule auto shutdowns in Windows 10 without any additional third-party software. If you’re wondering how to set auto shutdown in Windows 10, check out these alternative scheduling methods.
Method 1. Set Auto Shutdown in Windows 10 Using the Run Dialog
Step 1: Right-click the Windows 10 Start button to open a Win + X menu.
Step 2: Select the “Run” option to open the accessory shown in the screenshot directly below.

Step 3: Now enter this command within Run’s Open box: ‘shutdown –s –t number.’ You’ll need to replace ‘number’ in that command with an actual numerical value for the number of seconds you want to wait until Windows 10 automatically shut down. For example, entering ‘shutdown –s –t 3600’ would schedule the OS to shut down in an hour.
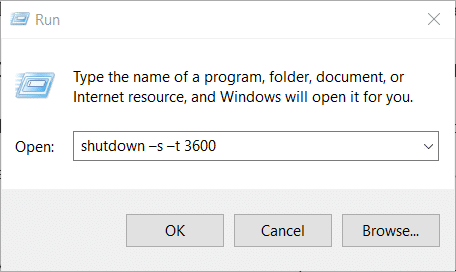
Step 4: Now press the “OK” button to confirm.
After that, you should see a notification that says, “You’re about to be signed out.” That prompt will also say Windows 10 will shut down after the time specified within your Run command. For example, the prompt will say “Windows will shut down in 50 minutes” if you entered ‘shutdown –s –t 3000’ in Run. That prompt also specifies the date and time your Windows 10 PC will automatically shut down.
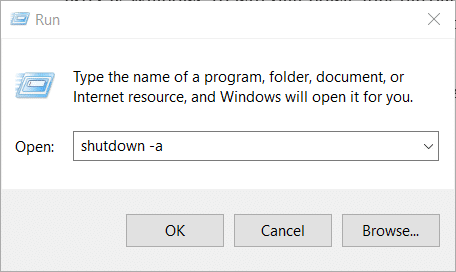
Note that you can cancel the timed shutdown if required. To do so, open Run’s window again. Input ‘shutdown -a’ in the text box as in the screenshot directly below. Then press the “OK” button to cancel the auto shutdown on Windows 10.
Read More: How to Open Run Command Window in Windows 10
Method 2. Set Auto Shutdown in Windows 10 Using Command Prompt
Step 1: You can also schedule a shutdown in Windows 10 with the Command Prompt. To do that, click the magnifying glass button beside Windows 10’s Start menu to open the Type here to search tool.
Step 2: Enter the keyword ‘cmd’ in the search utility to find the Command Prompt.
Step 3: Right-click the Command Prompt search result to open its context menu.
Step 4: Select the “Run as administrator” context menu option.
Step 5: Now input the ‘shutdown –s –t number’ command within the Command Prompt window. Remember to replace ‘number’ in that command with a numerical value for seconds as required.
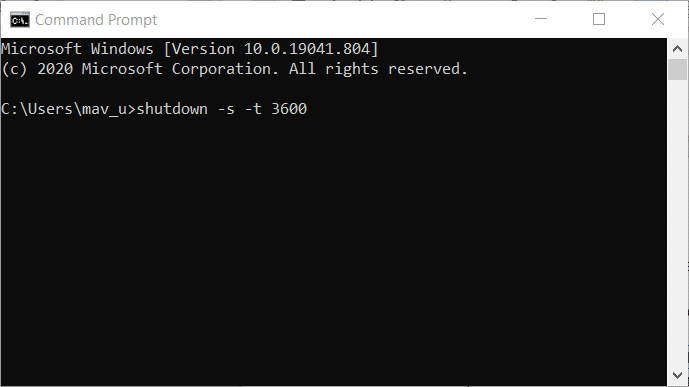
Step 6: Press the Enter keyboard key to initiate the auto shutdown command.
The same notification that appears for method one’s Run command will then pop up to inform you when Windows 10 will shut down. You can also cancel that scheduled shutdown with the same ‘shutdown -a’ command. Enter that command within the Control Panel or Run to cancel your auto shutdown.
Read More: How to Run Command Prompt as Administrator in Windows 10
Method 3. Set Auto Shutdown in Windows 10 Using Task Scheduler
If you prefer to select a specific time for an auto shutdown, instead of entering a numerical value for seconds, try utilizing Task Scheduler. Task Scheduler is a system utility that enables users to schedule things in Windows. So, you can schedule Windows 10 to shut down at a selected time with that tool. This is how you can schedule shutdown in Windows 10 with the Task Scheduler.
Step 1: Open the search box (you can press the Windows + S hotkey to do so).
Step 2: Type the keyword ‘Task Scheduler’ in the search box.
Step 3: Click Task Scheduler to open the window shown directly below.

Step 4: Then click “Create Basic Task” on the right side of Task Scheduler.
Step 5: Type ‘shutdown’ in the Name box of the Create a Basic Task window that opens. You can also enter an optional description for the task if you wish.
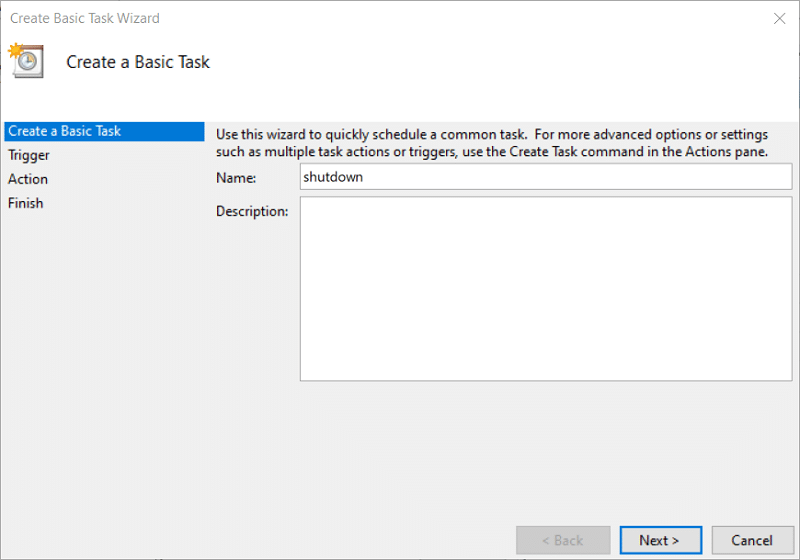
Step 6: Click “Next” to continue.
Step 7: Now select the “One time” radio button.
Step 8: Select the “Next” option again to proceed.
Step 9: Now, you get to select a specific time for the automatic shutdown to happen. Click the small button on the right of the left Start box to open a calendar on which you can select a date.
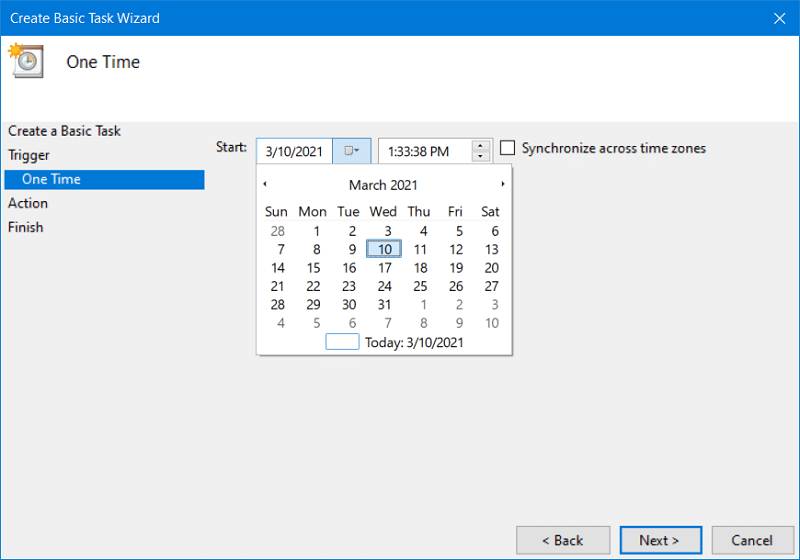
Step 10: Click in the right Start box to enter a time. As that time is entered with 12-hour clock format, you’ll also need to click PM to specify whether it’s scheduled for the morning.
Step 11: Click “Next” to continue to the action options.
Step 12: Select the “Start a program” radio button, and click the “Next” option.
Step 13: Press the “Browse” button. An Open window will then appear at the System32 folder path.
Step 14: Type ‘shutdown’ in the File name box and select shutdown.exe. Click the “Open” button.
Step 15: Then type ‘-s’ in the Add arguments box as shown directly below, and click “Next” again.
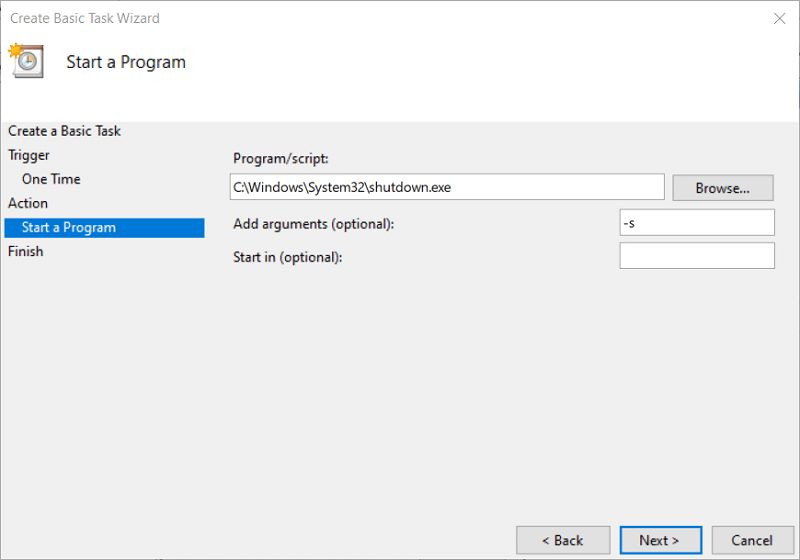
Step 16: Finally, click the “Finish” option to confirm your scheduled task.
Now Windows 10 will shut down at the time you selected for your scheduled task. If you want to cancel it, you can do so by right-clicking the scheduled task in Task Manager and selecting Delete. Then select “Yes” to confirm.
You can also select additional condition settings for your auto shutdown task. To do so, click “Task Scheduler Library” on the left side of the Task Scheduler window. Then right-click your shutdown task to select the “Properties” option. Select the Conditions tab on the Properties window shown below.
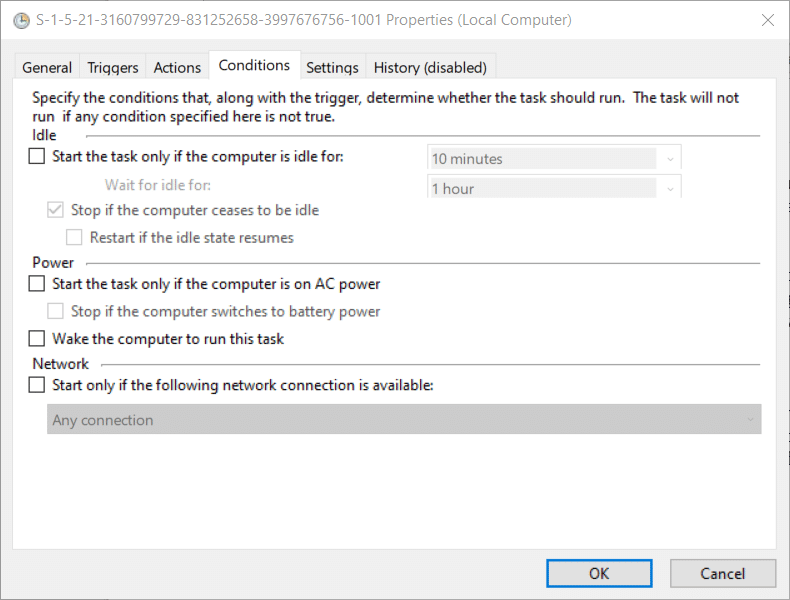
The Conditions tab includes numerous settings you can select to specify conditions that need to be met for the task to run. For example, you could choose the “Start the task only if the computer is idle for” option and choose a time in the drop-down menu. Doing so will configure the task to run only when the PC has been idle for the time you selected. Then Windows 10 will not automatically shut down at the task’s designated time when you’re still utilizing your PC.
You can also configure the task to run when you’re not logged in. To do that, select the General tab on the task’s Properties window. Then select the “Run whether user is logged in or not” radio button. Click the “OK” button to save your settings.
If you want to change the shutdown task in any way, select the Triggers or Actions tabs. On those tabs, you can select the task’s trigger or action and click “Edit” to open further options. Then you can reconfigure the shutdown task with the options on the Edit Action and Edit Trigger windows.
Conclusion
Although there are various third-party software packages for scheduling Windows to shut down, you don’t really need them. The above methods will be sufficient for most users to schedule shutdowns in Windows 10. The Task Scheduler is the most flexible utility for scheduling automatic shutdown tasks. However, the Task Scheduler method is not a particularly quick one. So, some users might prefer to set up automatic shutdowns with methods one or two.