When you connect to a wired or wireless network on your Windows 10 computer, the connection is either registered as a Public network or Private network. You can see the type of network your connection is registered as in the network tab. However, what if you want to change the network from Public to Private in Windows 10?
Private networks are your home or work networks, whereas public networks belong to public areas like airports, libraries, shopping malls, etc. There are multiple reasons why you would want to change your network type from Public to Private in Windows 10. Fortunately, there are multiple ways to do it as well.
Here’s how you can change Windows 10 network type from Public to Private with a few easy methods.
Method 1. Change Network from Public to Private in Windows 10 while Connected to WiFi
Like everything in Windows 10, you can change network type from public to private from the Settings. Changing the network type from settings is also the easiest way to do it for average users.
Read More: How to Open Settings on Windows 10
Step 1: To change the network type, make sure you are connected to a WiFi network. Next, click on Start and choose Settings.
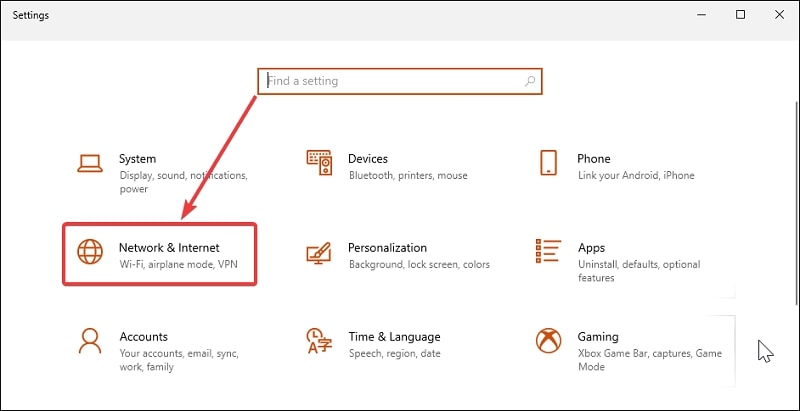
Step 2: Click on Network and Internet from the options in Settings. Open the Wi-Fi tab from the left pane of the Network & Internet settings window.
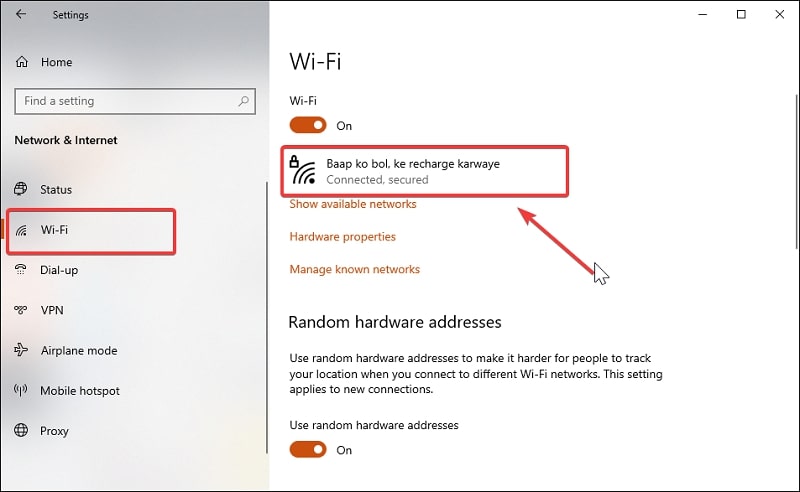
Step 3: Click on your wireless network under Wi-Fi. In the Network profile section, choose Private.
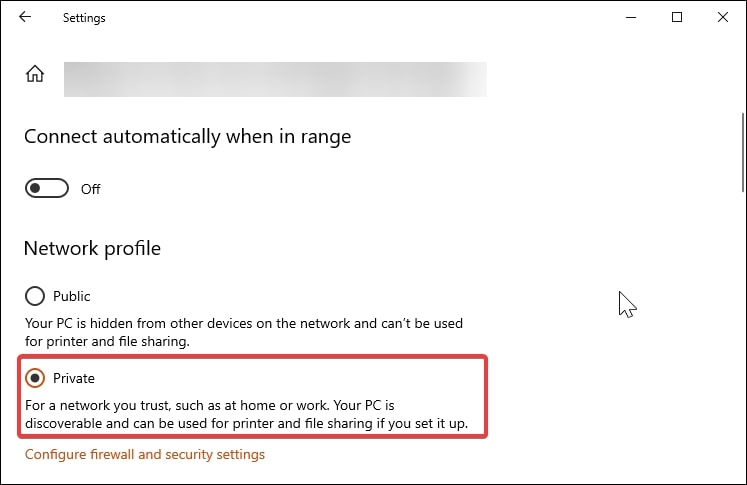
This option is ideal if you trust the network at home or work. This will make your PC discoverable, and the users can use the shared primer and file sharing.
Method 2. Change Network from Public to Private in Windows 10 while Connected to Cable Network
If you are connected to a wired or cable network, changing the network type is a little different. Here’s how you can do it.
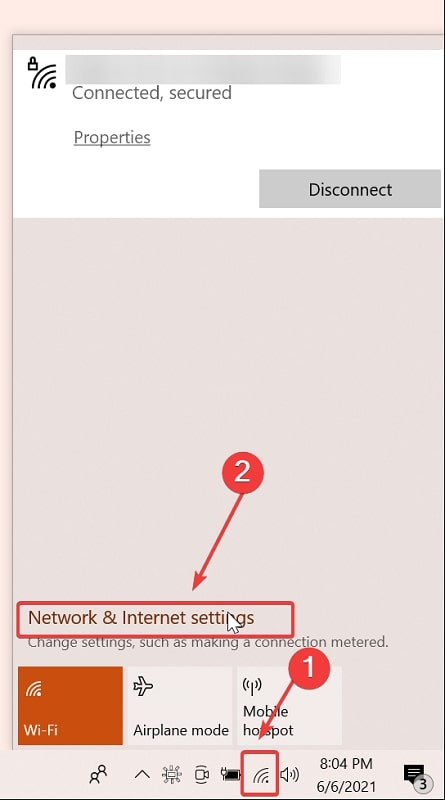
Step 1: Click the wired network icon on the taskbar. Next, choose Network and Internet Settings. This will open the Windows 10 network settings window.
Step 2: Open the Ethernet tab from the left pane. On the right-pane, click on your cable network. This will populate your screen with a list of settings for the active connection.
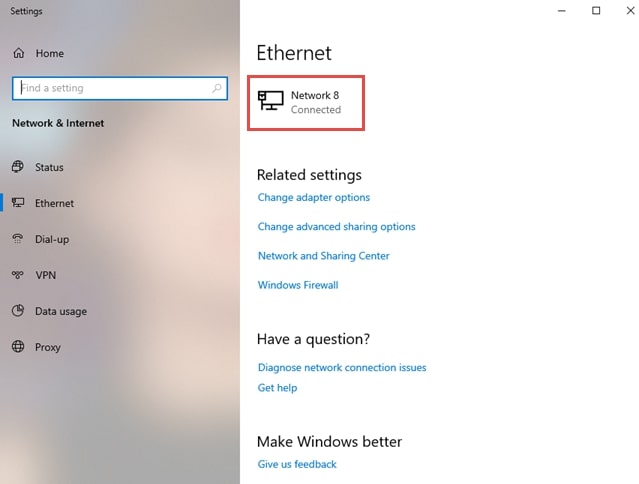
Step 3: Scroll down to network profile. Choose the Private Network option to Windows 10 change from public to private network.
Method 3. Change Network from Public to Private in Windows 10 via Registry Editor
Suppose, for some reason, the network type changes are not saving when modified through the Settings app. In that case, you can tweak your registry editor to achieve this as well.
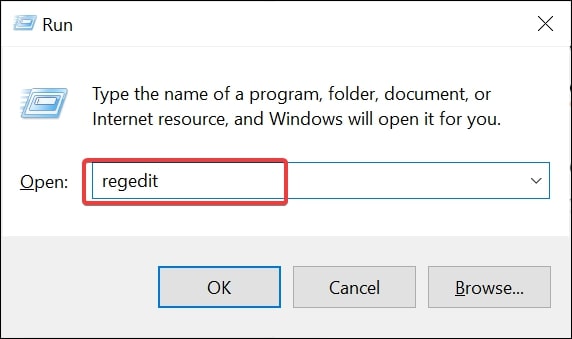
Step 1: Press the Windows key + R to open the Run box. In the Run box, type regedit and click OK. Click Yes when a UAC prompt appears. The regedit command, when executed through the Run box, opens the Registry Editor.
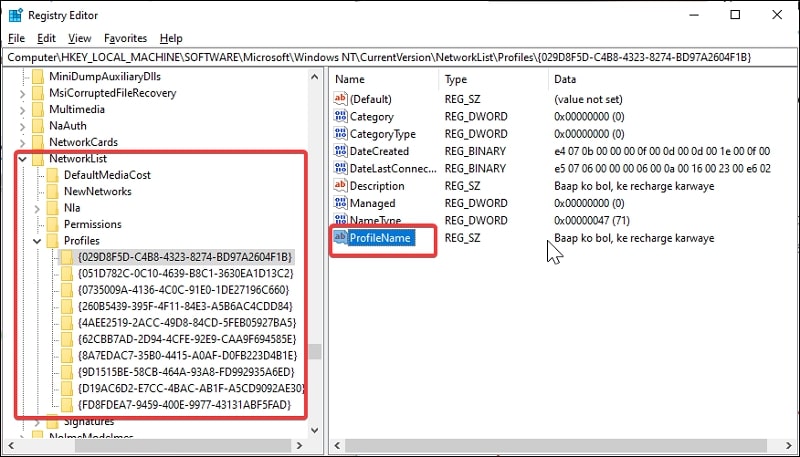
In the Registry Editor, navigate to the following location. Copy and paste the file path in the address bar of the registry editor and hit Enter.
HKEY_LOCAL_MACHINE\SOFTWARE\Microsoft\Windows NT\CurrentVersion\NetworkList\Profiles
Step 2: In the Profiles key, you can see multiple subkeys. Select the first subkey and check the ProfileName in the right pane to see if it matches your network name. If not, choose the next one and so on until you find the subkey with your network name.
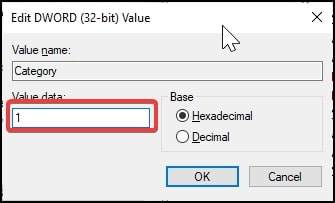
Step 3: Once you have found the right subkey, right-click on the Category value and choose Modify.
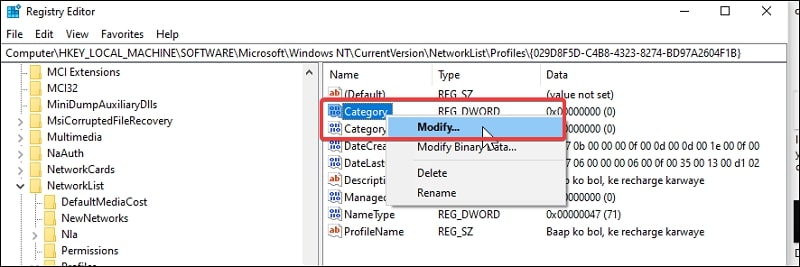
In the Value data field, enter 1 to change the network type to Private. Click OK to save the changes and close the registry editor.
You can check the network type in the network settings to verify the changes.
Method 4. Change Network from Public to Private in Windows 10 via Local Group Policy Editor
If you use the Group Policy Editor to manage system functionalities frequently, you can use it to change the network type in Windows 10 as well. Here’s how to do it.
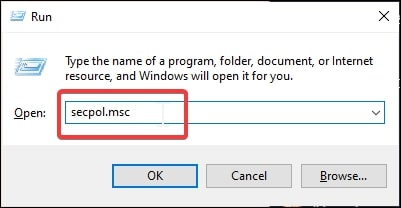
Step 1: Open the Run box. To do this, press the Windows key + R. In the Run box, type secpol.msc and click OK. This will open the Local Security Policy window.
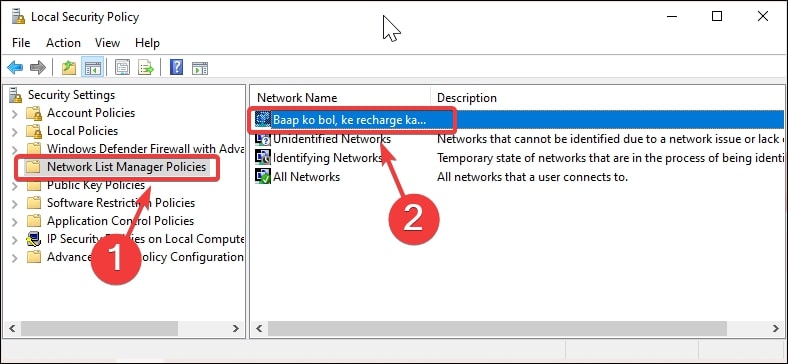
Step 2: In the Security Local Policy window, click on Network List Manager Policies.
Step 3: In the right pane, right-click on your Network name and choose Properties.
Step 4: In the Properties window, open the Network Location tab. Under the Locate type section, choose Private.

Step 5: Click Apply and OK to save the changes. That should change the network from public to private in Windows 10.
Method 5. Change Network from Public to Private in Windows 10 via PowerShell
PowerShell is a powerful command processor that allows you to modify almost all aspects of your system. If you prefer to use PowerShell to get things done, here is how to use a PowerShell command to change network type in Windows 10.
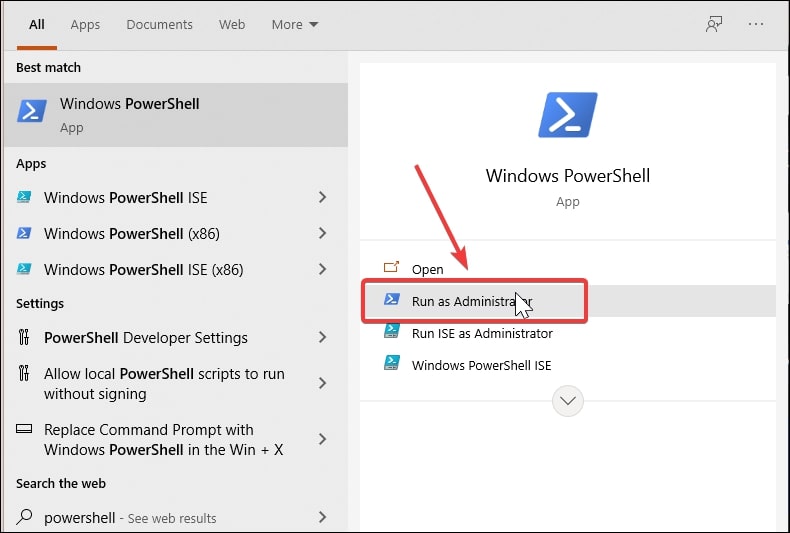
Step 1: Press the Windows key and type powershell. Right-click on the PowerShell app from the search results and select Run as administrator.
Read More: How to Open PowerShell in Windows 10
Step 2: In the PowerShell window, type the following command and hit enter to execute.
Get-NetConnectionProfile
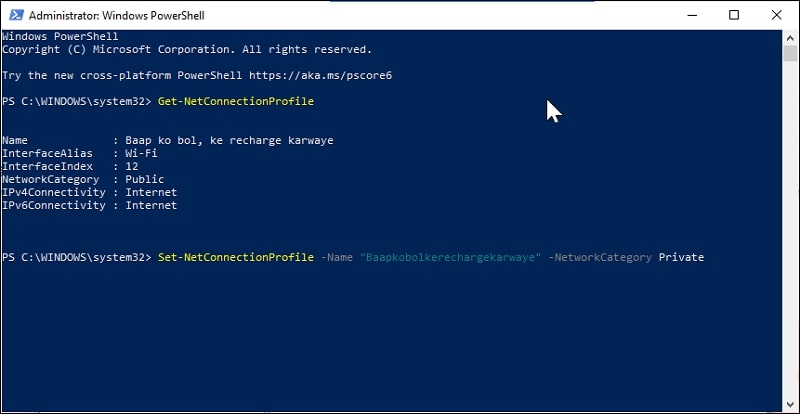
The above command will show all networks available and the properties. Enter the following command to change the network type to private.
Set-NetConnectionProfile -Name “networkname” -NetworkCategory Private
In the above command, replace networkname with your own network name that you want to change to private. Hit Enter to execute the command.
FAQs: Learn More About Changing Private Network to Public in Windows 10
What’s the difference between a private and public network?
When a network is set to private, your Windows PC is discoverable to other devices on the network. They can also access the shared printer and file sharing when enabled.
When set to a public network, all unsolicited inbound traffic is disabled through Firewall. It is hidden from other devices on the network, and the printer and file-sharing functions are disabled.
Why do you want to set a network to private?
You only need to set a network as private if you trust the network and are in work or school environment. Setting your network type to private is essential if you plan on using the network discovery and file sharing feature.
What is safer, a public or a private network?
A public network is more restrictive than a private network and, in general, safer as well. Homegroup and network discovery is turned off on a public network, preventing other devices on the network from discovering your device. Set your network to the public if you don’t have a use for file-sharing or network discovery.
A private network assumes you trust the network and the devices connected to the network. It enables network discovery and file sharing, which can be a potential risk on untrusted networks.
Conclusion
Changing the network type in Windows 10 is easy. If you trust the network you are connected to and all the devices in the network, changing the public network to private in Windows 10 gives access to more tools. You can change the network using the command processors, settings app, group policy editor and even Registry Editor.